

Initiate a New Training Job
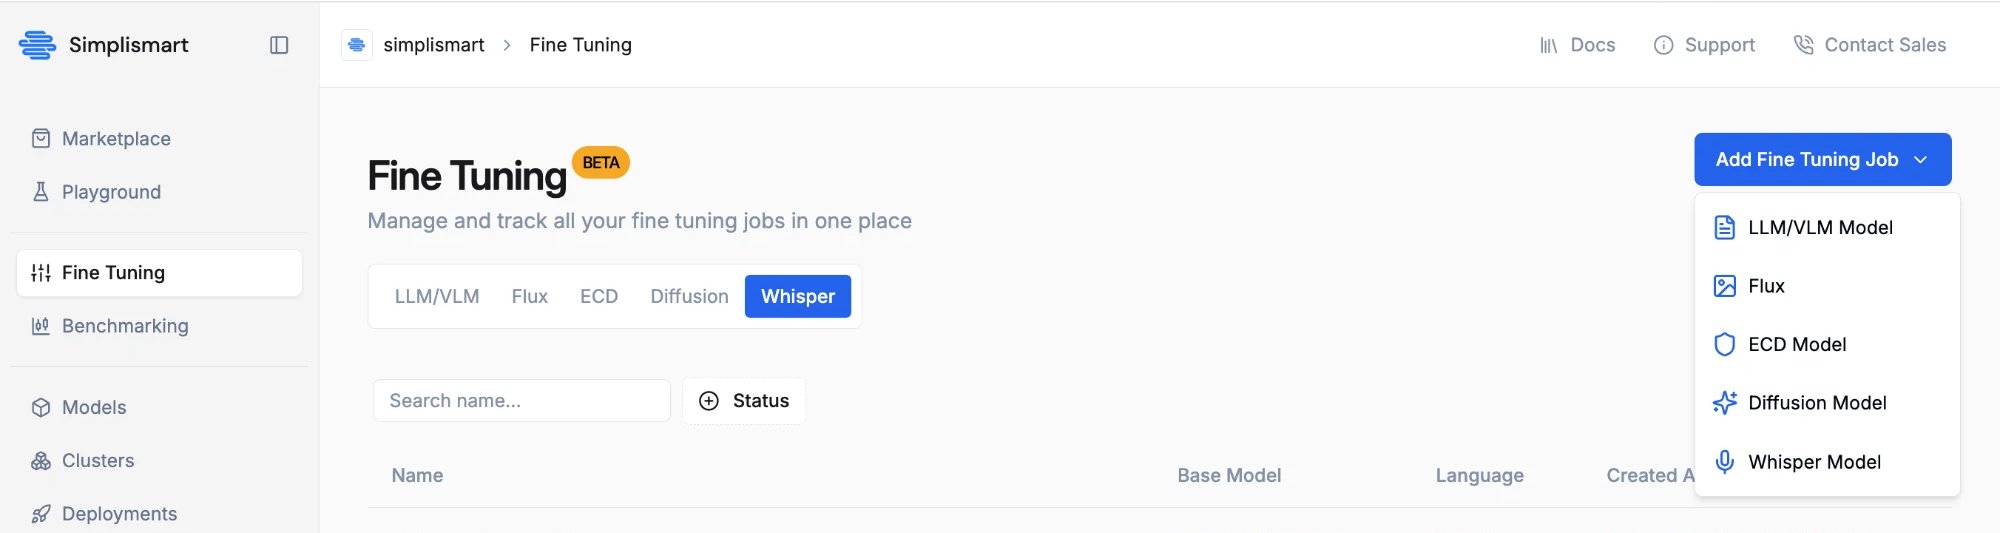
- Navigate to the My Trainings section in the platform.
- Click on Add a Training Job and select Whisper as the model type.
Basic Details and Model Selection
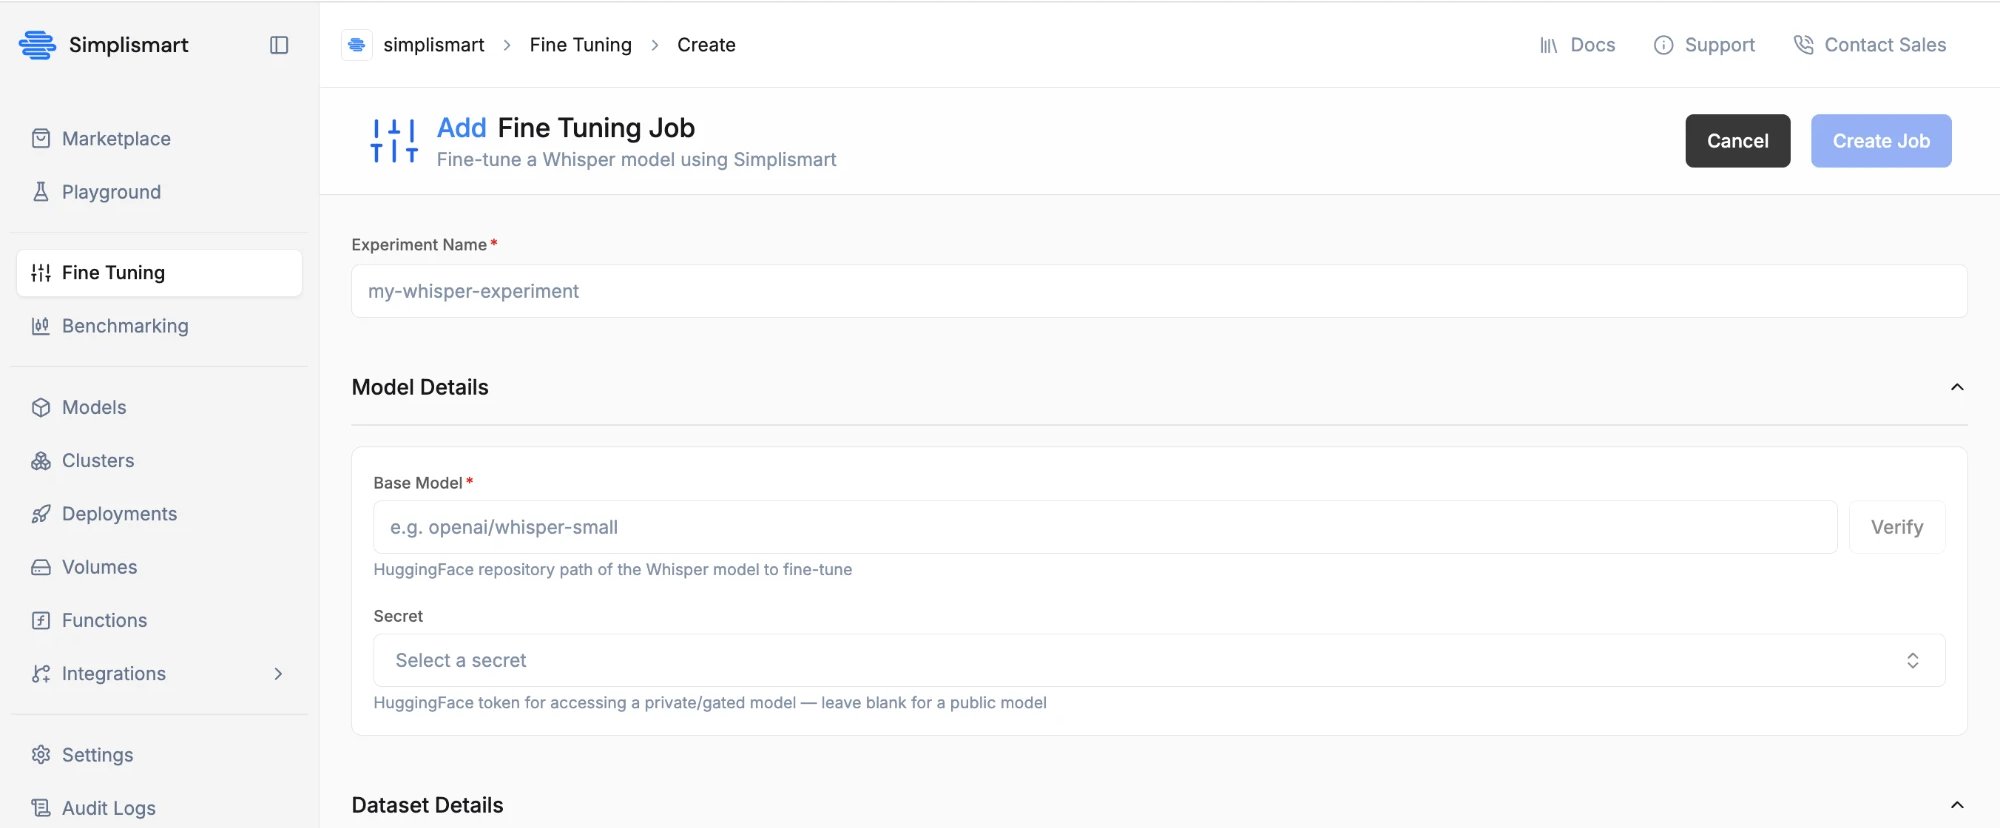
- Provide a name for your experiment.
- Enter the Hugging Face model path of the base Whisper model you wish to fine-tune (for example,
openai/whisper-tiny).
If the base model is private or gated, you’ll need to attach a Hugging Face secret with access to it.
Dataset Configuration
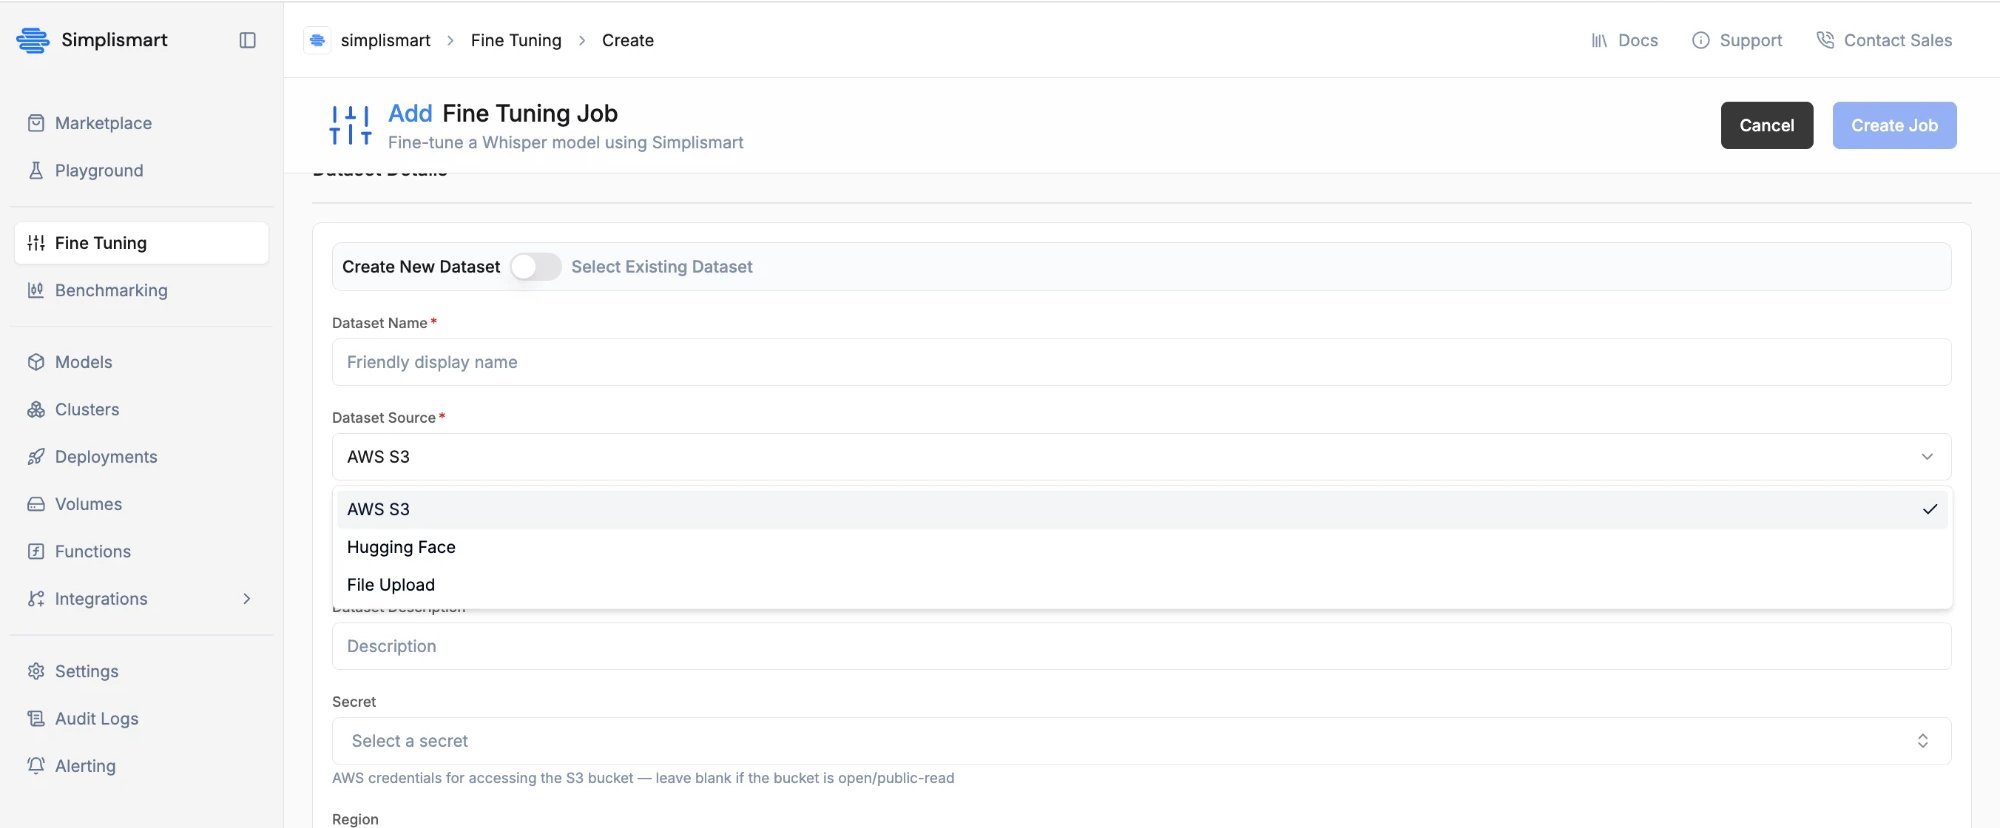
Provide a dataset in one of three ways:- AWS S3 — point to a dataset file already in an S3 bucket.
- Hugging Face — point to an existing Hugging Face dataset.
- File Upload — upload a dataset file directly.
Dataset Requirements
Dataset Requirements
- Supported file formats are CSV and JSONL (not shown for Hugging Face — it’s inferred from the dataset).
- You need an audio column and a text column — e.g.
audio,text. - For CSV, map them under Audio Column / Text Column. For JSONL, map them under Audio Key / Text Key.
- For AWS S3 and File Upload, set Train Split Ratio / Eval Split Ratio if your data isn’t pre-split.
- For Hugging Face, use Train Split / Eval Split to pass an HF split expression instead (e.g.
test.clean/test.other). - For AWS S3, if the bucket isn’t publicly accessible, attach a secret with the right credentials.
- For File Upload, attaching a secret marks the dataset as private — it doesn’t change how or where the file is uploaded.
Select Training Parameters
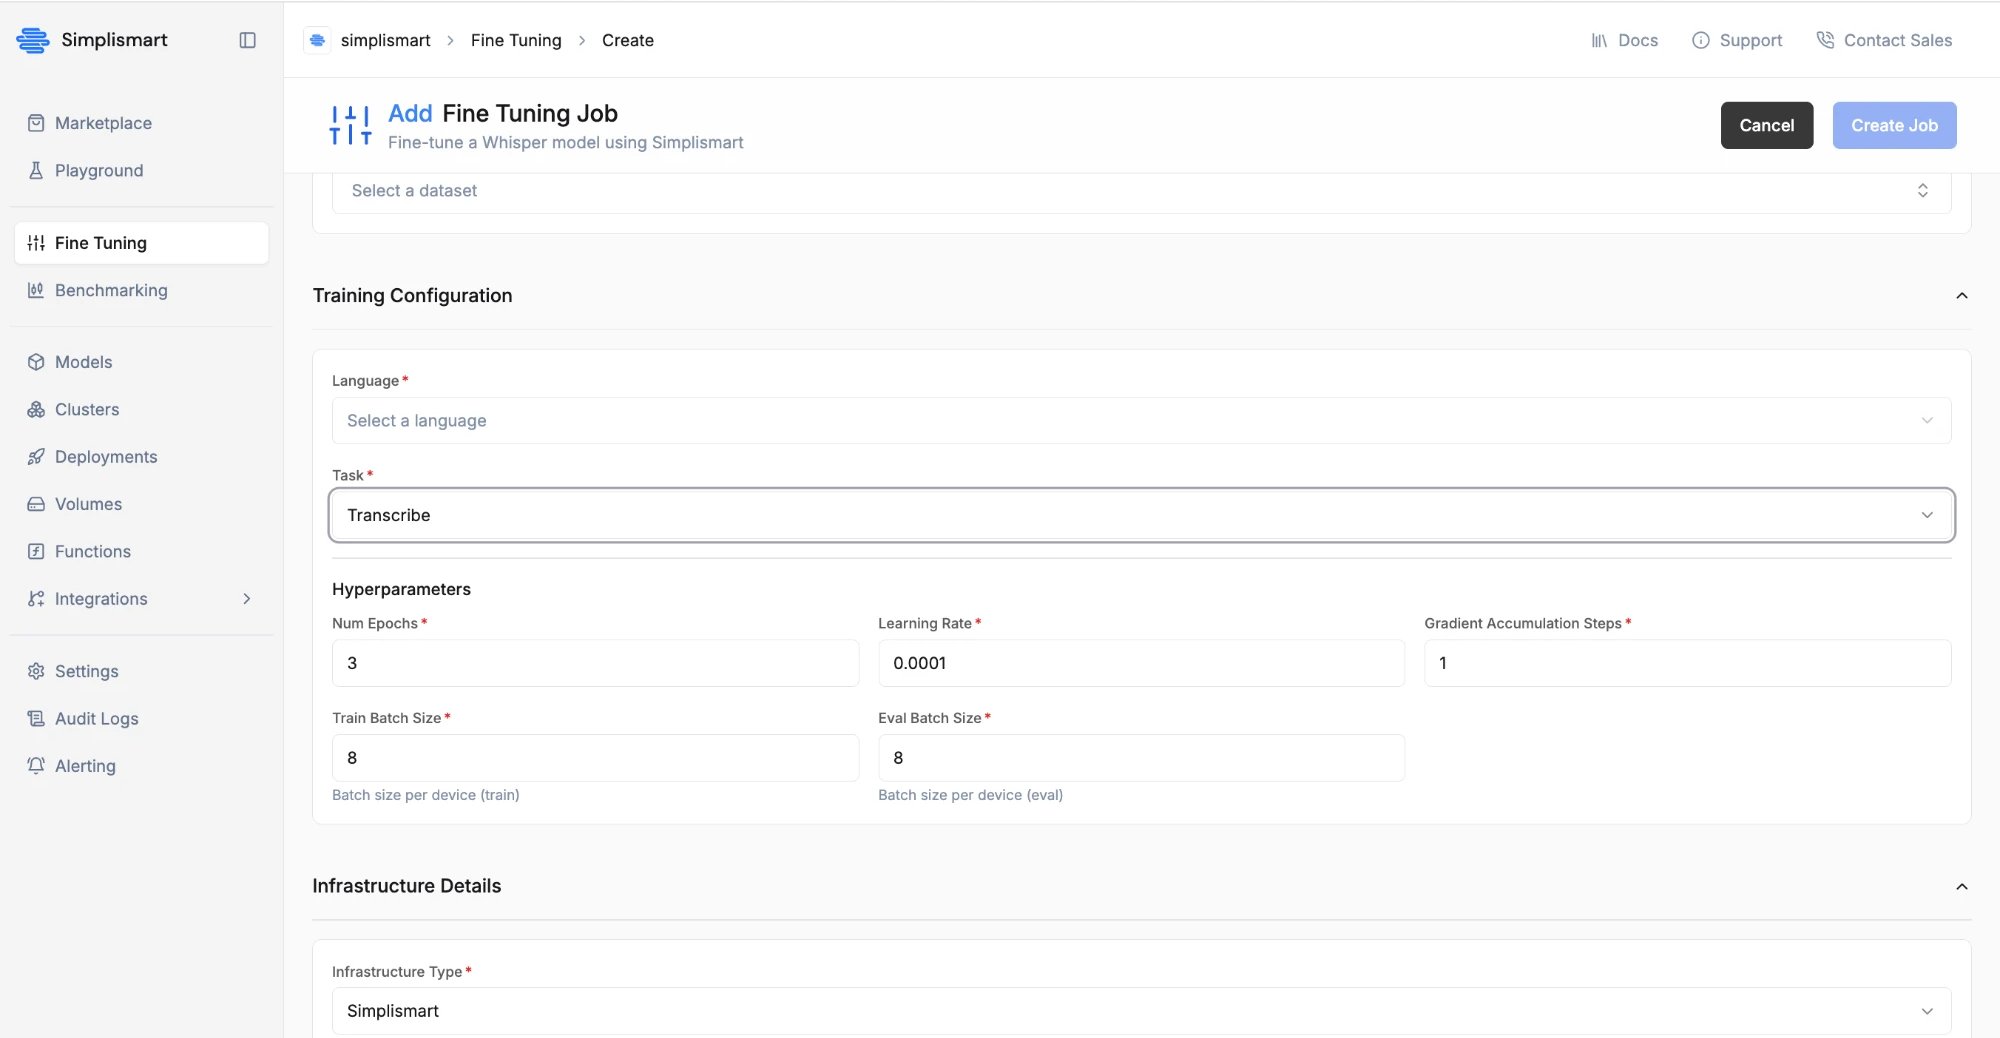
- Choose the Language and the Task (Transcribe or Translate).
Currently supported: English and Indian languages.
Select Infrastructure
Choose the GPU type, node count, and GPUs per node for your training job. Training runs on Simplismart-managed cloud infrastructure.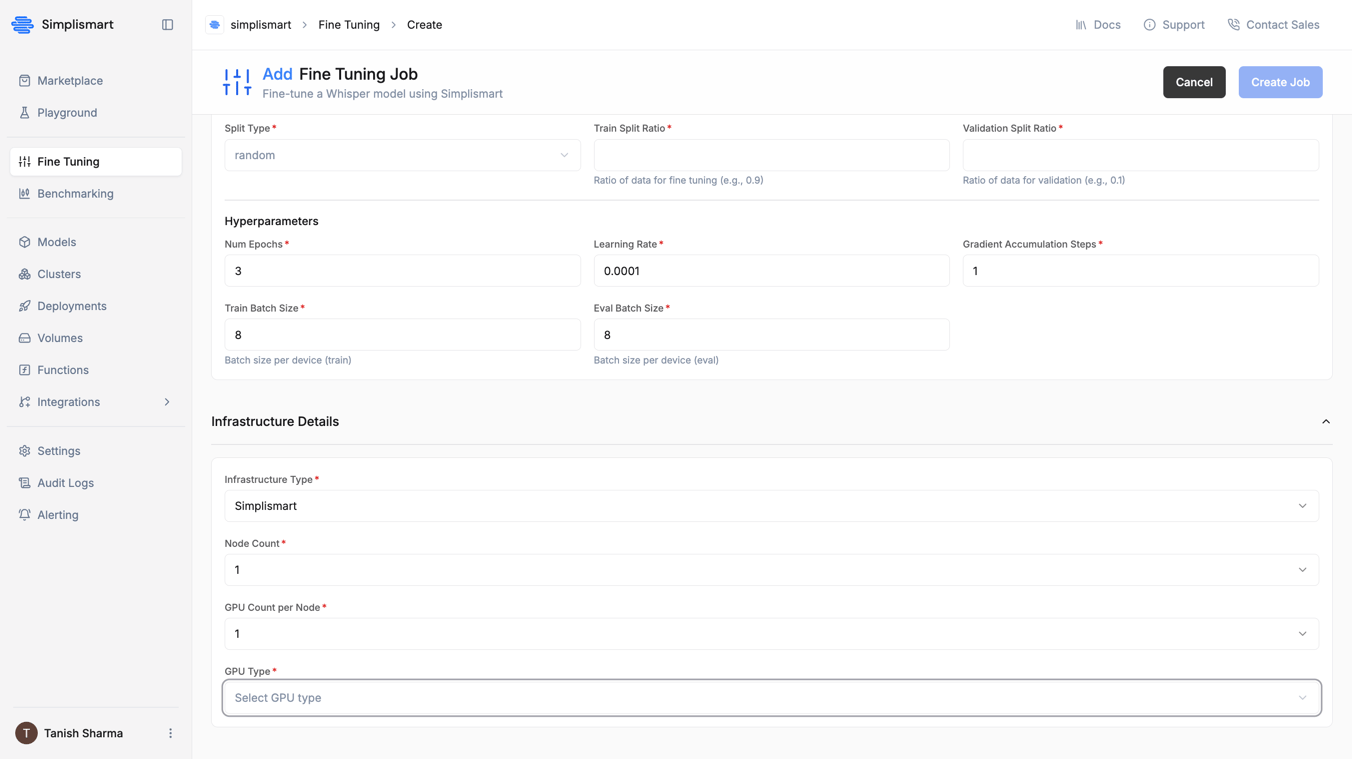
Start and Monitor the Training Job
Once the configuration is updated, start the training job and monitor its progress in the Recent Jobs section of the UI. Keep track of metrics, logs, and status to ensure the training meets your requirements.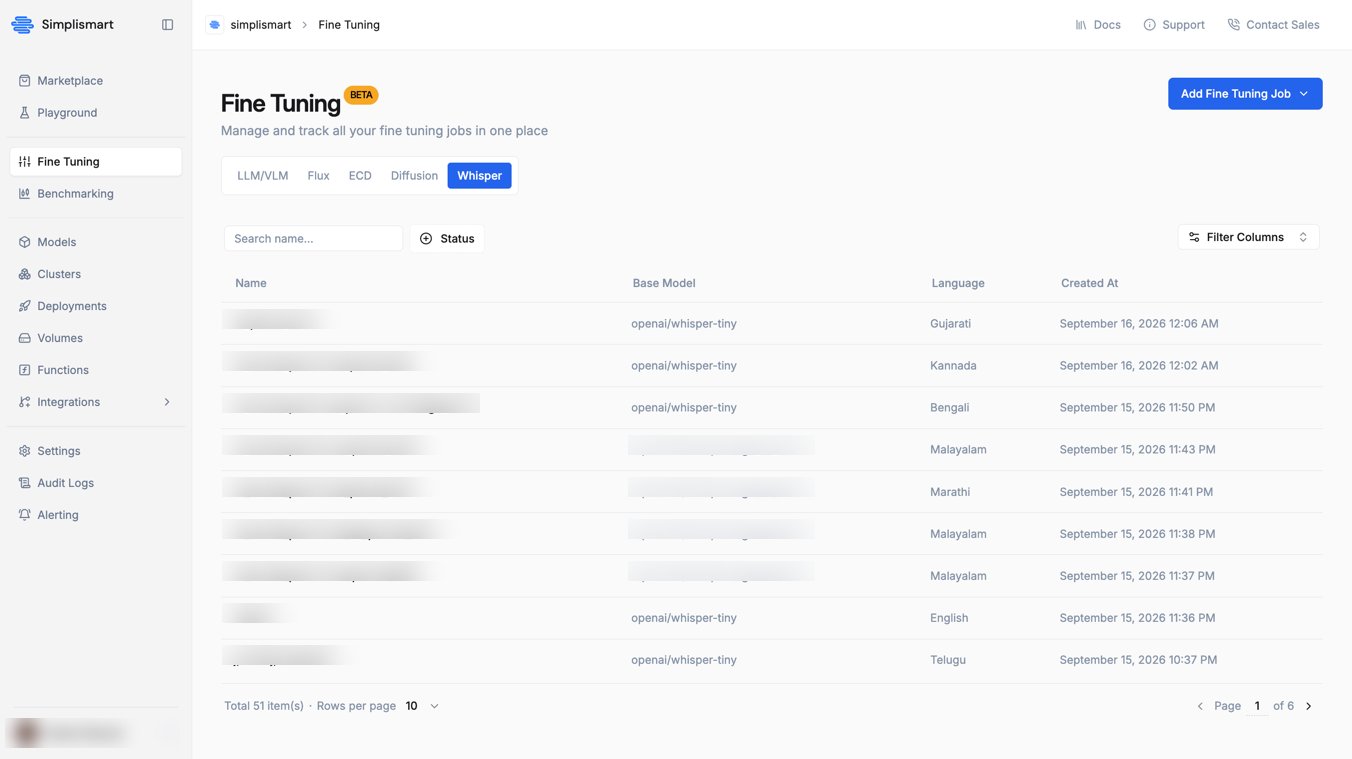
Compile and Deploy Your Model
Once your job succeeds, a Compile button appears on the job. Clicking it takes you to the Add Model page with your fine-tuned model already pre-filled as the source.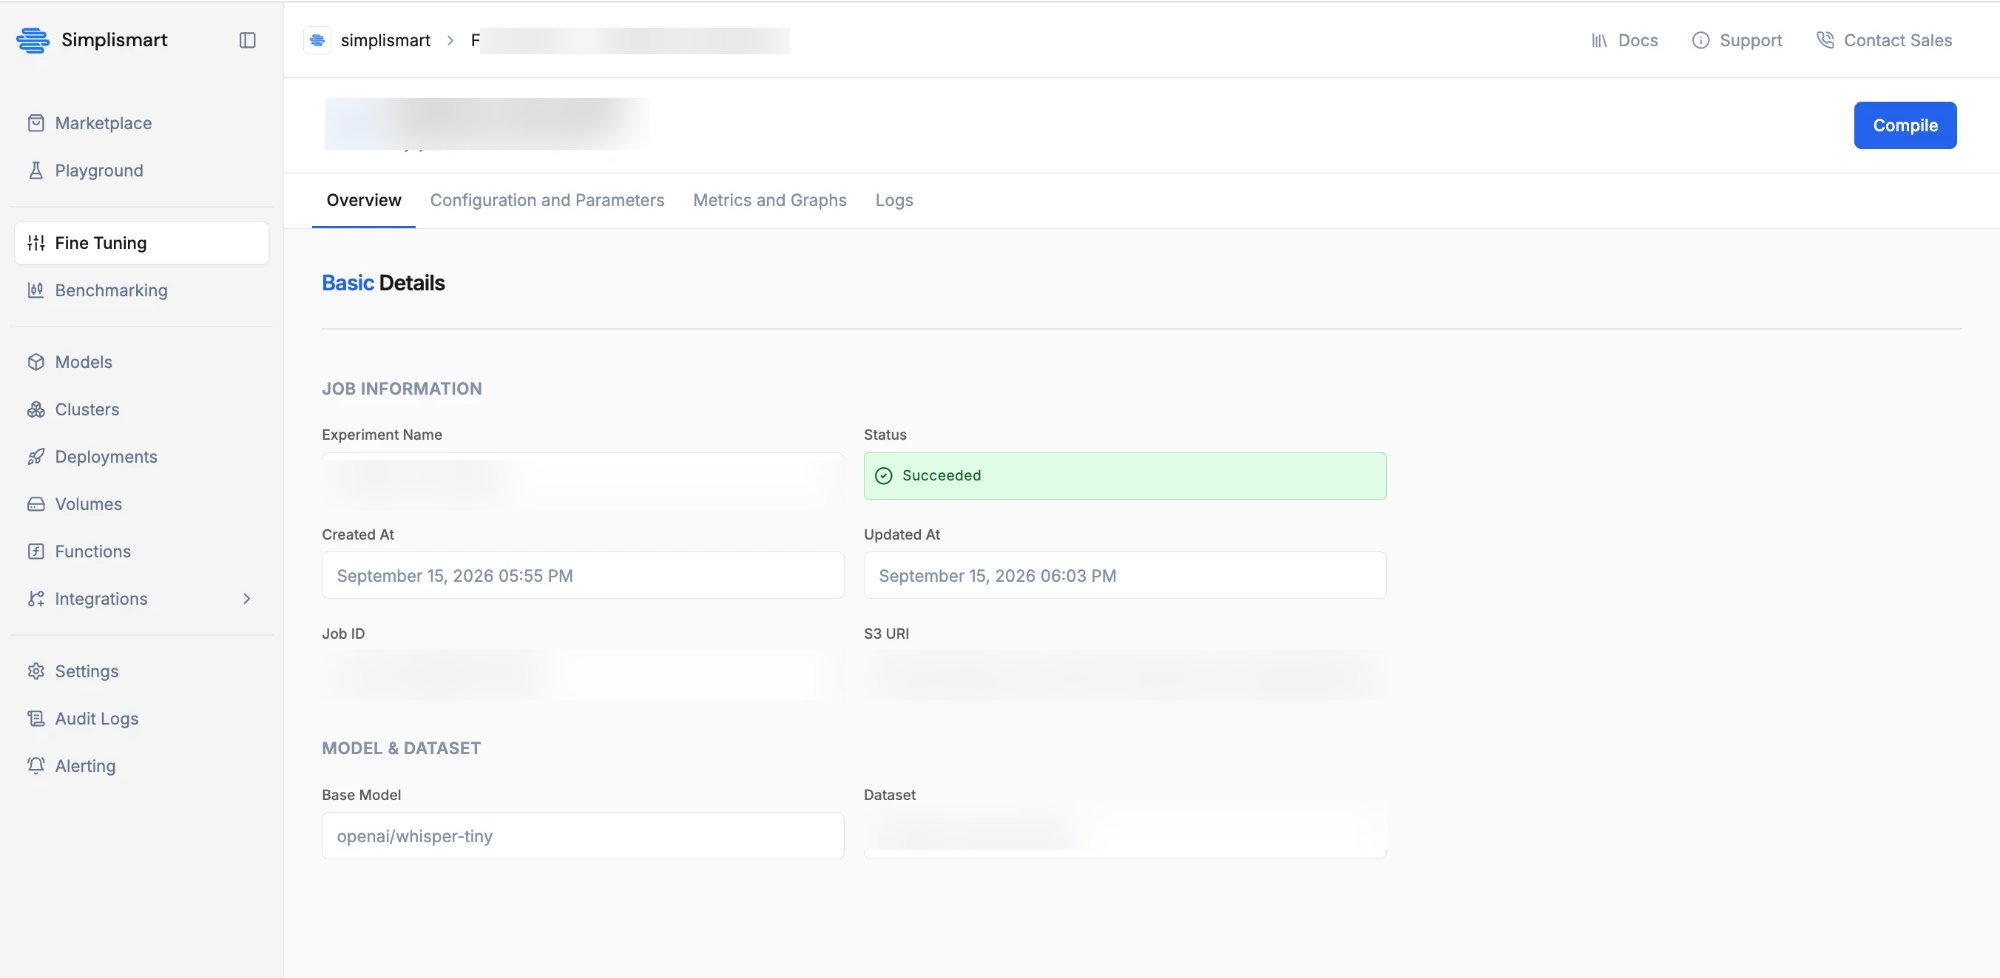
- Choose the optimization infrastructure and configuration for the model — refer to the Add Model guide for details on these options.
- Click Add Model to save it to your My Models section.
- Once saved, deploy it via the Simplismart Model Suite — see Creating a Deployment for the deployment steps.