Prerequisites
- A container image hosted on Docker Hub, Depot, Nvidia NGC, or Quay.
- For private images: credentials configured in Simplismart (see Setting Up Registry Credentials).
Public Docker Hub and Quay images do not require any credentials. You can skip the credentials section and go straight to Adding Your Image.
Setting Up Registry Credentials
Skip this section if you are using a public image.- Docker Hub
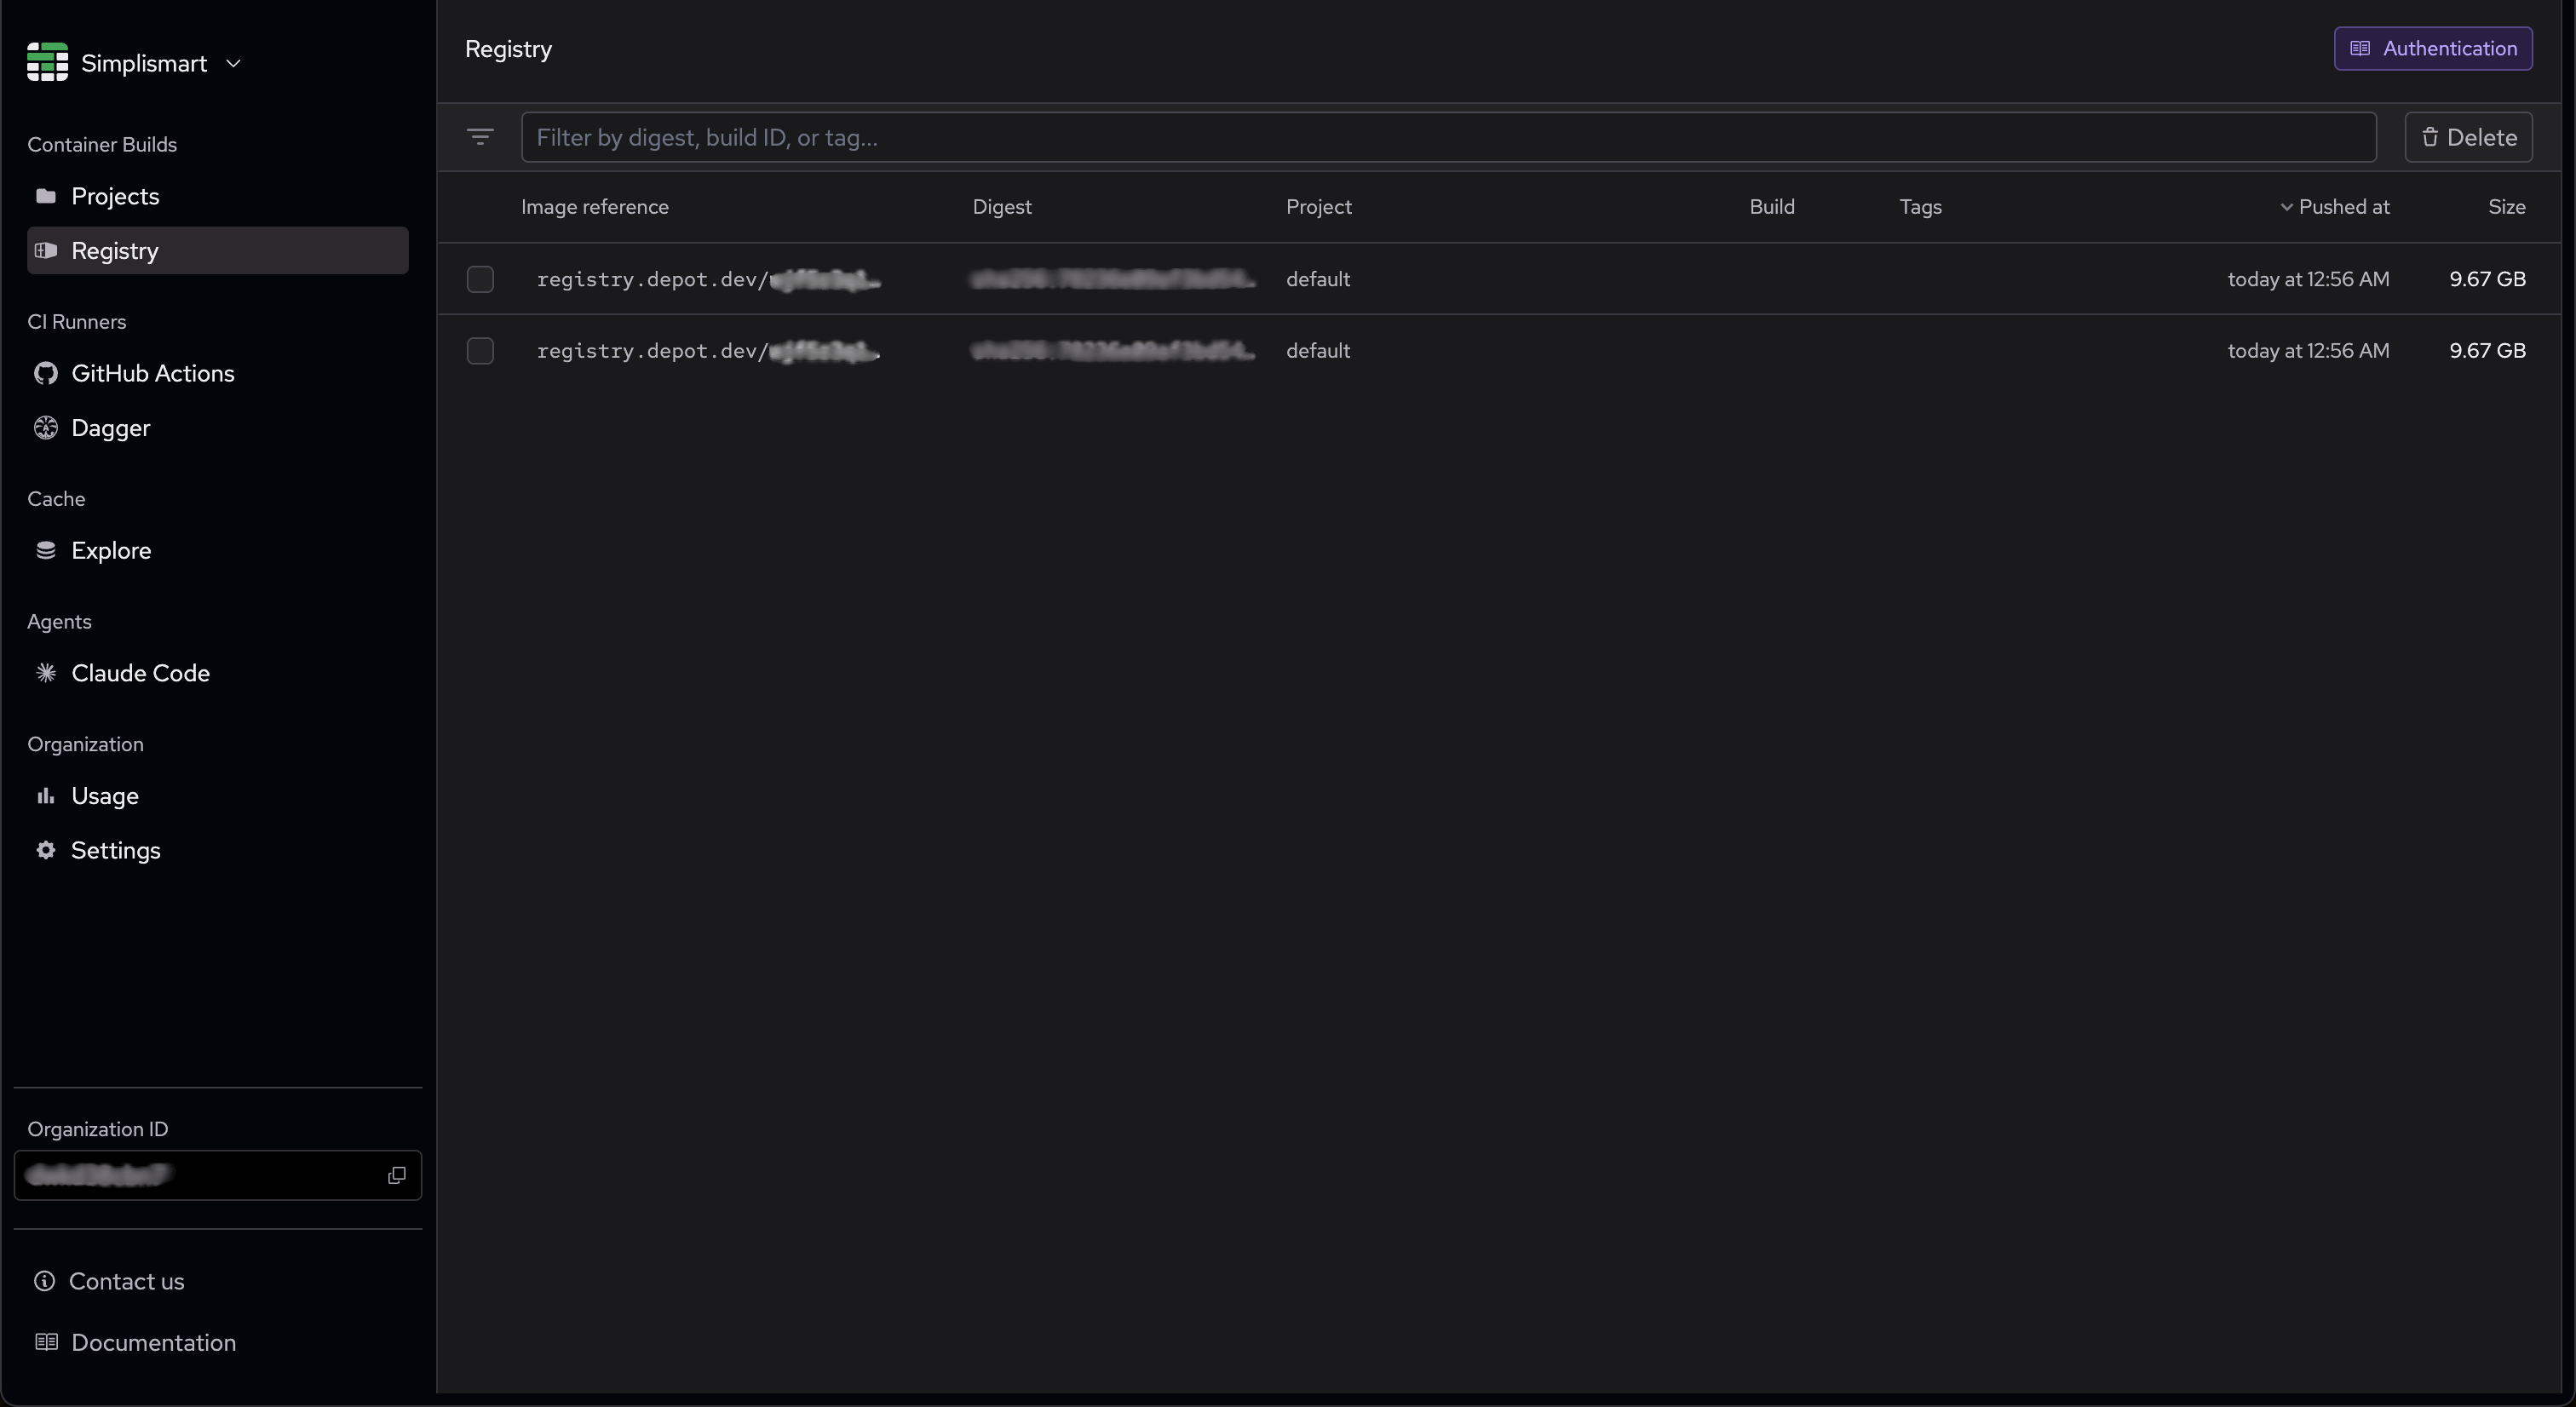
- Depot
- Nvidia NGC
- Quay
Open Secrets
Navigate to Integrations → Secrets in your Simplismart dashboard.
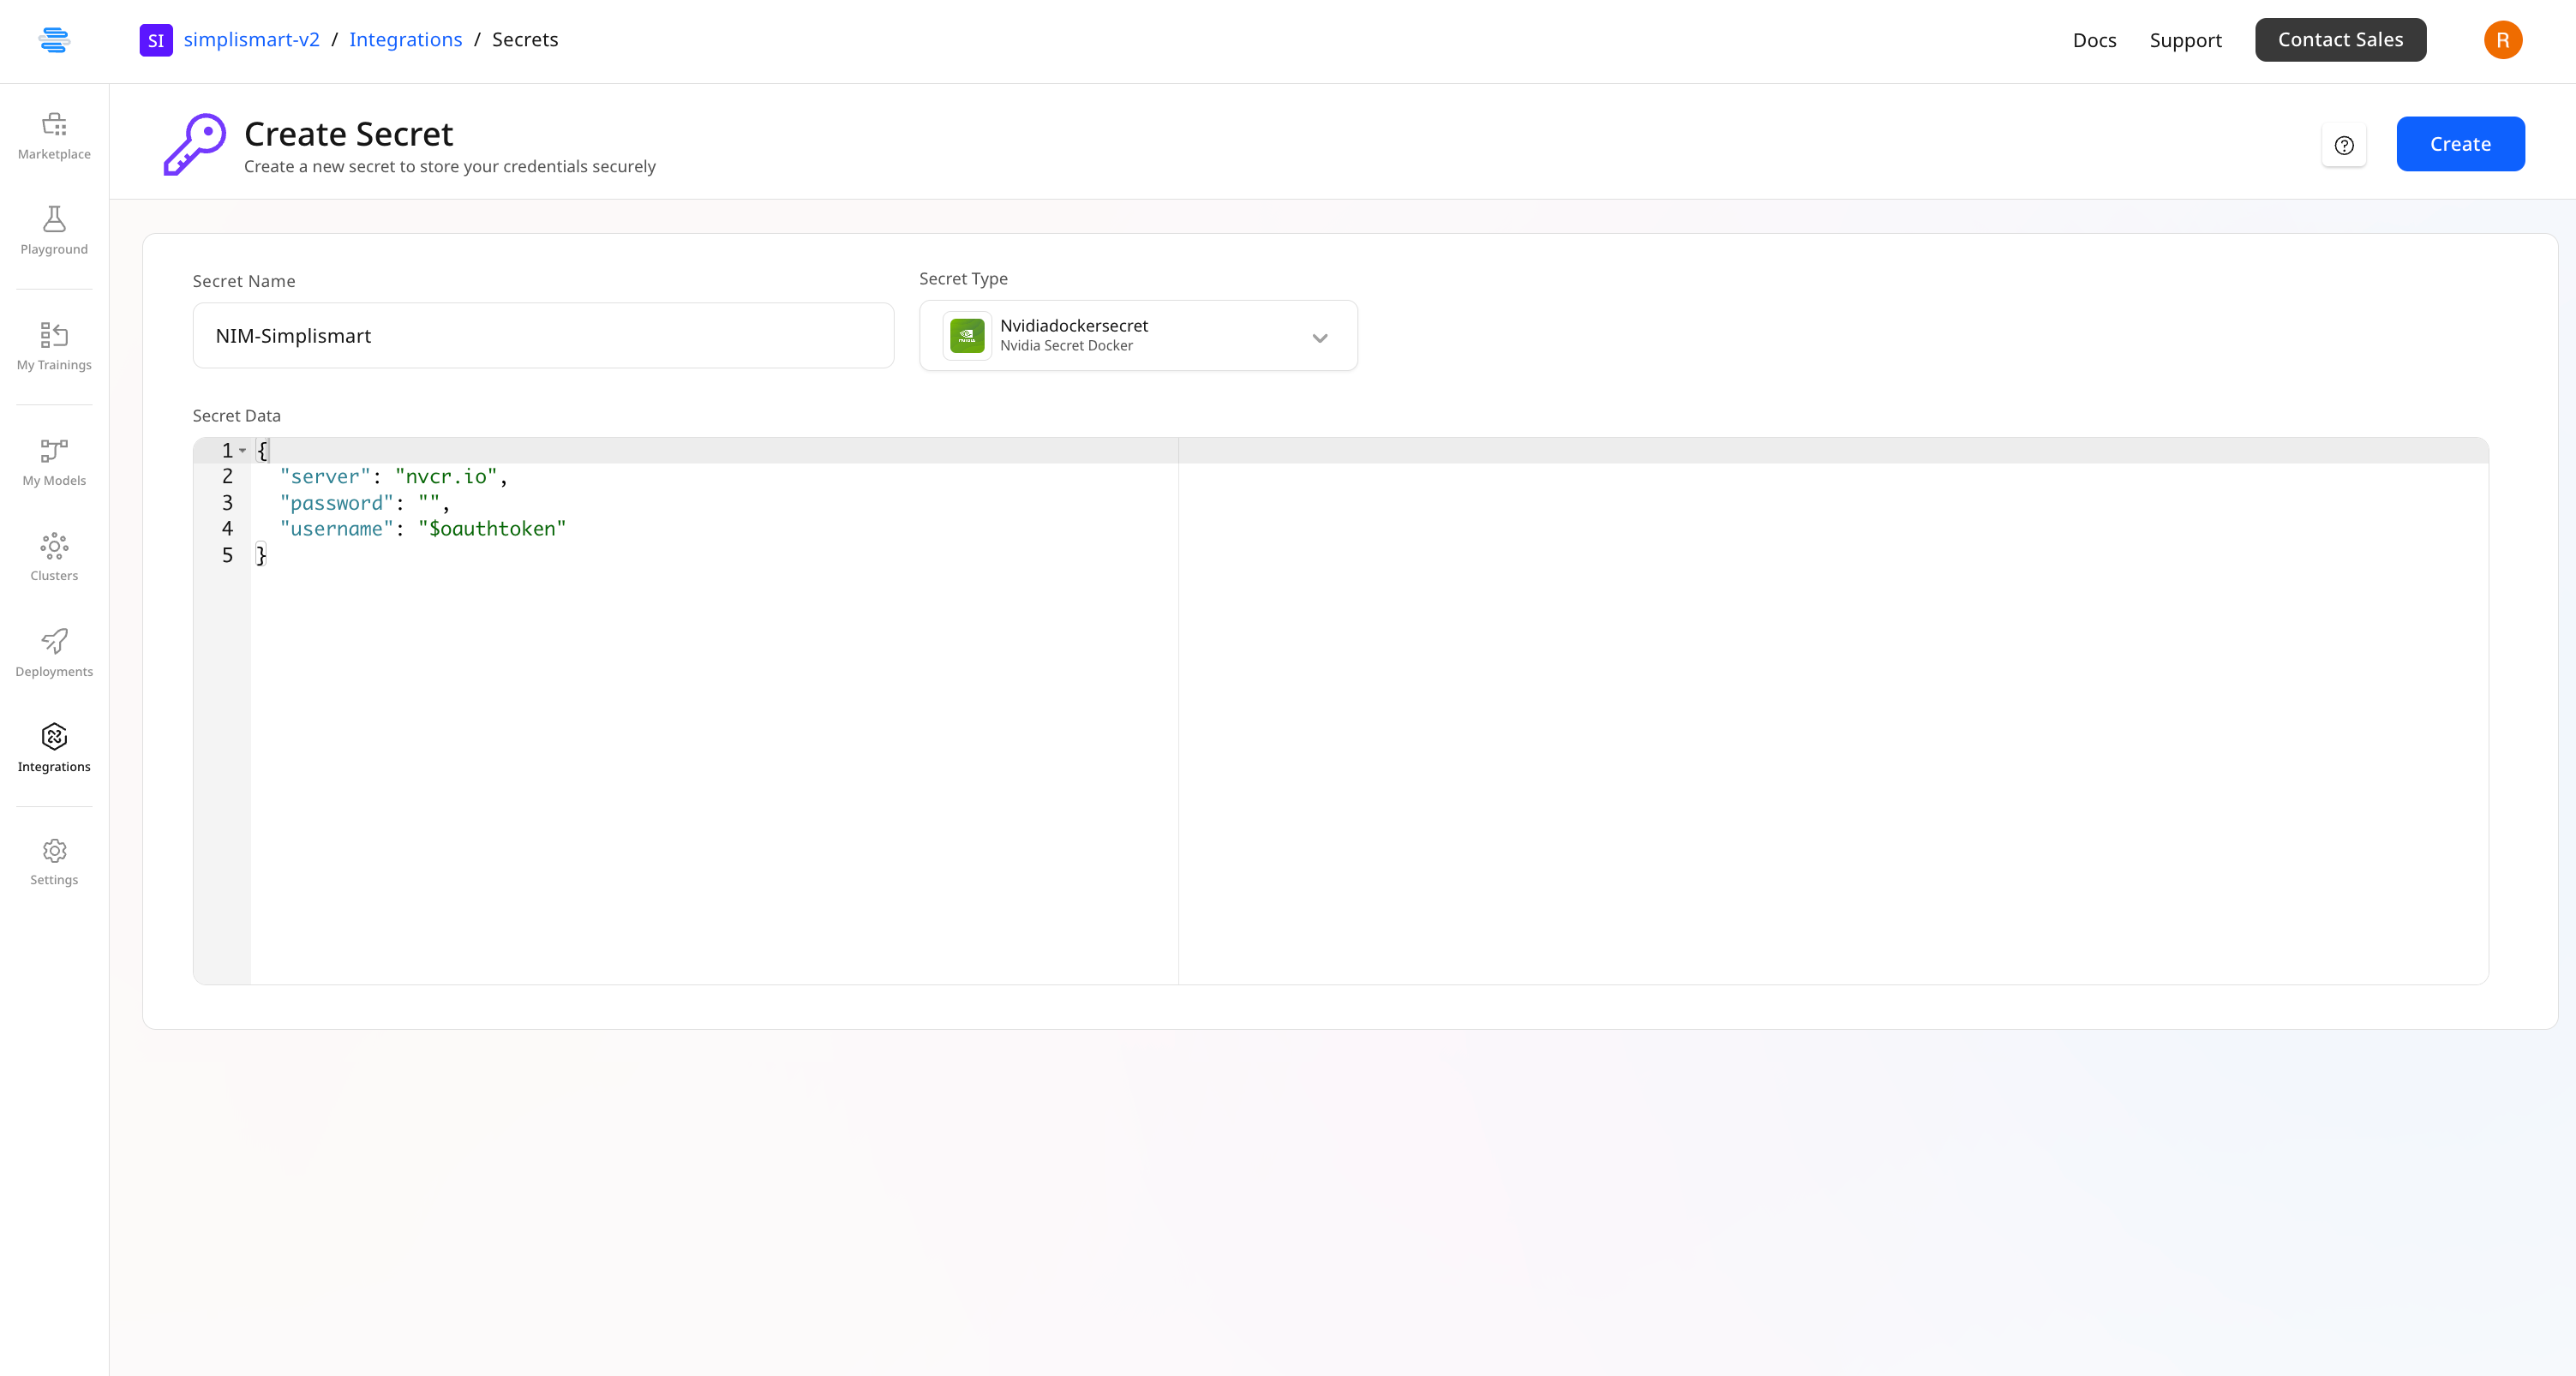
Create a Docker Hub secret
Click Create Secret and fill in the following fields:
- Secret Name: A descriptive name for this secret.
- Secret Type: Select Docker Hub from the dropdown.
- Username: Your Docker Hub username.
- Access Token: Your Docker Hub access token.
Adding Your Image
Configure the model
Fill in the fields for your registry. The Model Name and GPU Per Container fields are the same for all registries.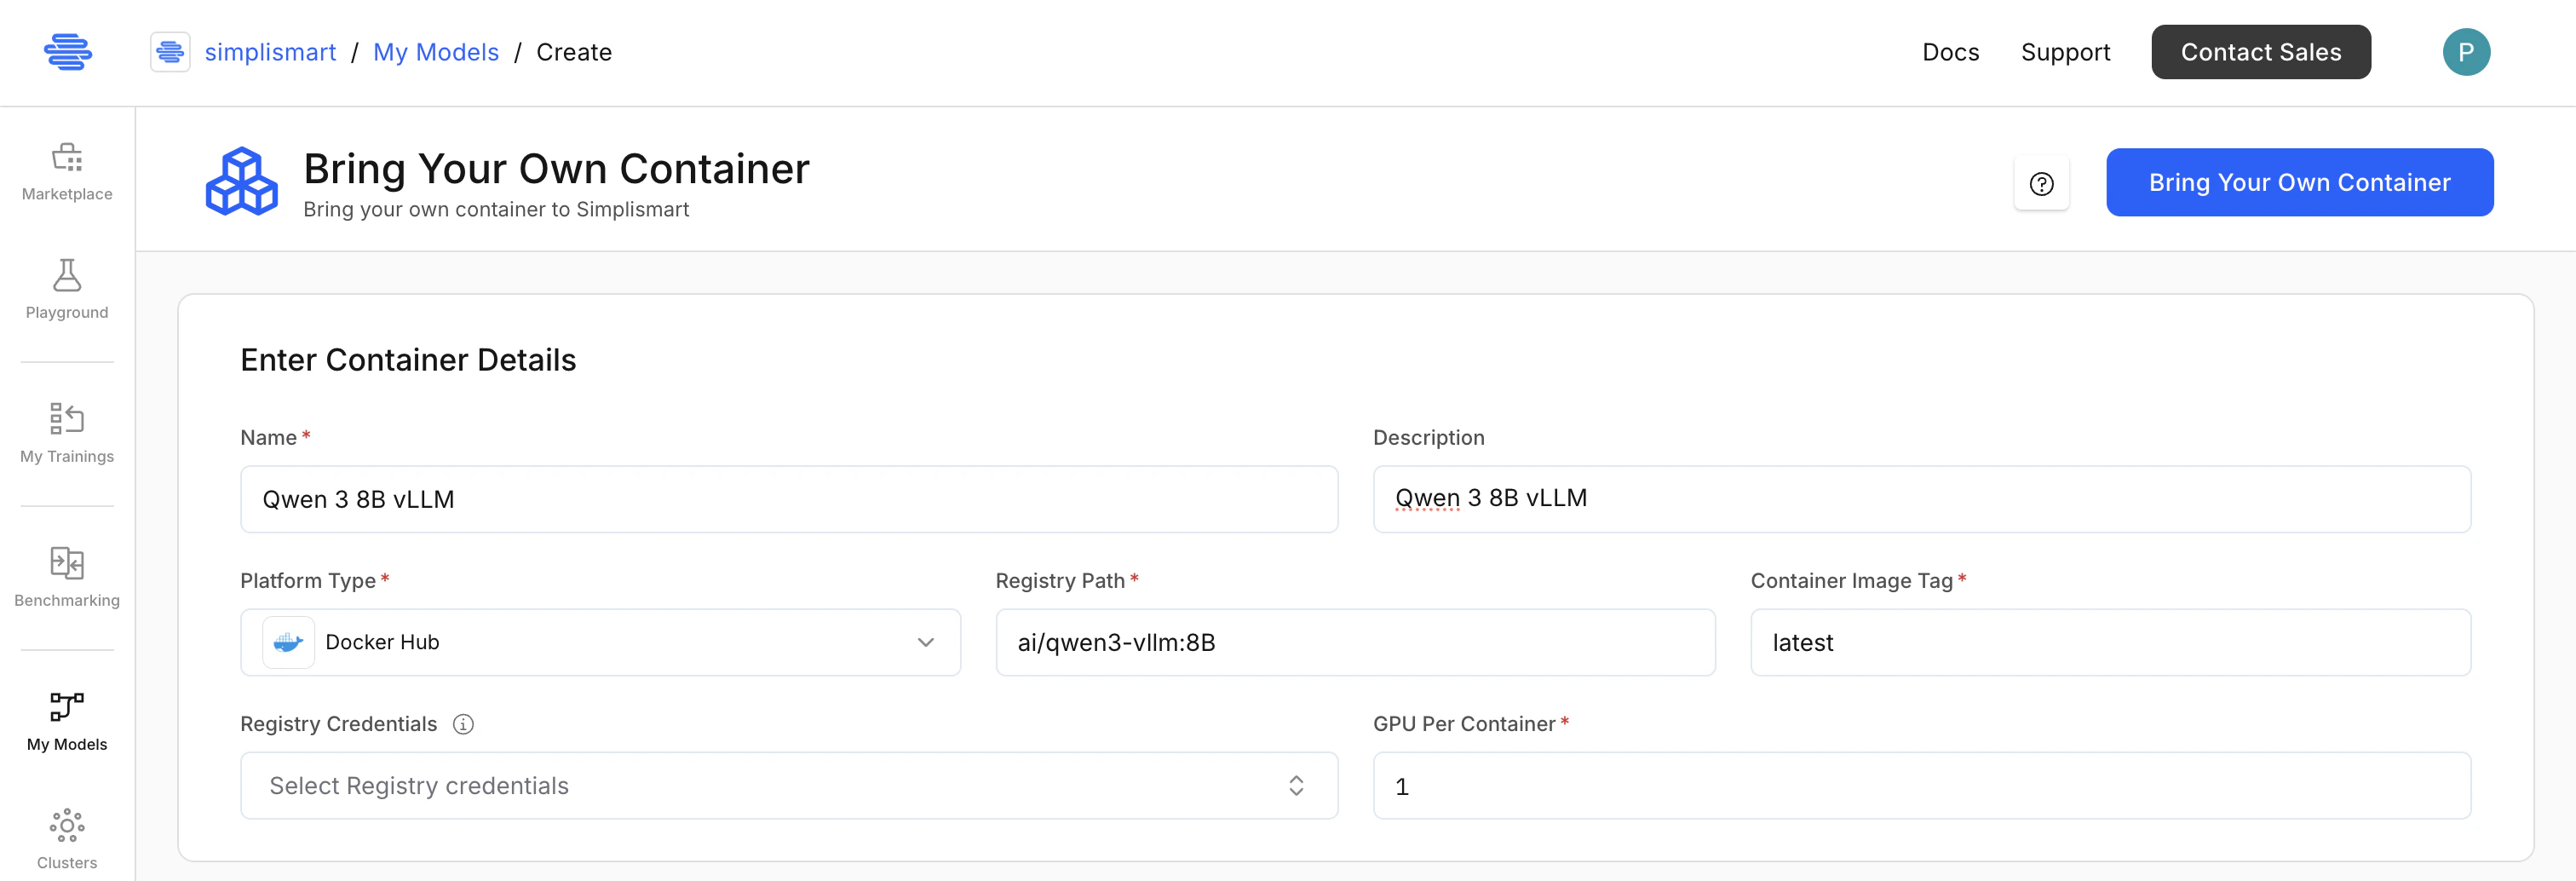
- Docker Hub
- Depot
- Nvidia NGC
- Quay
- Model Name: A descriptive name for your application.
- Platform Type: Select DockerHub from the dropdown.
- Registry Path: Your Docker Hub registry path (e.g.
myorg/myimage). - Container Image Tag: The image version or tag (e.g.
latest). - GPU Per Container: Number of GPUs per container. Default is
1; maximum is8. - Registry Credentials: Select the Docker Hub secret configured earlier. Leave blank for public images.
Configure the container
Expand Container Configuration to define how the platform interacts with your container. These settings carry over to the deployment step and can be overridden there.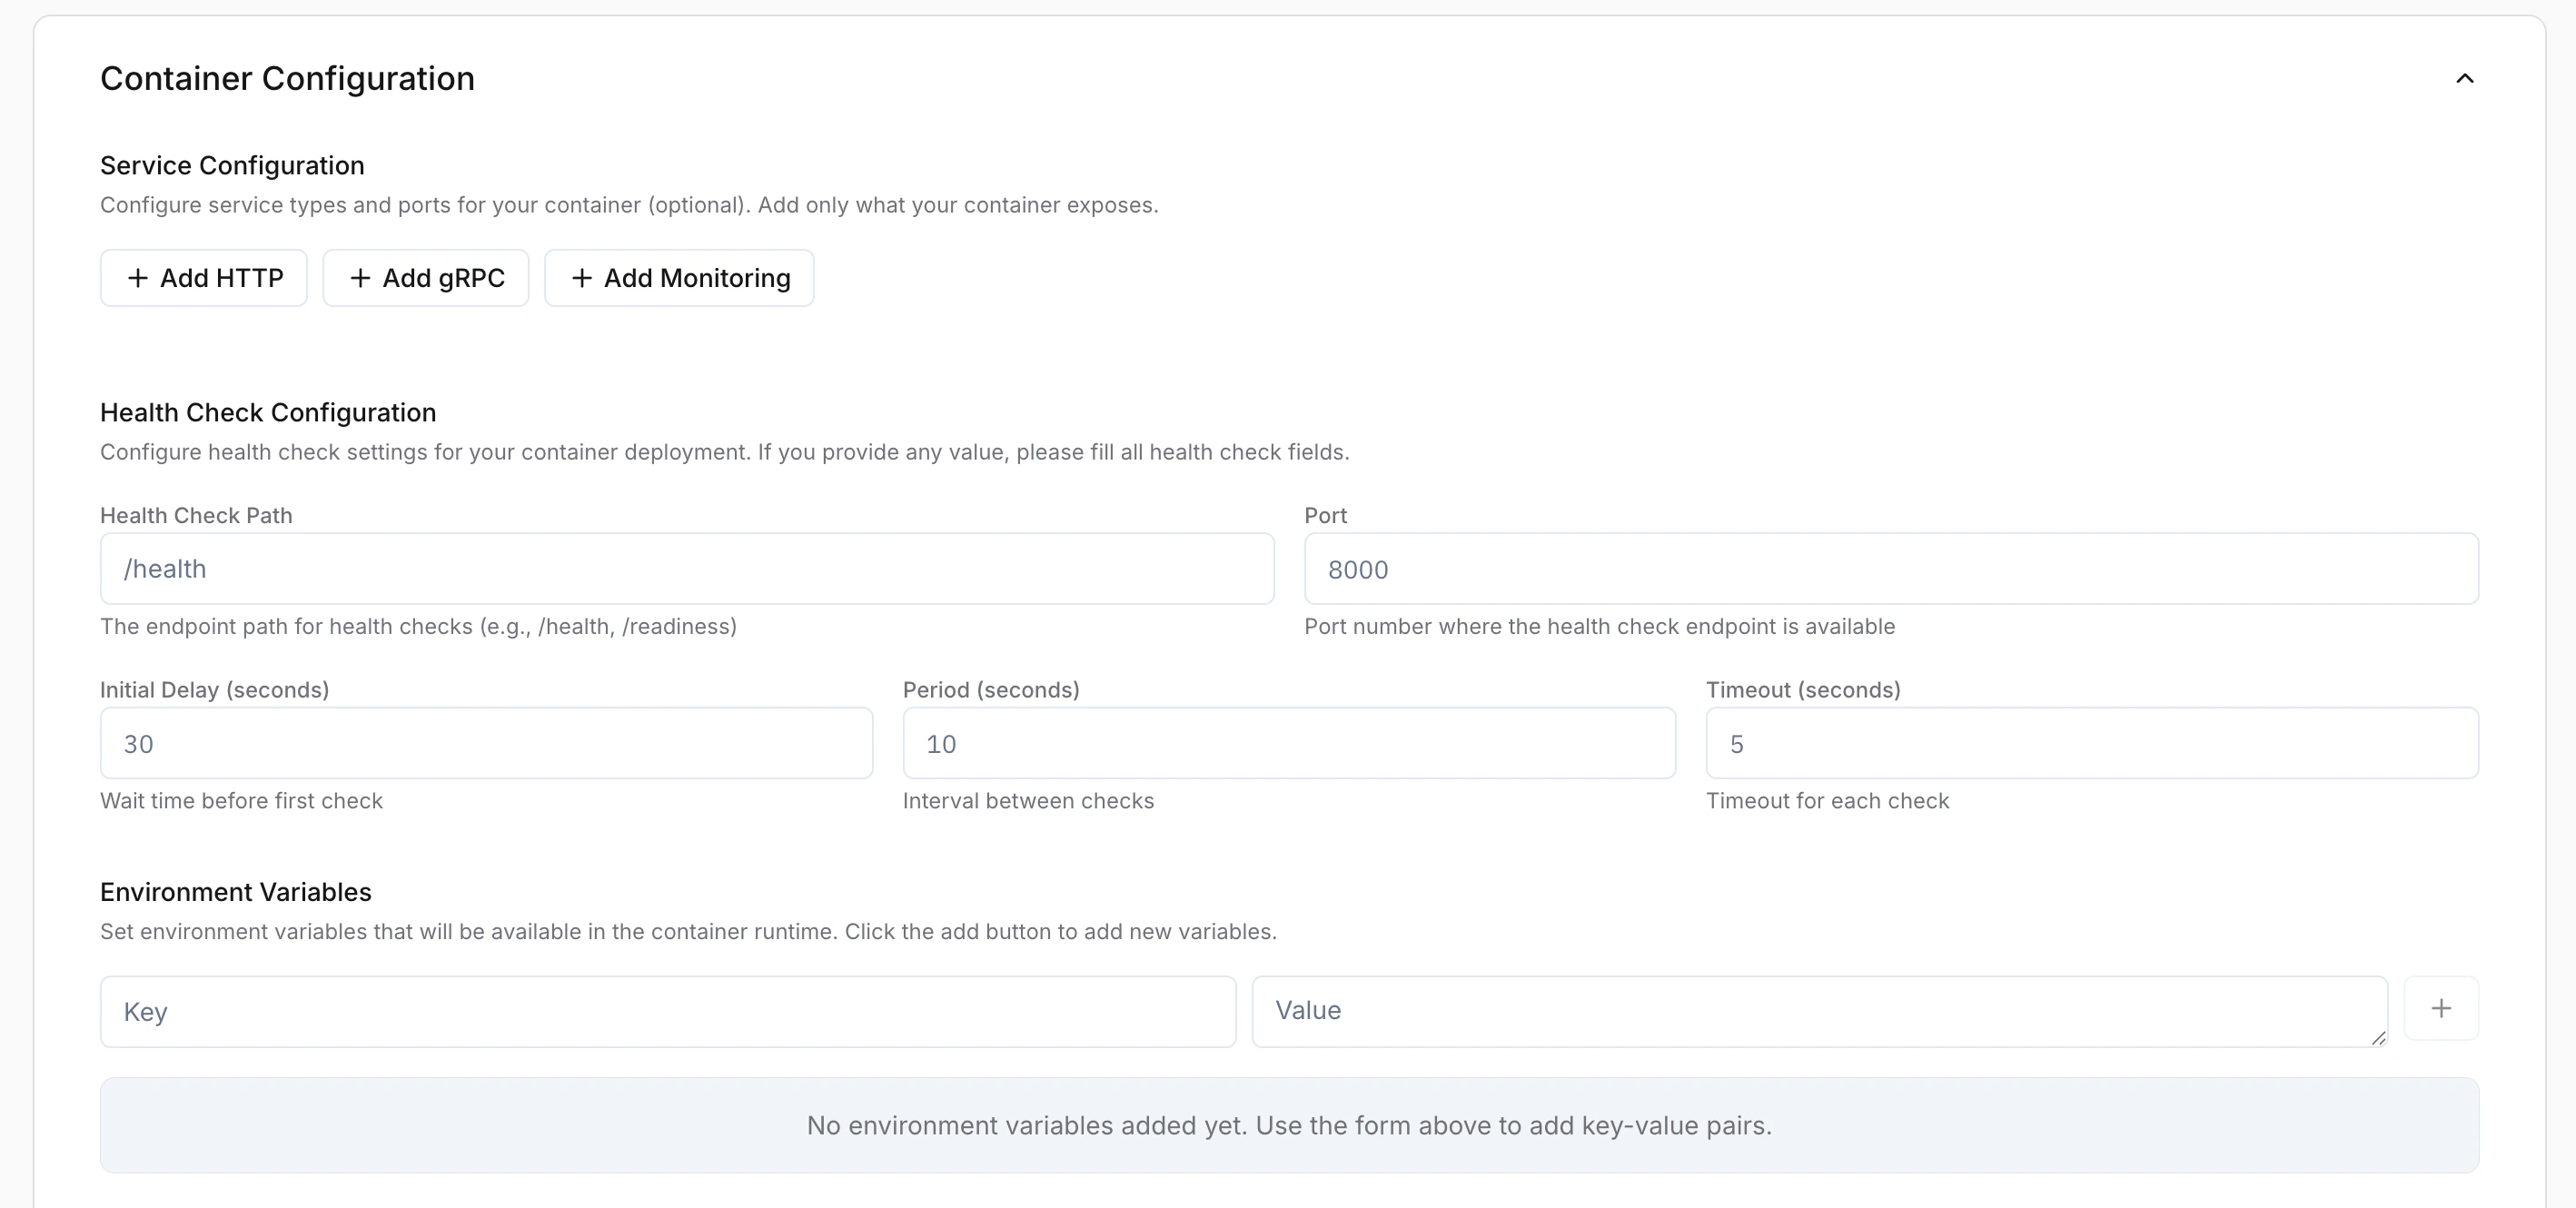
-
HTTP Service (Required): The port your server listens on (e.g.
8000).- Public Access: Enable to make the endpoint reachable externally. When disabled, the service is accessible only within the cluster.
- gRPC Service: Enable if your application uses gRPC (must use a different port than HTTP).
- Monitoring Service: Enable for enhanced monitoring and observability.
-
Health Check Configuration: If any field is filled, all fields are required.
- Health Check Path: e.g.
/health - Port: Must match your HTTP service port.
- Initial Delay: Time in seconds before the first check.
- Period: Interval in seconds between checks.
- Timeout: Maximum seconds to wait for a response.
- Health Check Path: e.g.
-
Environment Variables: Runtime key-value pairs for your container.
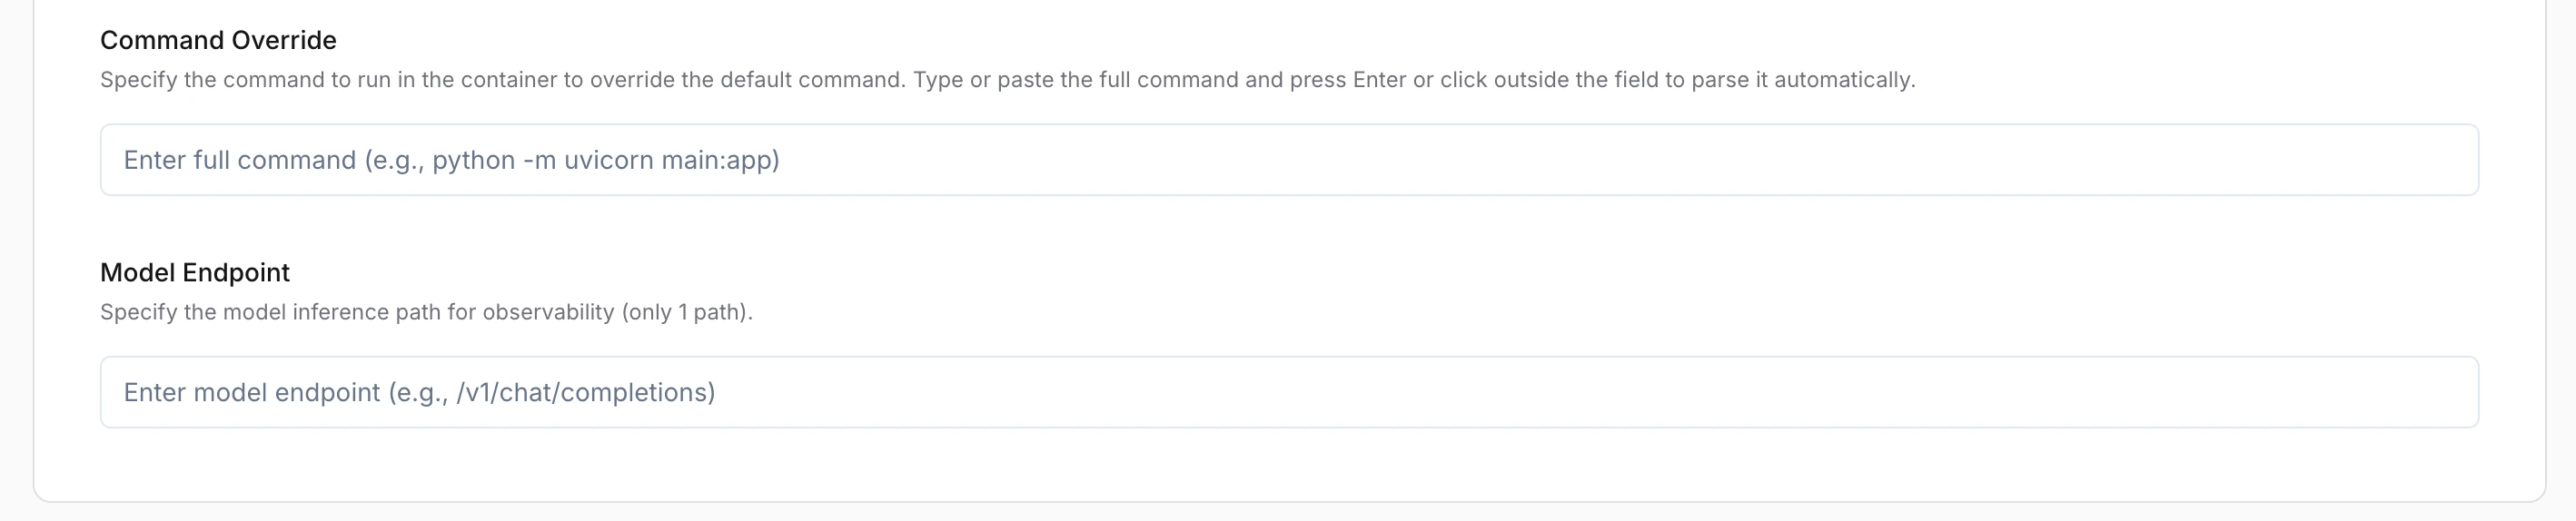
- Command Override: (Optional) Custom command to replace the container’s default startup command.
-
Model Endpoint: (Optional) Inference path for observability (e.g.
/v1/chat/completions).