Model interface (model.py)
Your custom model must implement a standard interface so the platform can load and run it correctly.
Method requirements:
load(): Handles model initialization and weight loadingpreprocess(): Optional input preprocessingpredict(): Core inference logicpostprocess(): Optional output formatting
Runtime configuration (config.yaml)
The config.yaml file defines the execution environment for the custom model.
Example:
Packaging the custom model
Before adding the model to the platform, package all required files into a single ZIP file.1
Create a single directory
Place the following in one folder:
model.pyconfig.yaml- Any additional scripts or assets (e.g.
script.sh)
2
Compress the directory
Create a ZIP file containing the directory contents.
3
Upload the ZIP
Upload the ZIP to one of the supported model sources:
- AWS S3
- GCP GCS
- Public URL
Upload your trained model to AWS S3 or GCP GCS, share the access credentials, and the platform will compile and prepare it for deployment. Models built to your specifications are integrated into the platform.
Adding the custom model to the platform
In the UI, point the platform to your ZIP, choose Custom Pipeline as the model type, and add the model. The platform then unpacks the archive and loads your model. On the Simplismart platform, provide your ZIP file, choose Custom Pipeline as the model type, and add the model. The platform then unpacks the archive and loads your model.1
Open Add Model
Go to My Models and click Add a Model (top-right).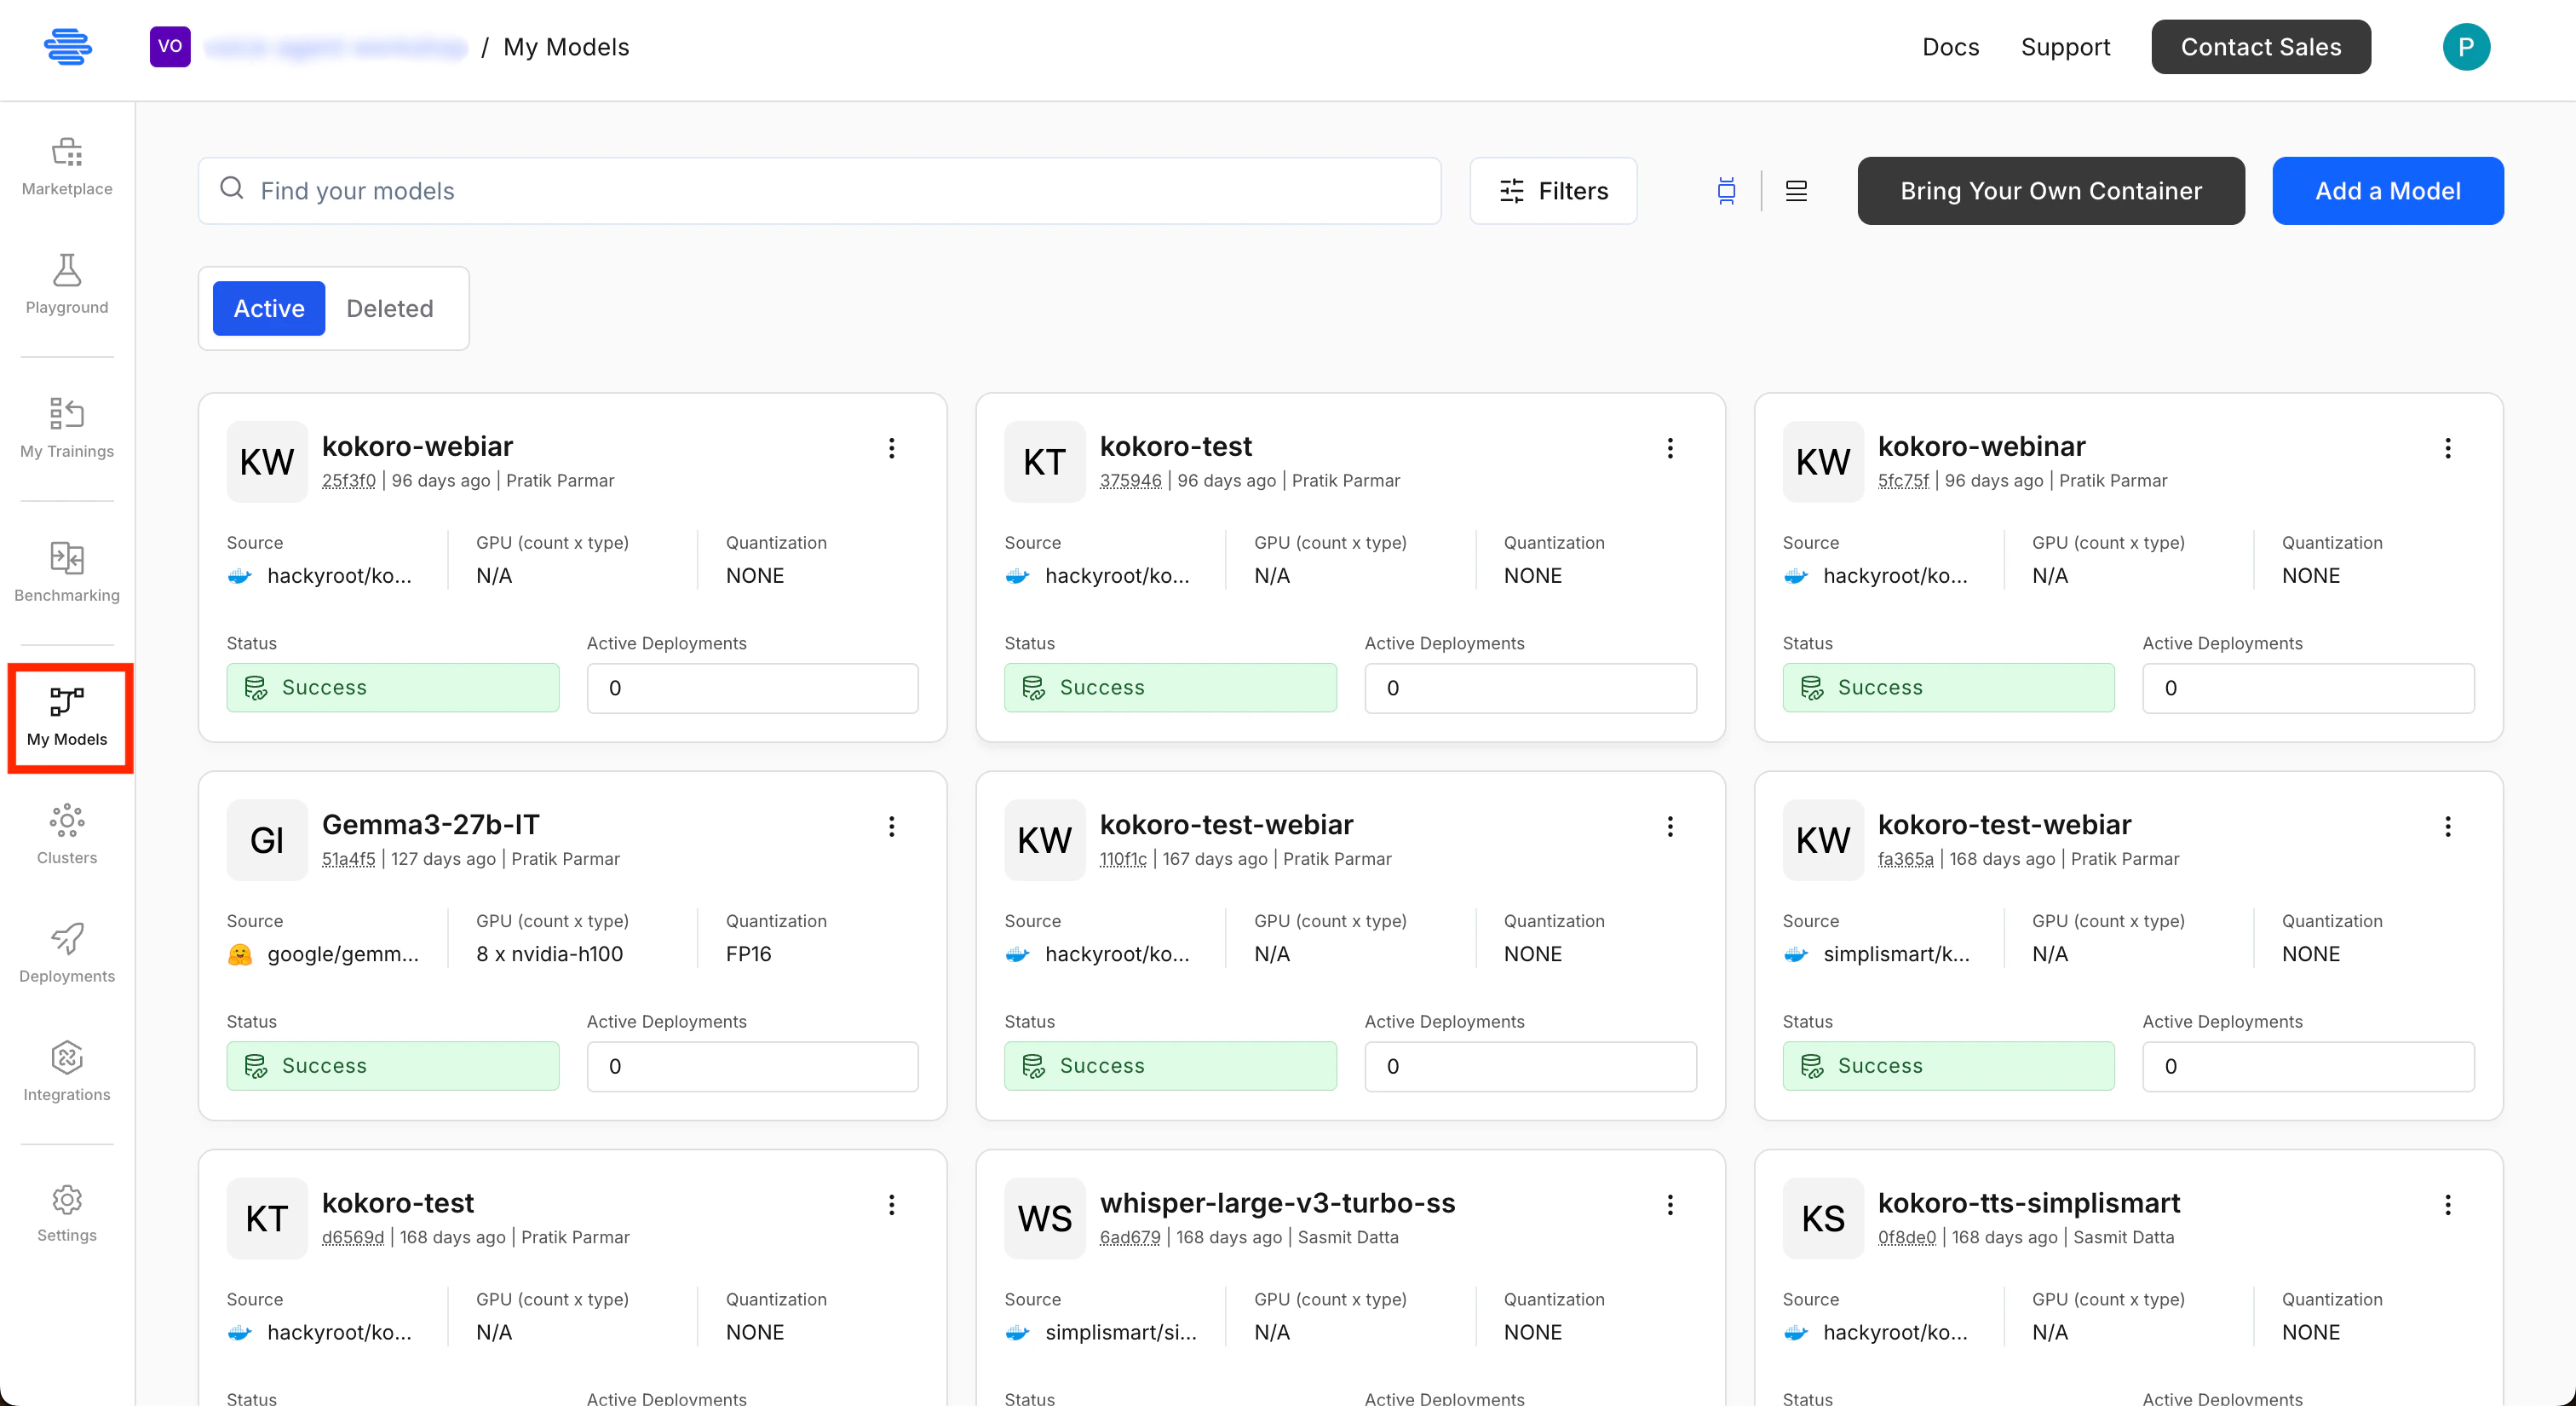
2
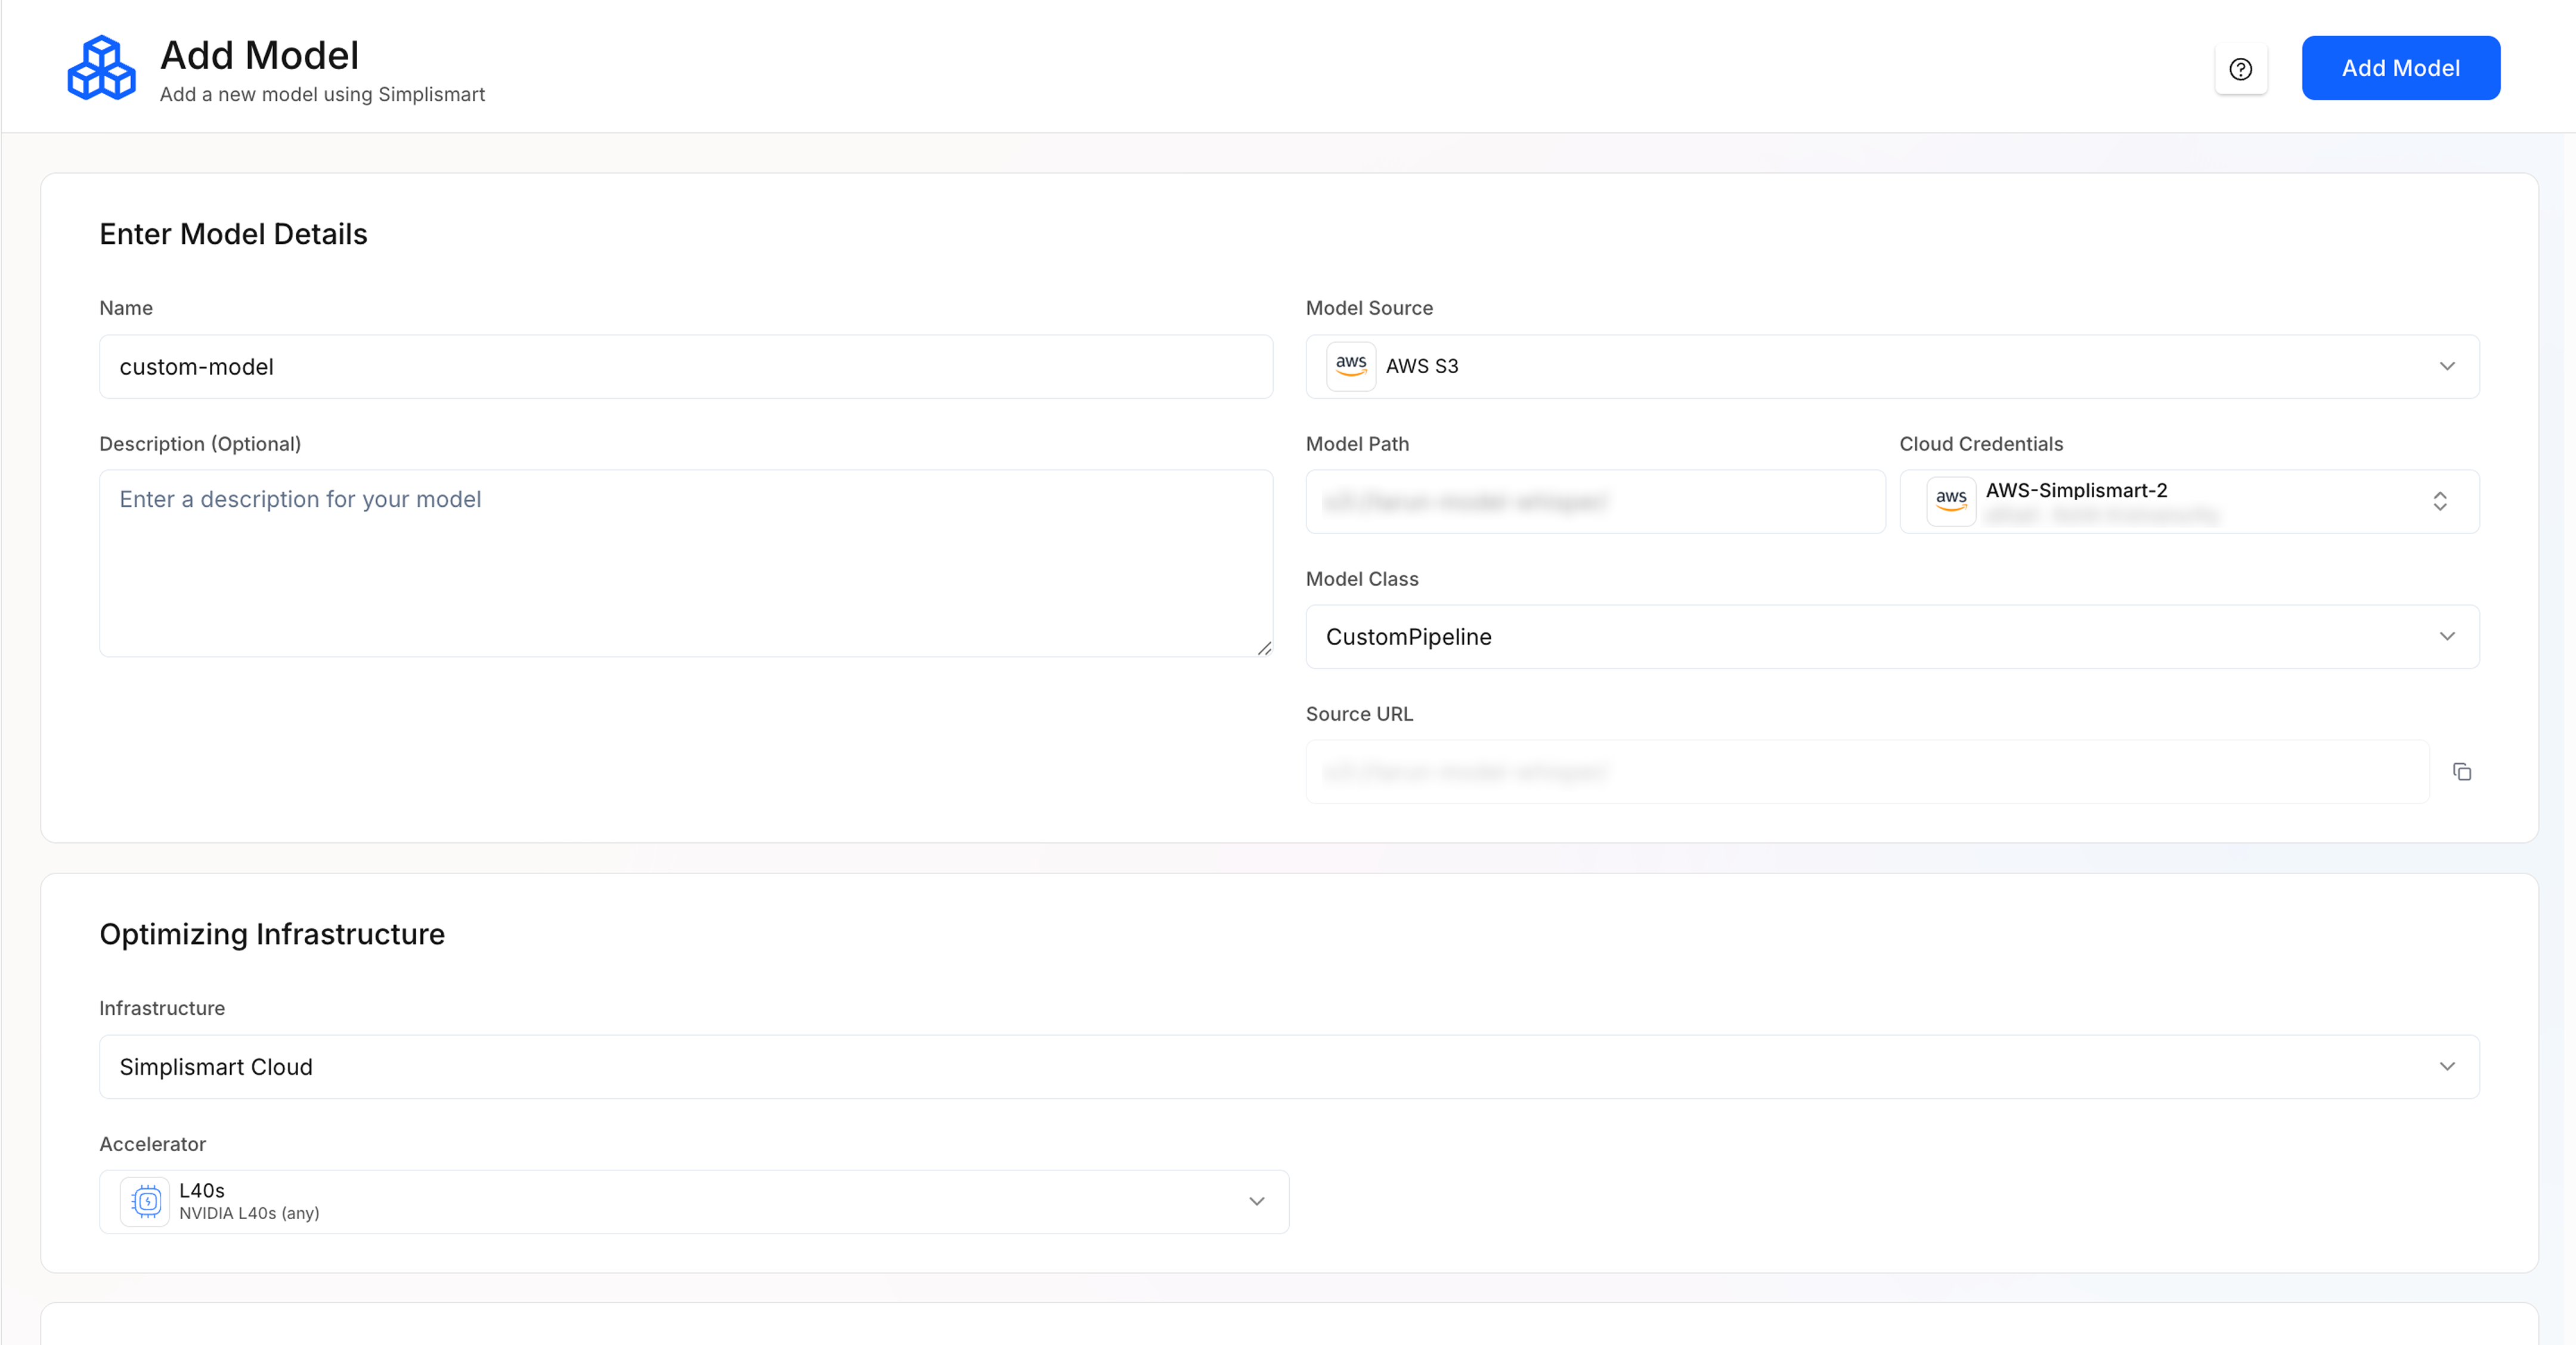
Enter model details
- Model name: A name for your model.
- Model source: Hugging Face, AWS S3, GCP GCS, or Public URL (use the source where you uploaded the ZIP).
- Model path: Path to the ZIP file (e.g. S3 URI, GCS URI, or public URL).
-
If using AWS or GCP, select the linked Cloud credentials.
3
Set model class
Under Model Class, choose Custom Pipeline (or Custom Model).
4
Select infrastructure
Choose Simplismart Cloud or Bring Your Own Cloud. Select Accelerator type and machine type based on your model size and compute requirements.
5
Pipeline configuration (Optional)
Use the Pipeline Config Editor or Extra Params to tune deployment. For custom models, set
type to "custom". See the table and example below.6
Add the model
Click Add Model to start compilation. The platform unpacks the archive, sets up the environment, and loads the model.
Extra parameters (optional)
Based on your model pipeline, you can add extra parameters in JSON format under Extra Params.
Example: