Prerequisites
Before starting, ensure you have:- A Simplismart account
- Dataset formatted according to the CLIP training requirements
Supported Model Architectures
Simplismart currently supports the following CLIP model configurations:| Component | Model | HuggingFace Link |
|---|---|---|
| Vision Encoder | openai/clip-vit-base-patch32 | clip-vit-base-patch32 |
| Language Encoder | FacebookAI/roberta-base | roberta-base |
CLIP training on Simplismart uses full fine-tuning and runs on a single GPU. Distributed training and LoRA are not currently supported.
Dataset Preparation
Your dataset must be in JSONL format where each line contains an image path and corresponding captions. Example JSONL Entry:image: Relative path to the image file within your ZIP archivecaptions: Array of text descriptions for the image (2-5 captions recommended)
Example JSONL File
Dataset Format
-
Organize your files in a directory:
-
Create a ZIP archive:
Ensure all image paths in your JSONL file match the relative paths within the ZIP archive.
Creating a Training Job
To create a new training job, navigate toMy Trainings > LLM/VLM Model > Add a Training Job
Configure Basic Settings
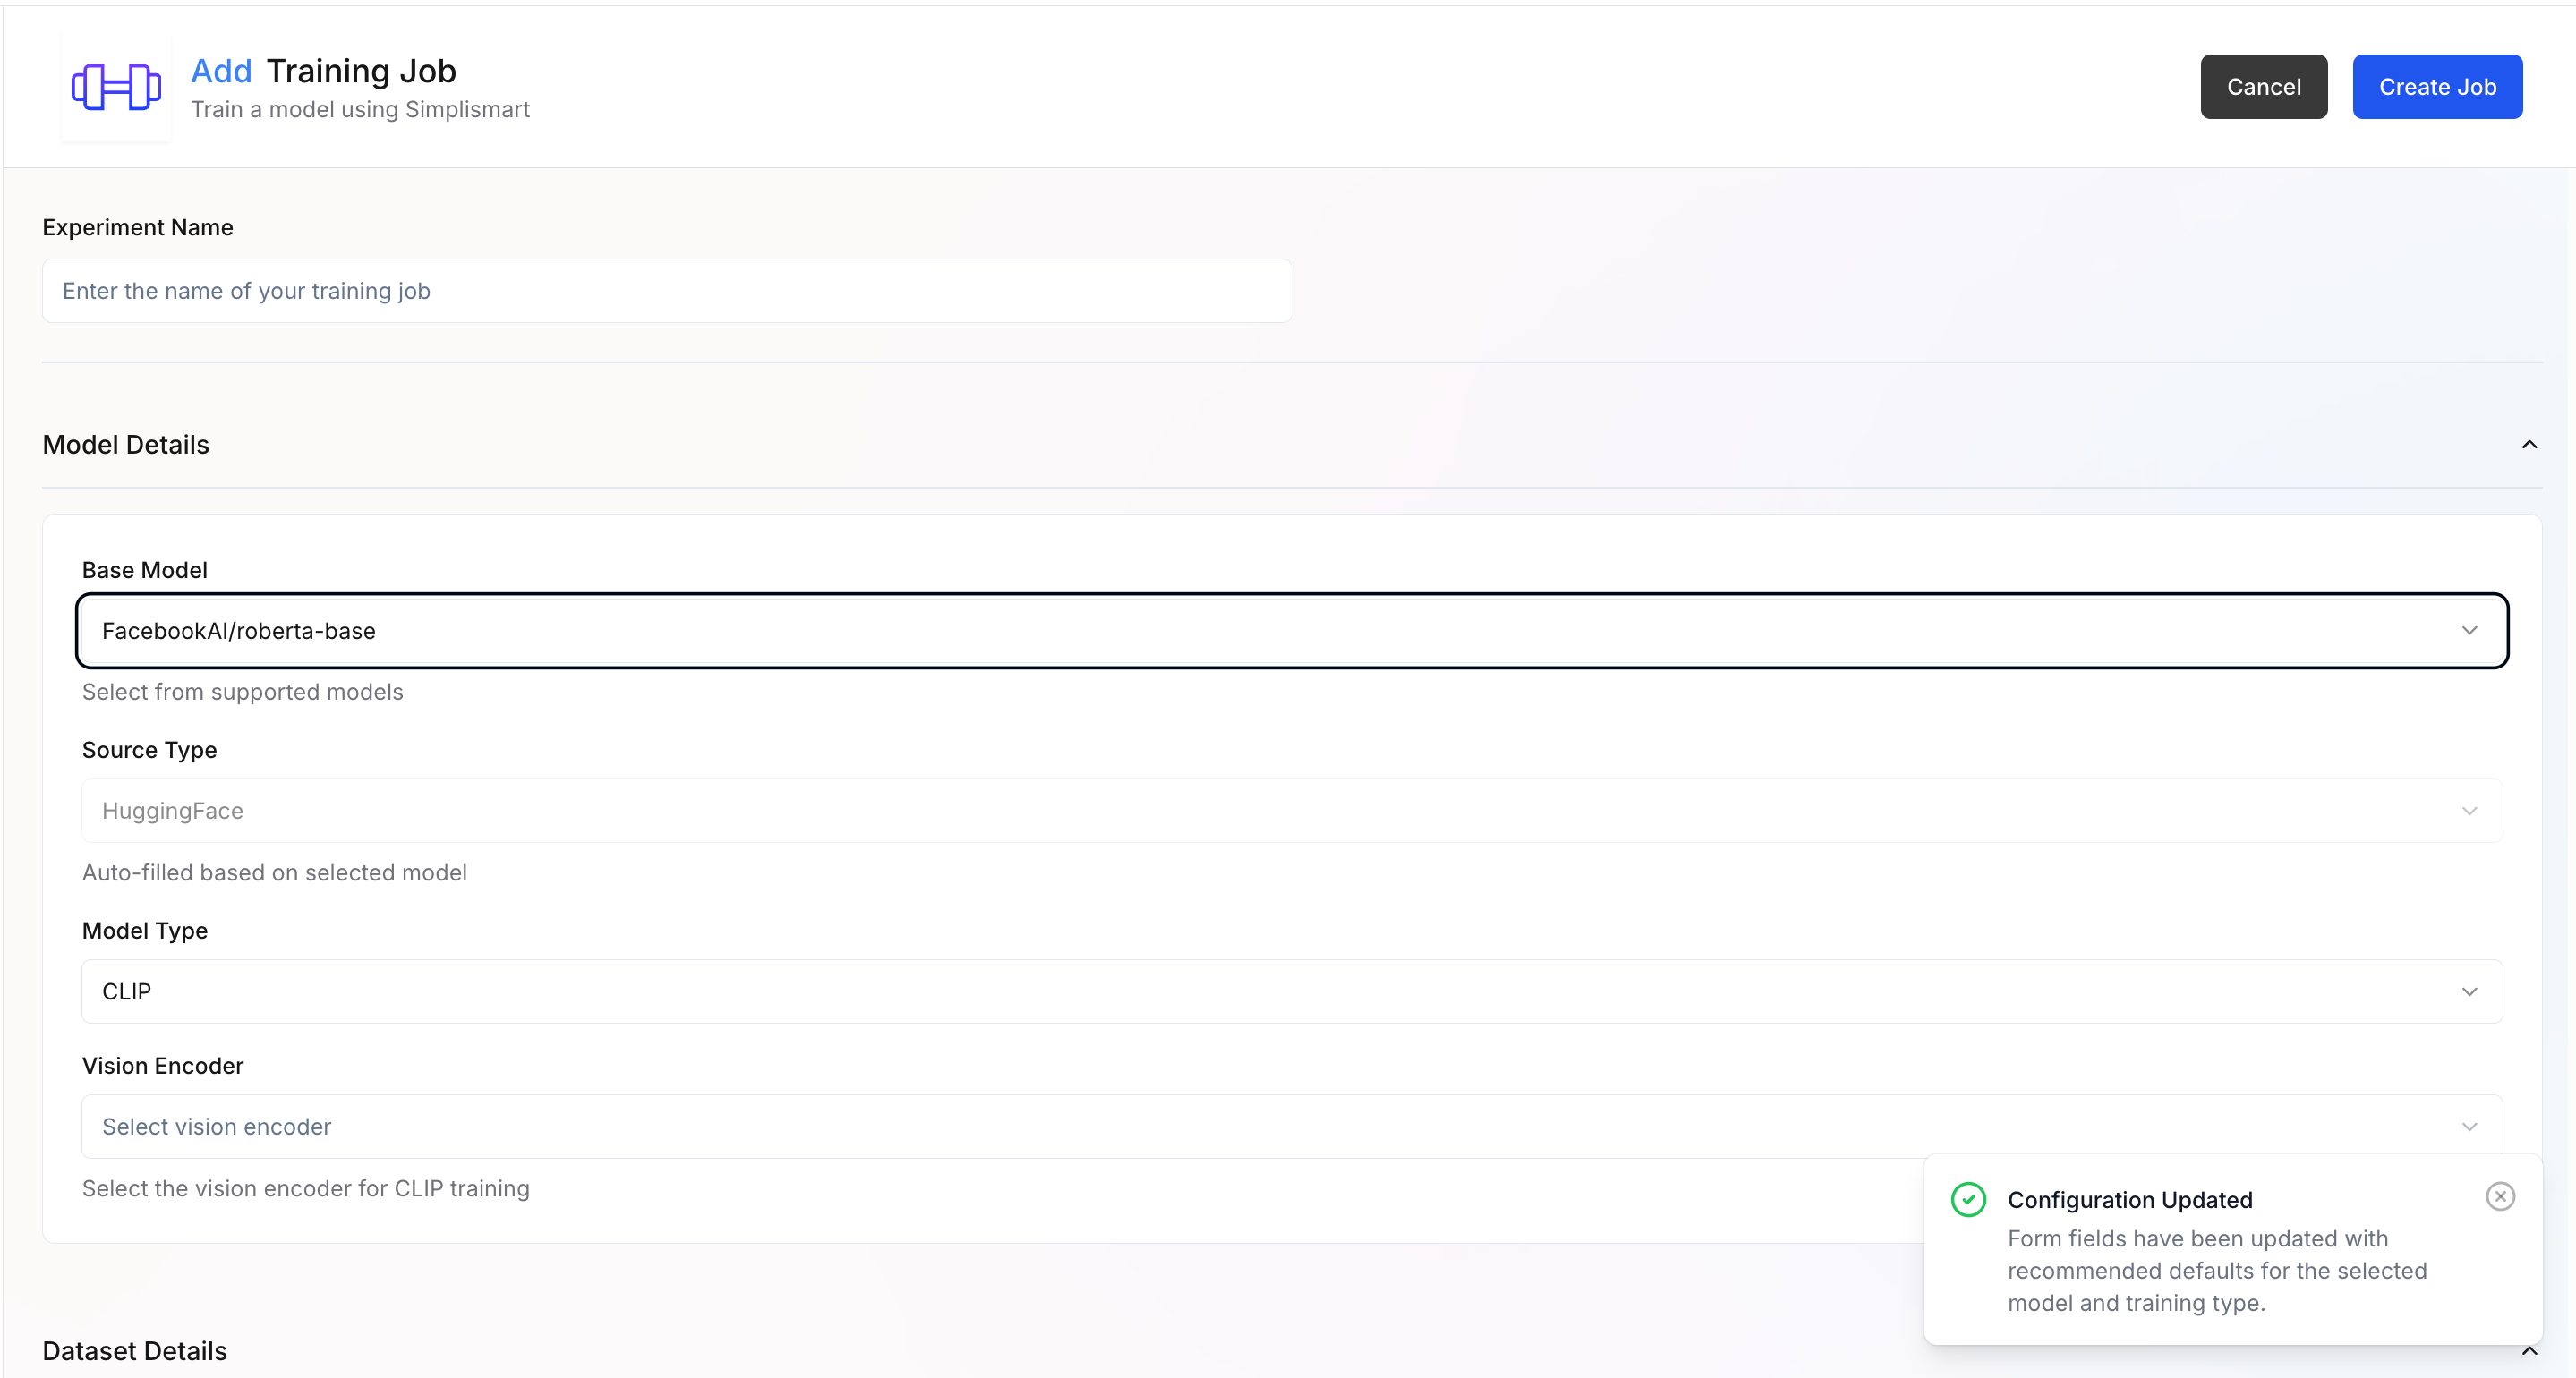
- Experiment Name: Enter a descriptive name for your training experiment
- Model Details:
- Base Model – Select the base model you want to fine-tune. Supported models (e.g., FacebookAI/roberta-base) are available in the dropdown.
- Source Type – Automatically filled based on the selected model source (e.g., Hugging Face).
- Model Type – Defines the architecture type for training. (here CLIP)
- Vision Encoder – Select the vision encoder used for CLIP-based training (e.g.
openai/clip-vit-base-patch32).
When a base model is selected, the rest of the parameters get updated automatically with recommended defaults for that model and training type.
Dataset Details
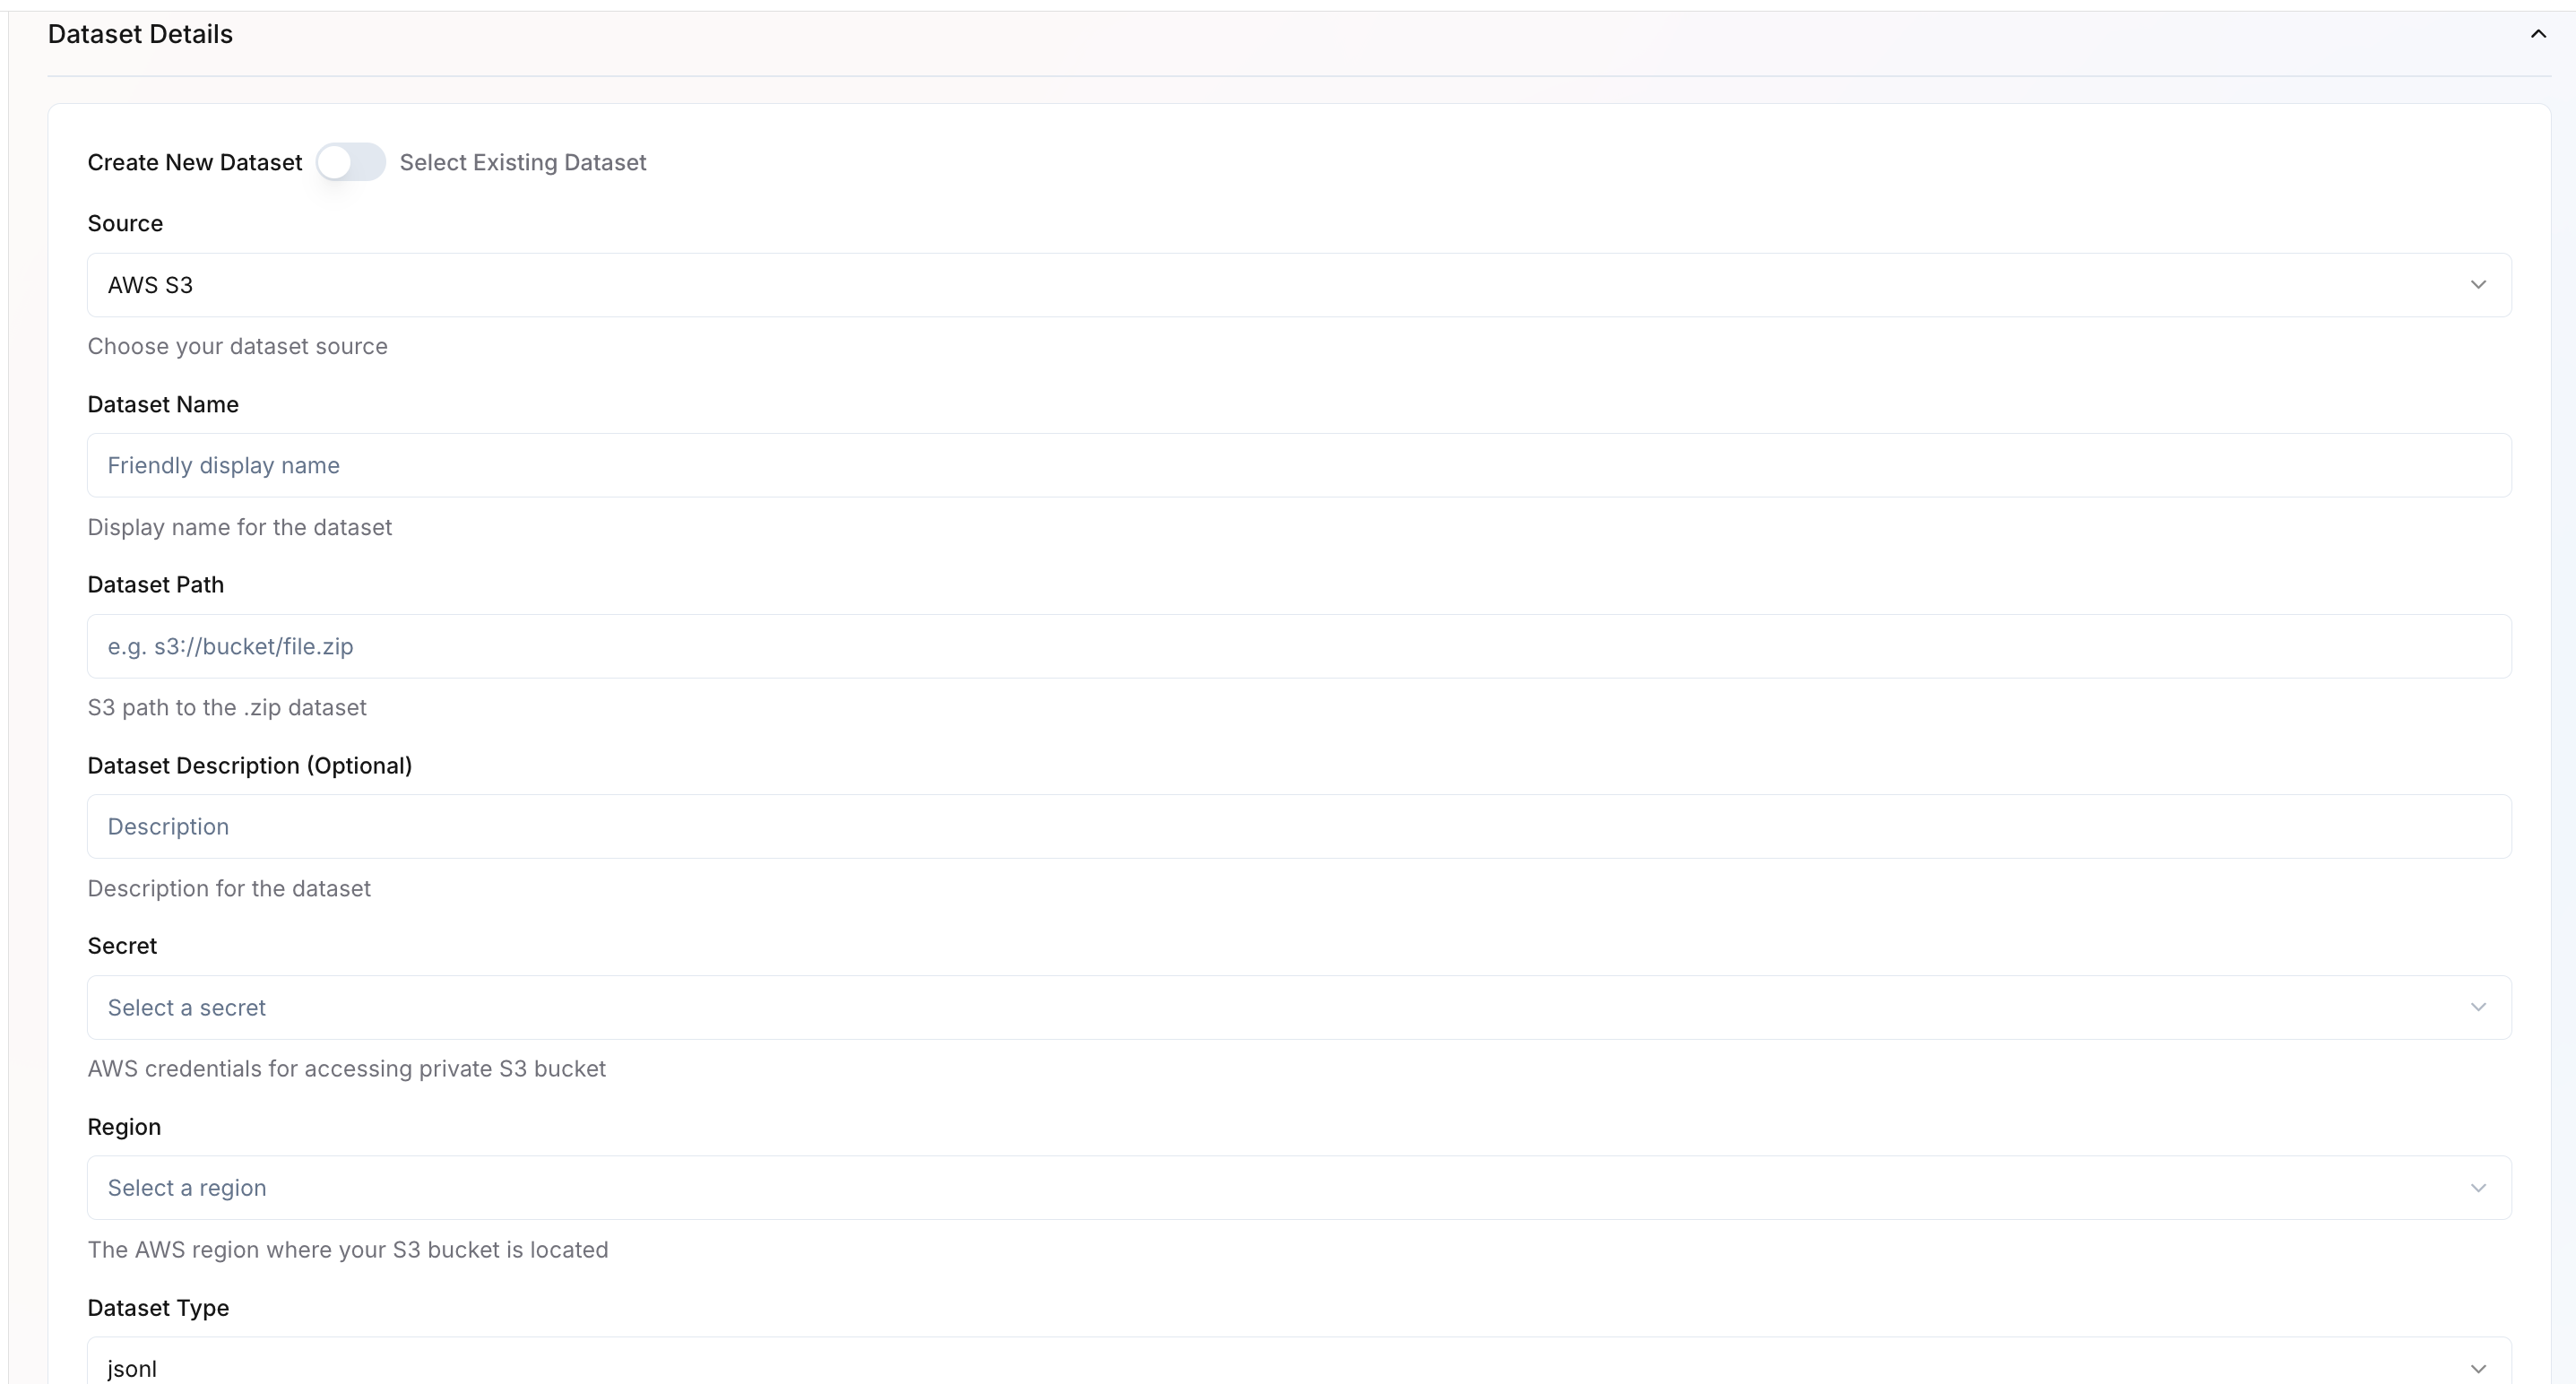 You can either create a new dataset or select an existing one.Create New Dataset
- Source – Choose the dataset source (e.g., AWS S3, GCP).
- Dataset Name – Provide a friendly name for your dataset.
- Dataset Path – Specify the full path to your dataset (e.g.,
s3://bucket/file.zip). - Dataset Description – Optional field for describing your dataset.
- Secret – If AWS/GCP source, select the AWS/GCP credential secret required to access private buckets.
- Region – If AWS/GCP source, choose the AWS/GCP region where your bucket is located.
- Dataset Type – Specify the data format, such as JSONL.
- In the Dataset Details section, select Use Existing Dataset.
- A dropdown will appear listing all datasets available under your organization.
- Choose the dataset you want to attach to this training job.
- Once selected, key information such as Dataset Name, Source, Path, and Region will auto-populate based on the saved configuration.
- Review the prefilled values to ensure the dataset is still valid and accessible.
- After selection, proceed to configure Dataset Configuration parameters.
Dataset Configuration
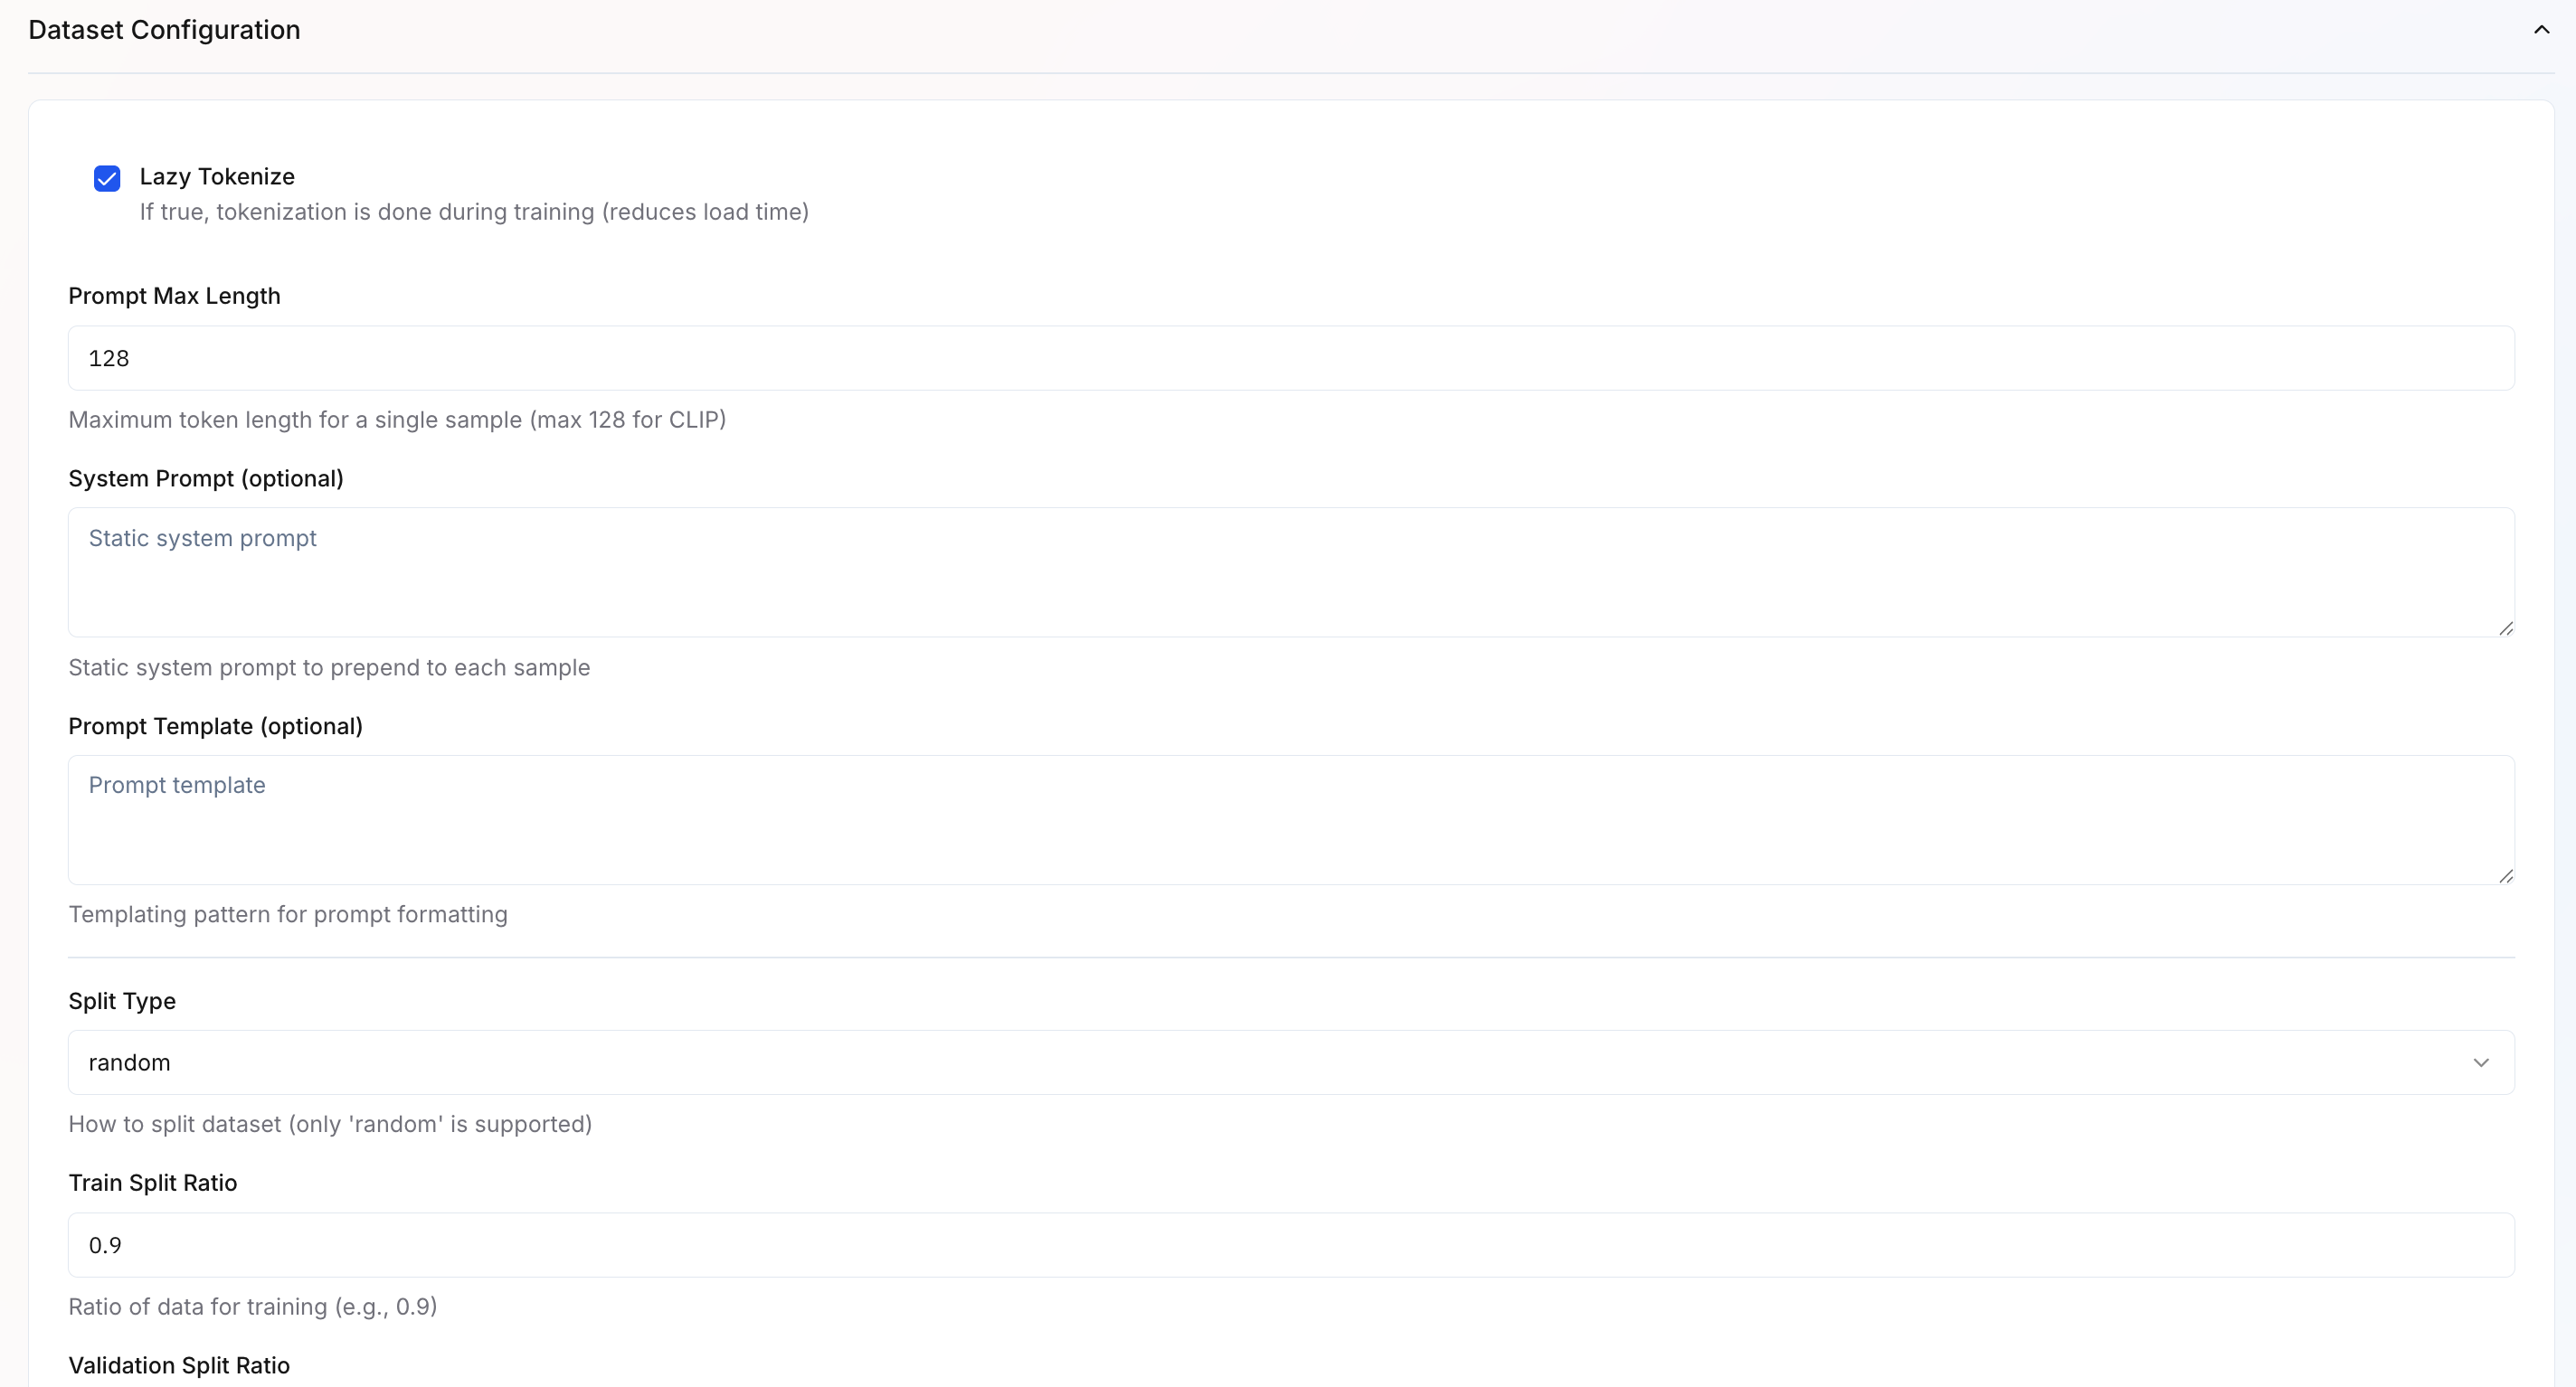
- Lazy Tokenize – If enabled, tokenization happens during training to reduce load time.
- Prompt Max Length – Sets the maximum token length per sample (default: 128 for CLIP).
- System Prompt – Optional static prompt prepended to every sample.
- Prompt Template – Optional templating format for structured prompt creation.
- Split Type – Defines how the dataset is split. Currently, only “random” is supported.
- Train Split Ratio – Specifies how much data to use for training (default: 0.9).
- Validation Split Ratio – Remaining portion used for validation (default: 0.1).
Infrastructure Configuration
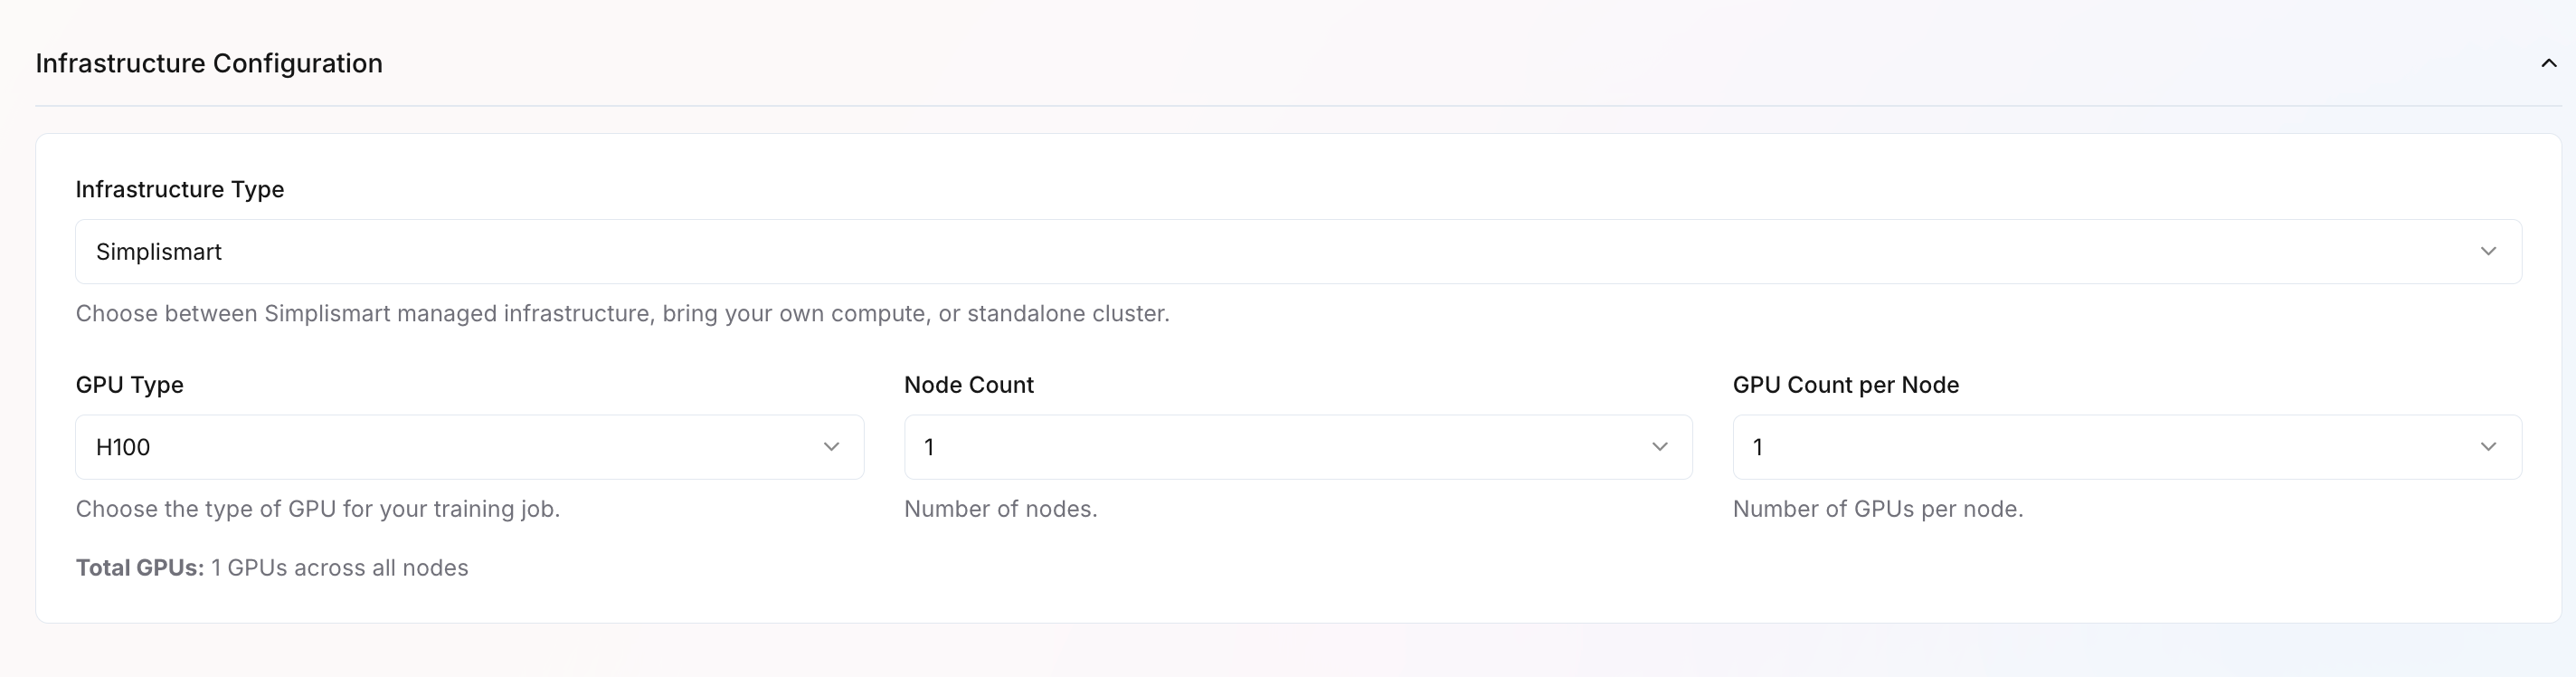
- Infrastructure Type – Choose where the training job runs: Simplismart-managed infrastructure, your own compute, or a standalone cluster.
- GPU Type – Select the GPU type (e.g., H100, A100, L40).
- Node Count – Specify the number of nodes to allocate. (default 1 for CLIP training)
- GPU Count per Node – Define the number of GPUs per node. (default 1 for CLIP training)
Set Training Parameters
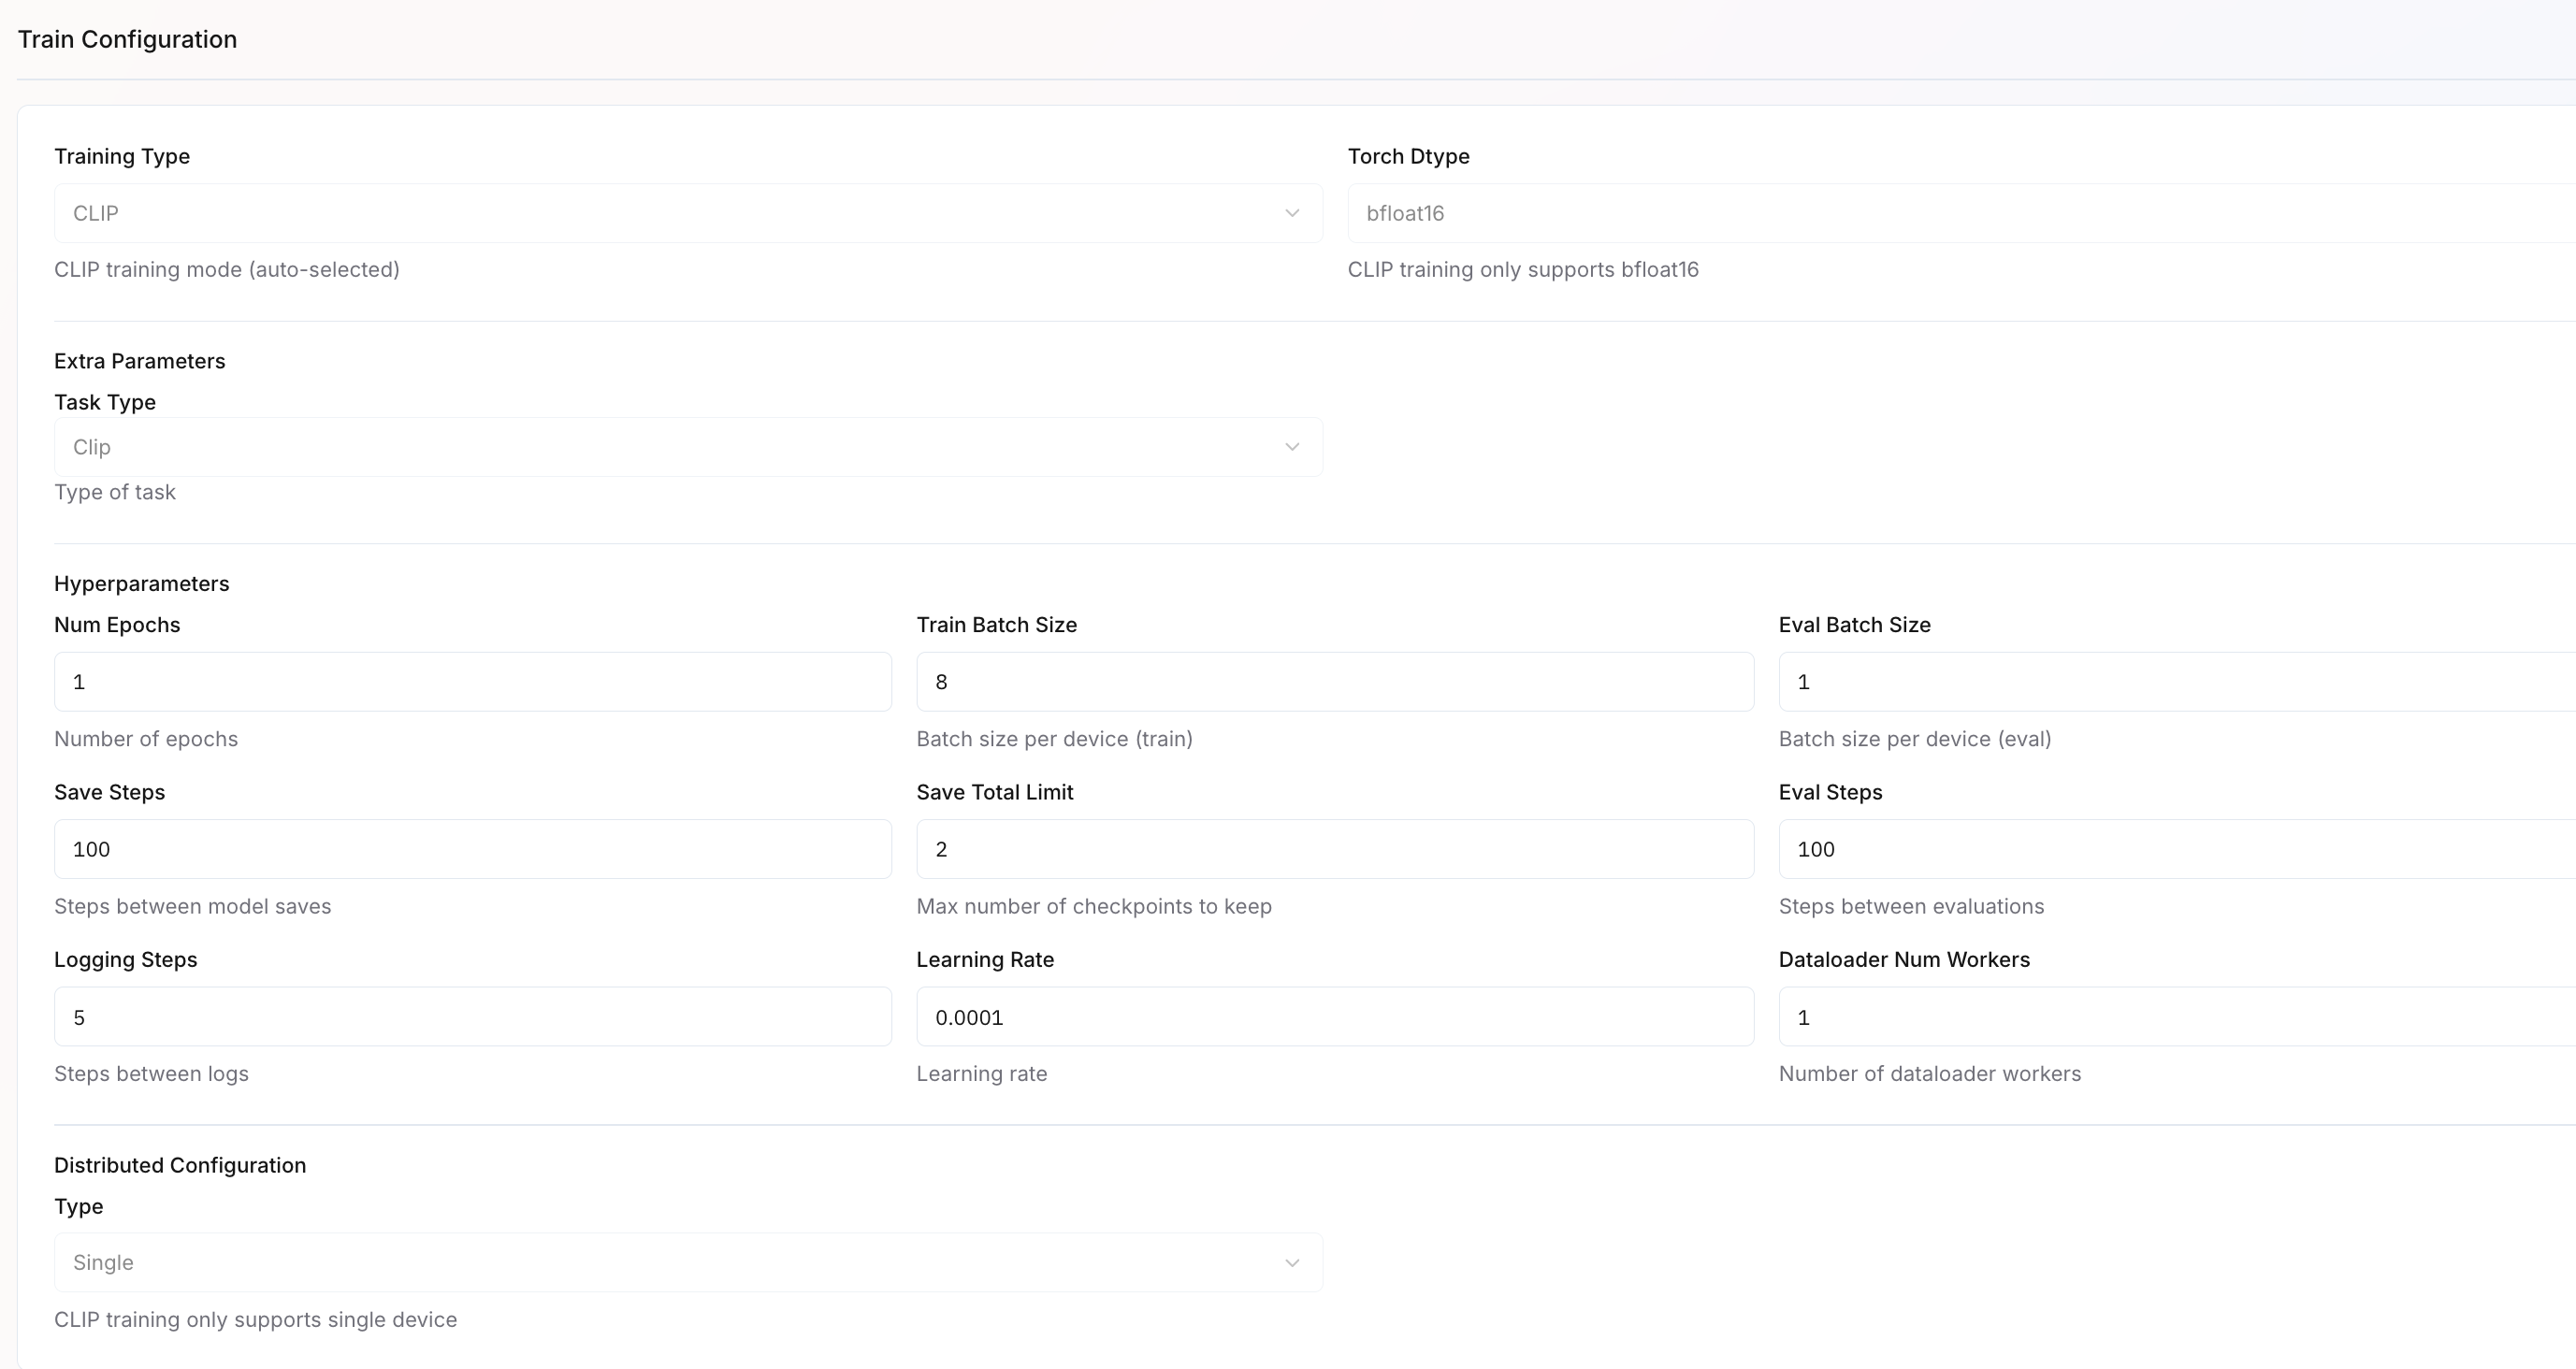
| Parameter | Description | Default Value / Example |
|---|---|---|
| Training Type | Auto-selected based on the chosen model (e.g., CLIP). | CLIP |
| Torch Dtype | Precision type used during training. | bfloat16 |
| Num Epochs | Number of epochs to train for. | |
| Train Batch Size | Batch size per device during training. | 8 |
| Eval Batch Size | Batch size per device during evaluation. | 1 |
| Save Steps | Defines how often model checkpoints are saved. | 100 |
| Save Total Limit | Sets how many checkpoints to retain. | 2 |
| Eval Steps | Determines how frequently evaluations are run. | 100 |
| Logging Steps | Frequency at which logs are recorded. | 5 |
| Learning Rate | Sets the learning rate for the optimizer. | 0.00001 |
| Dataloader Num Workers | Number of parallel workers for loading data. | 1 |
| Distributed Configuration Type | Defines training mode. | Single (for the CLIP training) |
Create and Monitor Training
- Review all settings carefully
- Click
Create Jobto start training - Monitor training progress in the
My Trainings>Your Training Job>Metricstab.
Metrics are updated in real-time as your training progresses. Use these metrics to evaluate whether your model is learning effectively.