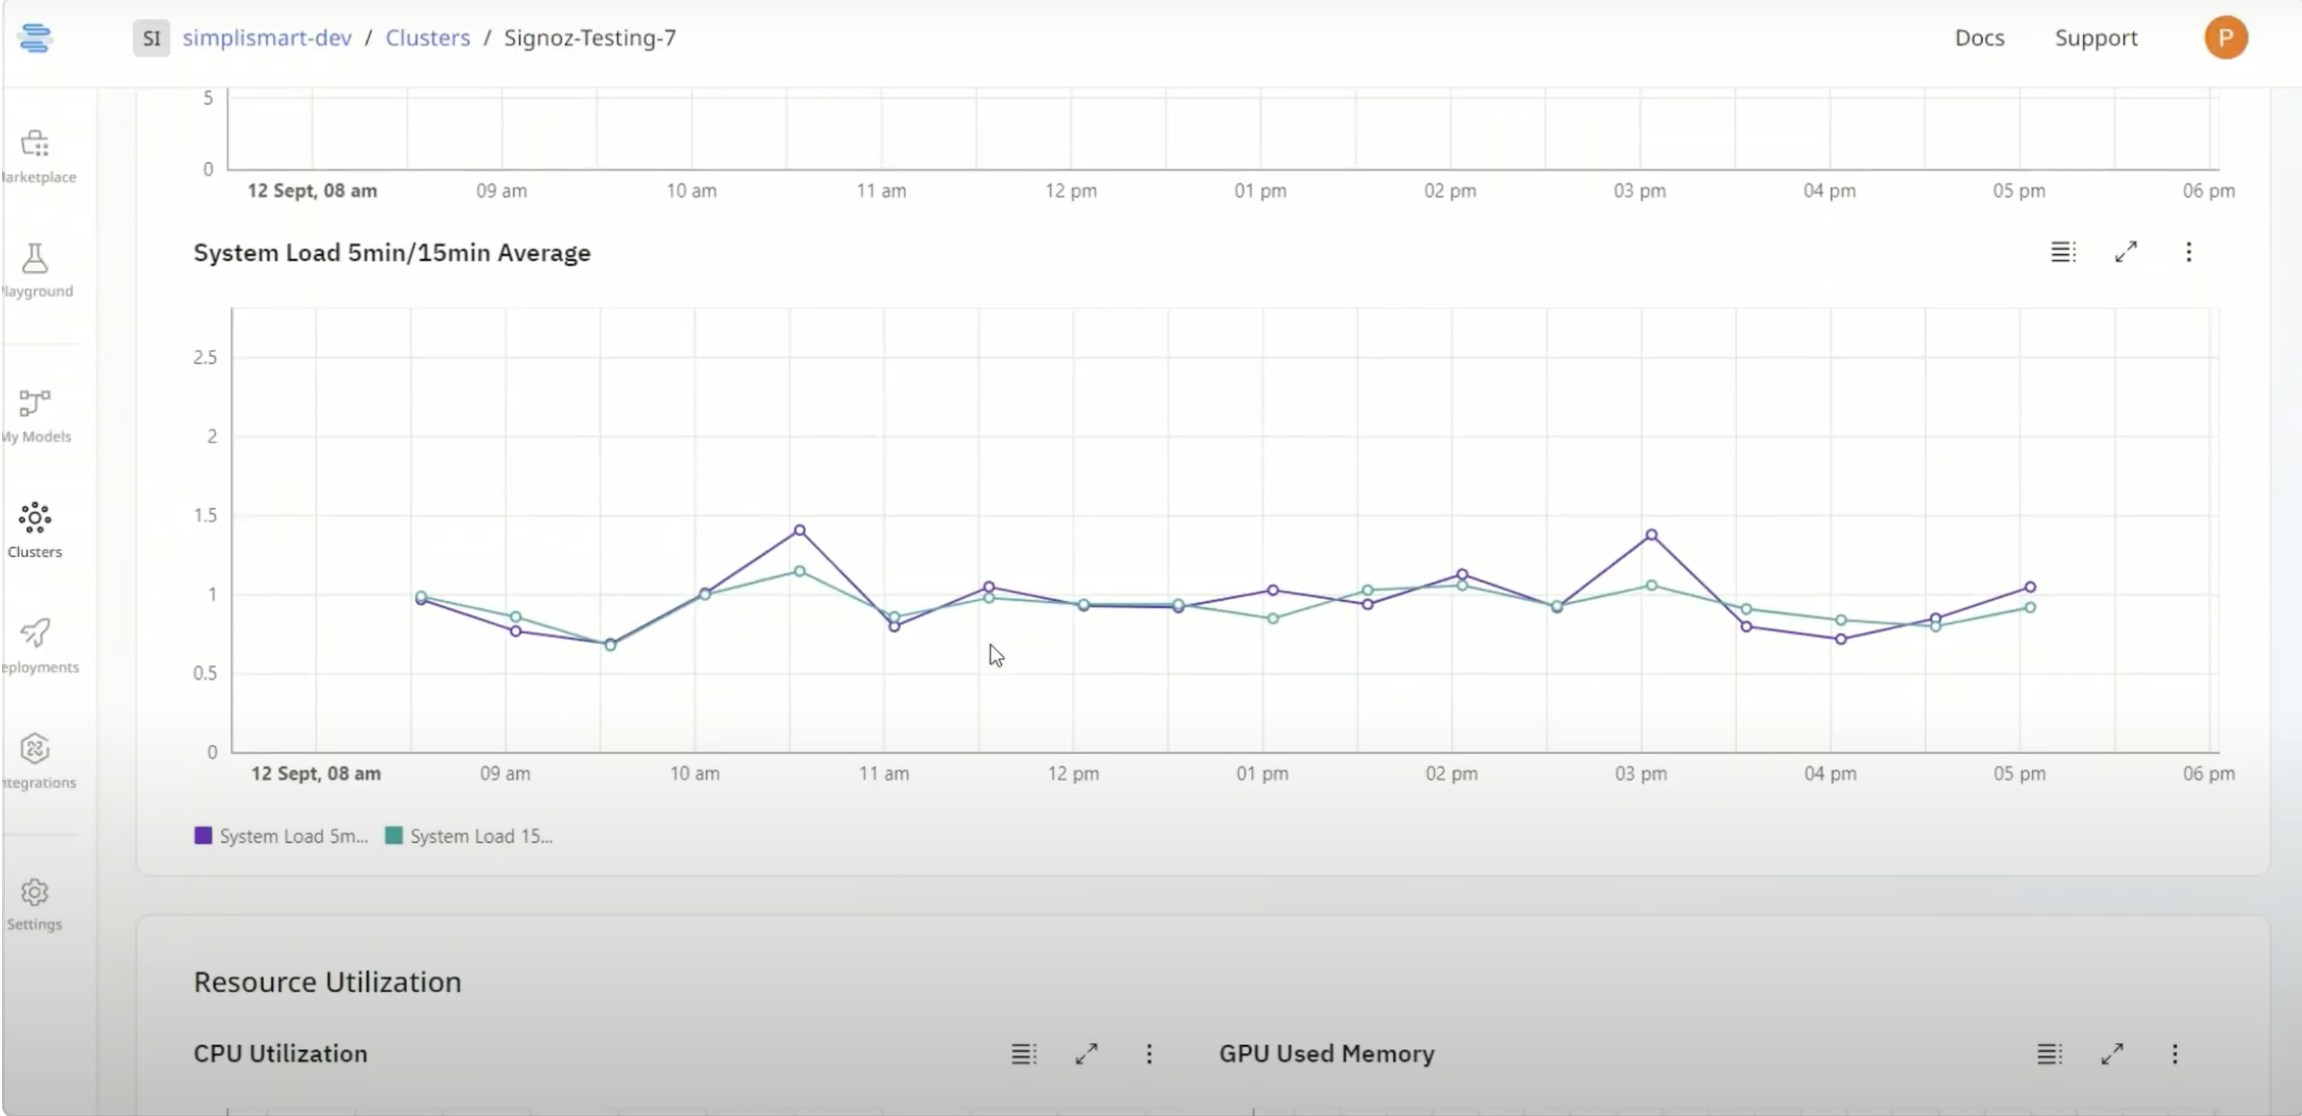
Enter Basic Details
- Name: Provide a name for your cluster. This name will become your cluster slug.
- Cloud Account: Select the cloud account where the cluster will be created.
- Region: Choose the region for your cluster.
- Hosted Zone: Select the appropriate hosted zone.
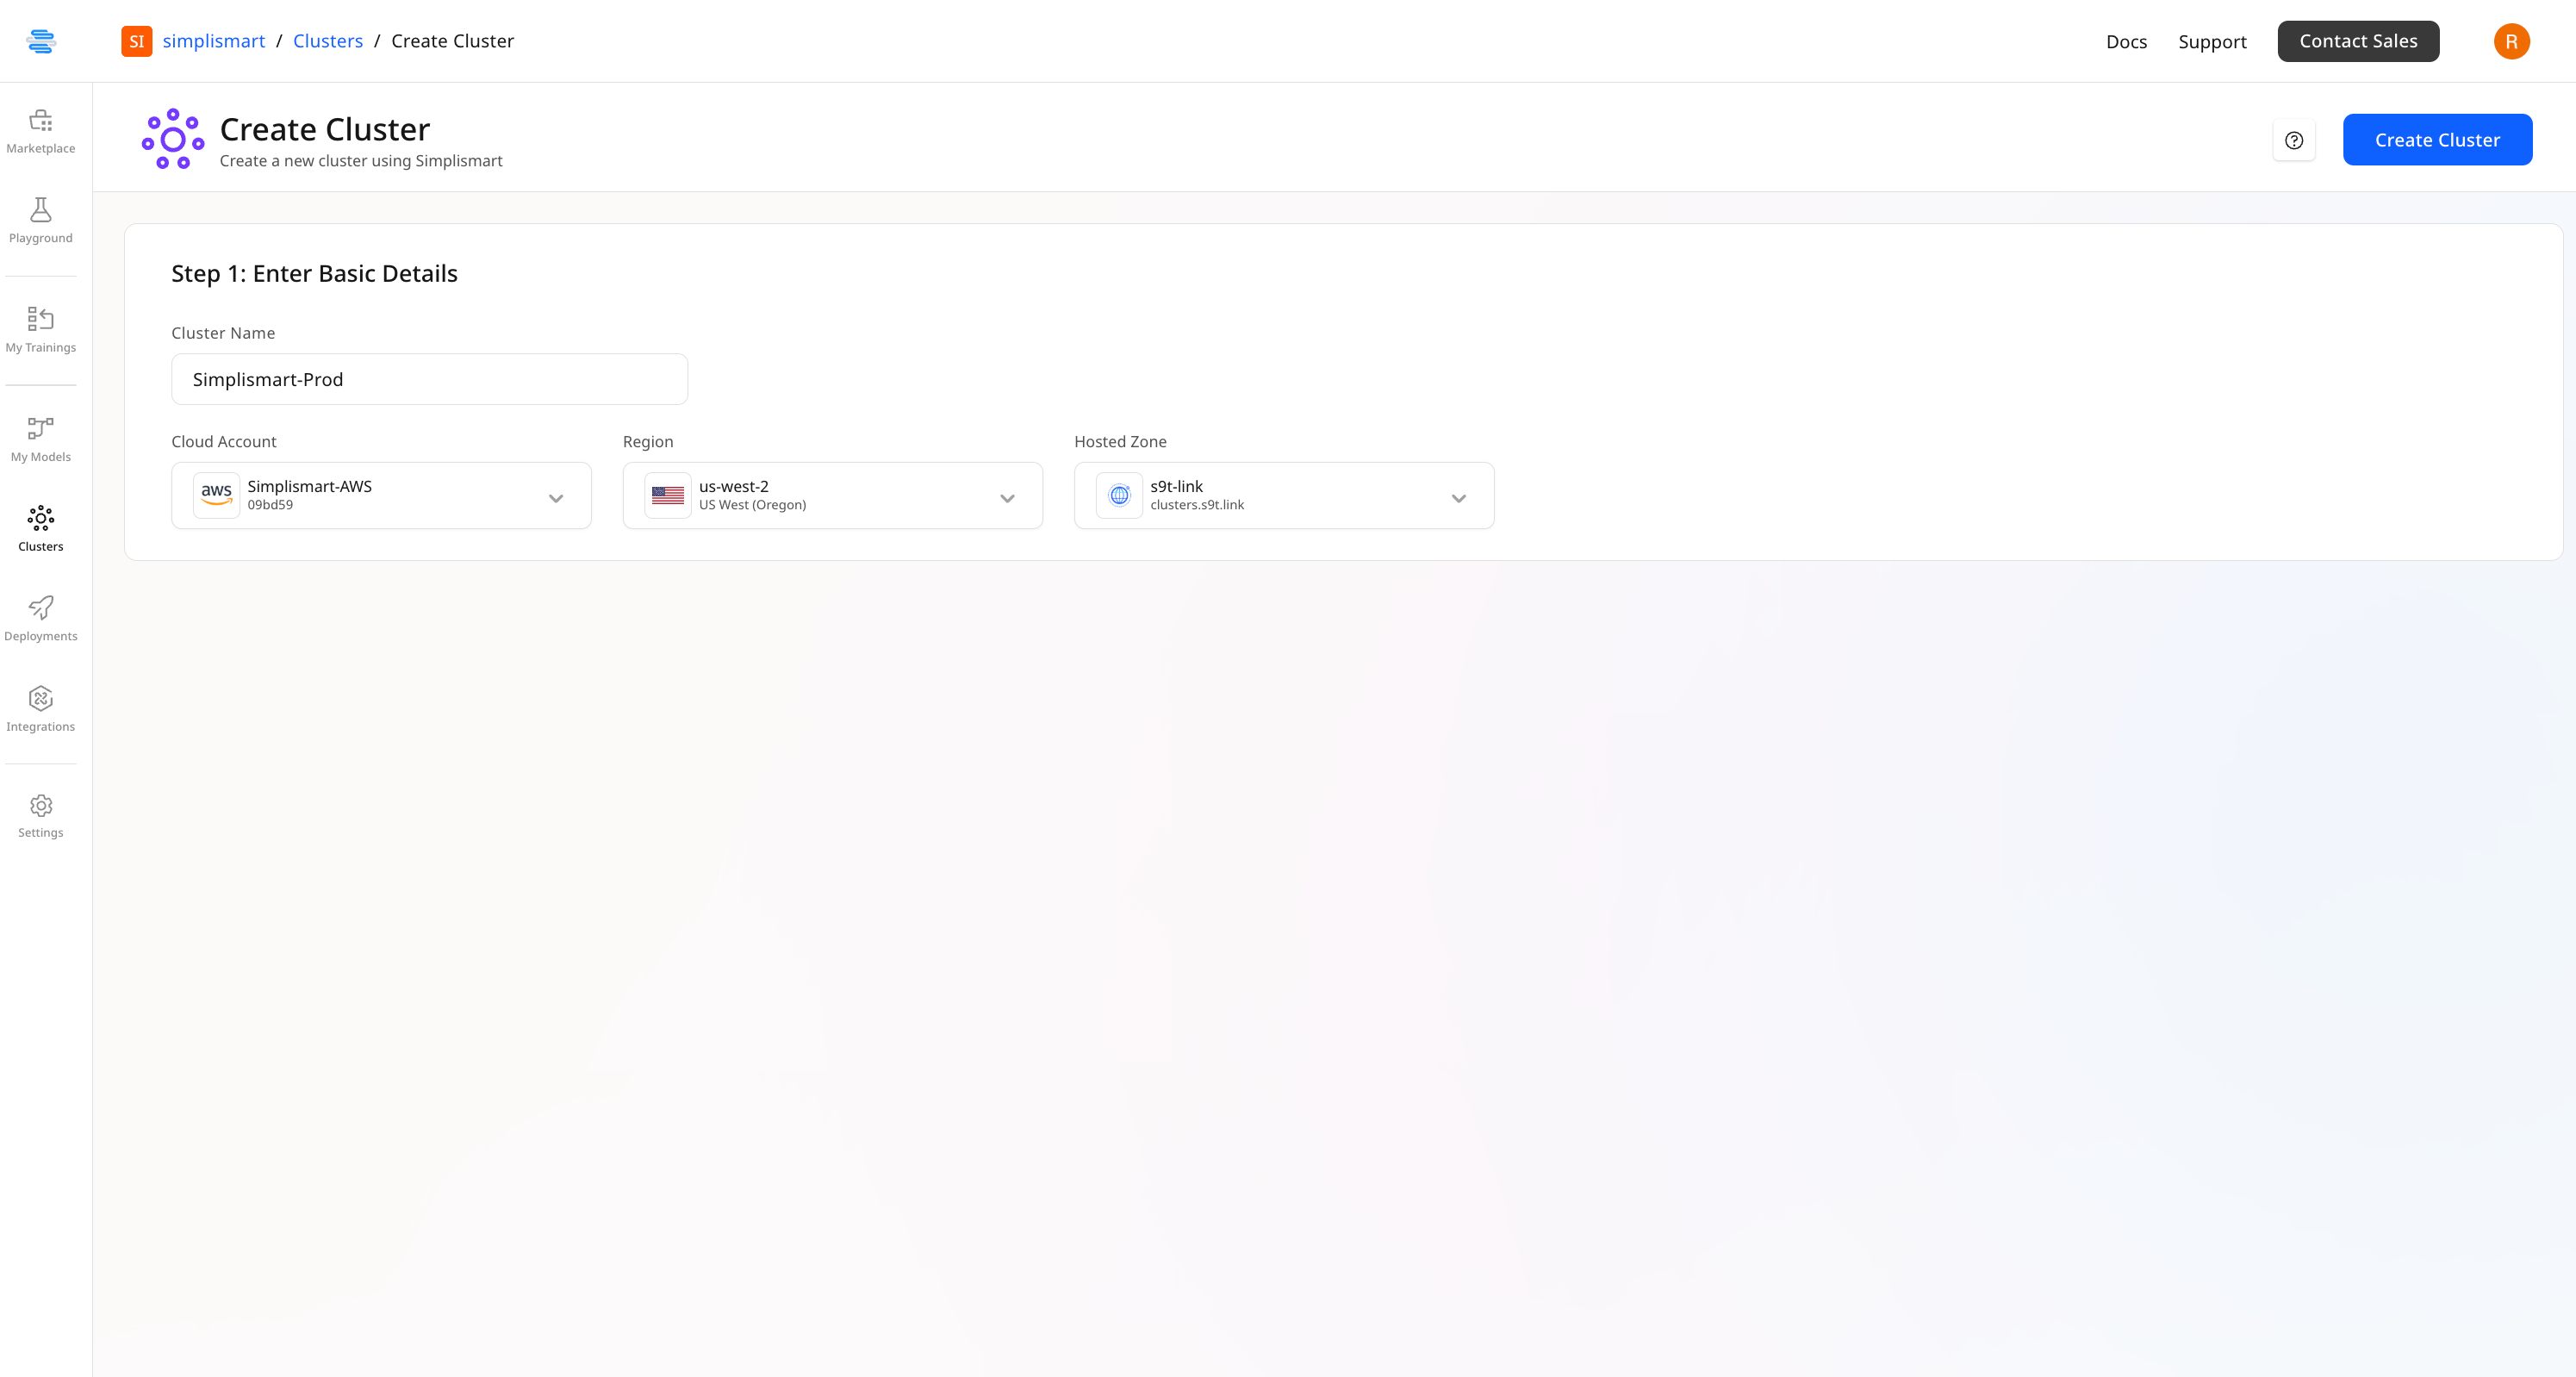
Node Group Addition
- When you see the Success status, it means your cluster including the Auxiliary node pool is fully provisioned, allowing you to move forward with creating a Node Group.
- Click on the Add Node Group button on the top-right.
- Name: Provide a descriptive name for your node group.
- Accelerator: Select the appropriate accelerator for your workloads.
- Capacity Type: You can choose the node to be a On Demand instance or a Spot instance.
- Machine Type: Choose the machine size that meets your performance requirements.
- Scaling Configuration: Define the minimum and maximum number of nodes.

Viewing Cluster Details
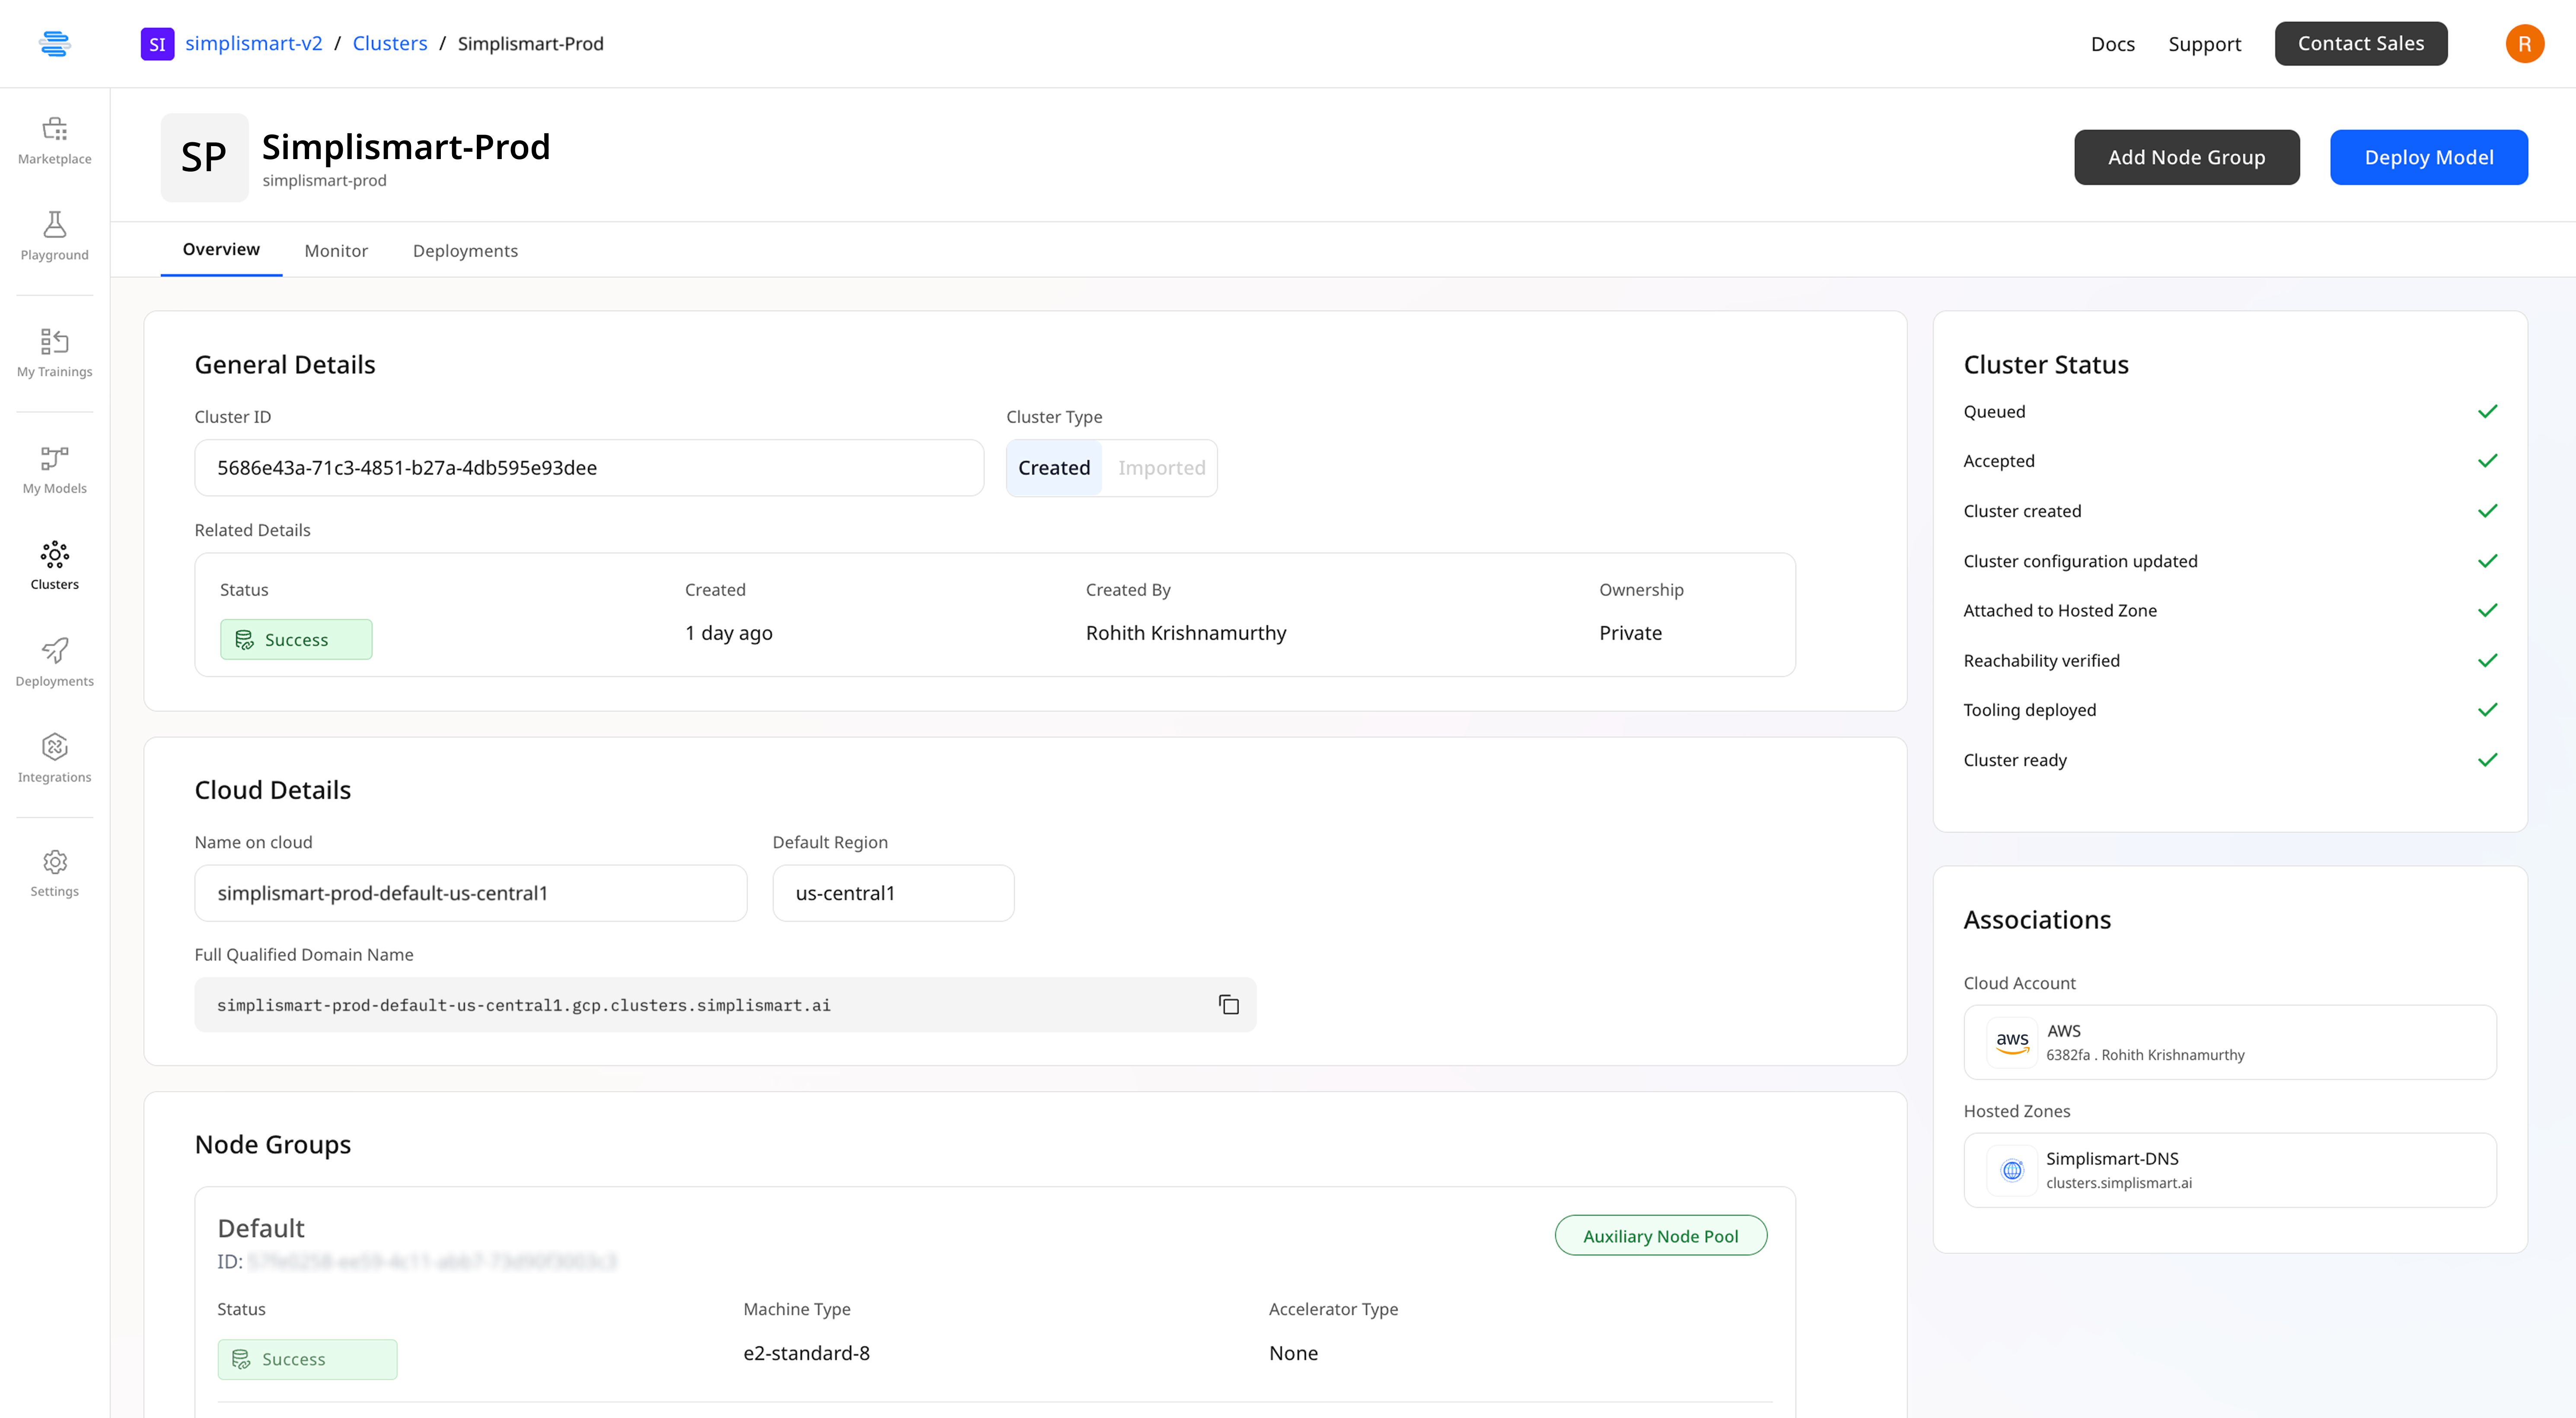
- The status will show
successonce the node group is successfully created and the cluster is now ready for use. - Once the Node Group is created, you can view its information by clicking on the Overview tab.
- Click on the Deploy button to deploy the model to the node. You can find the deployment page here.
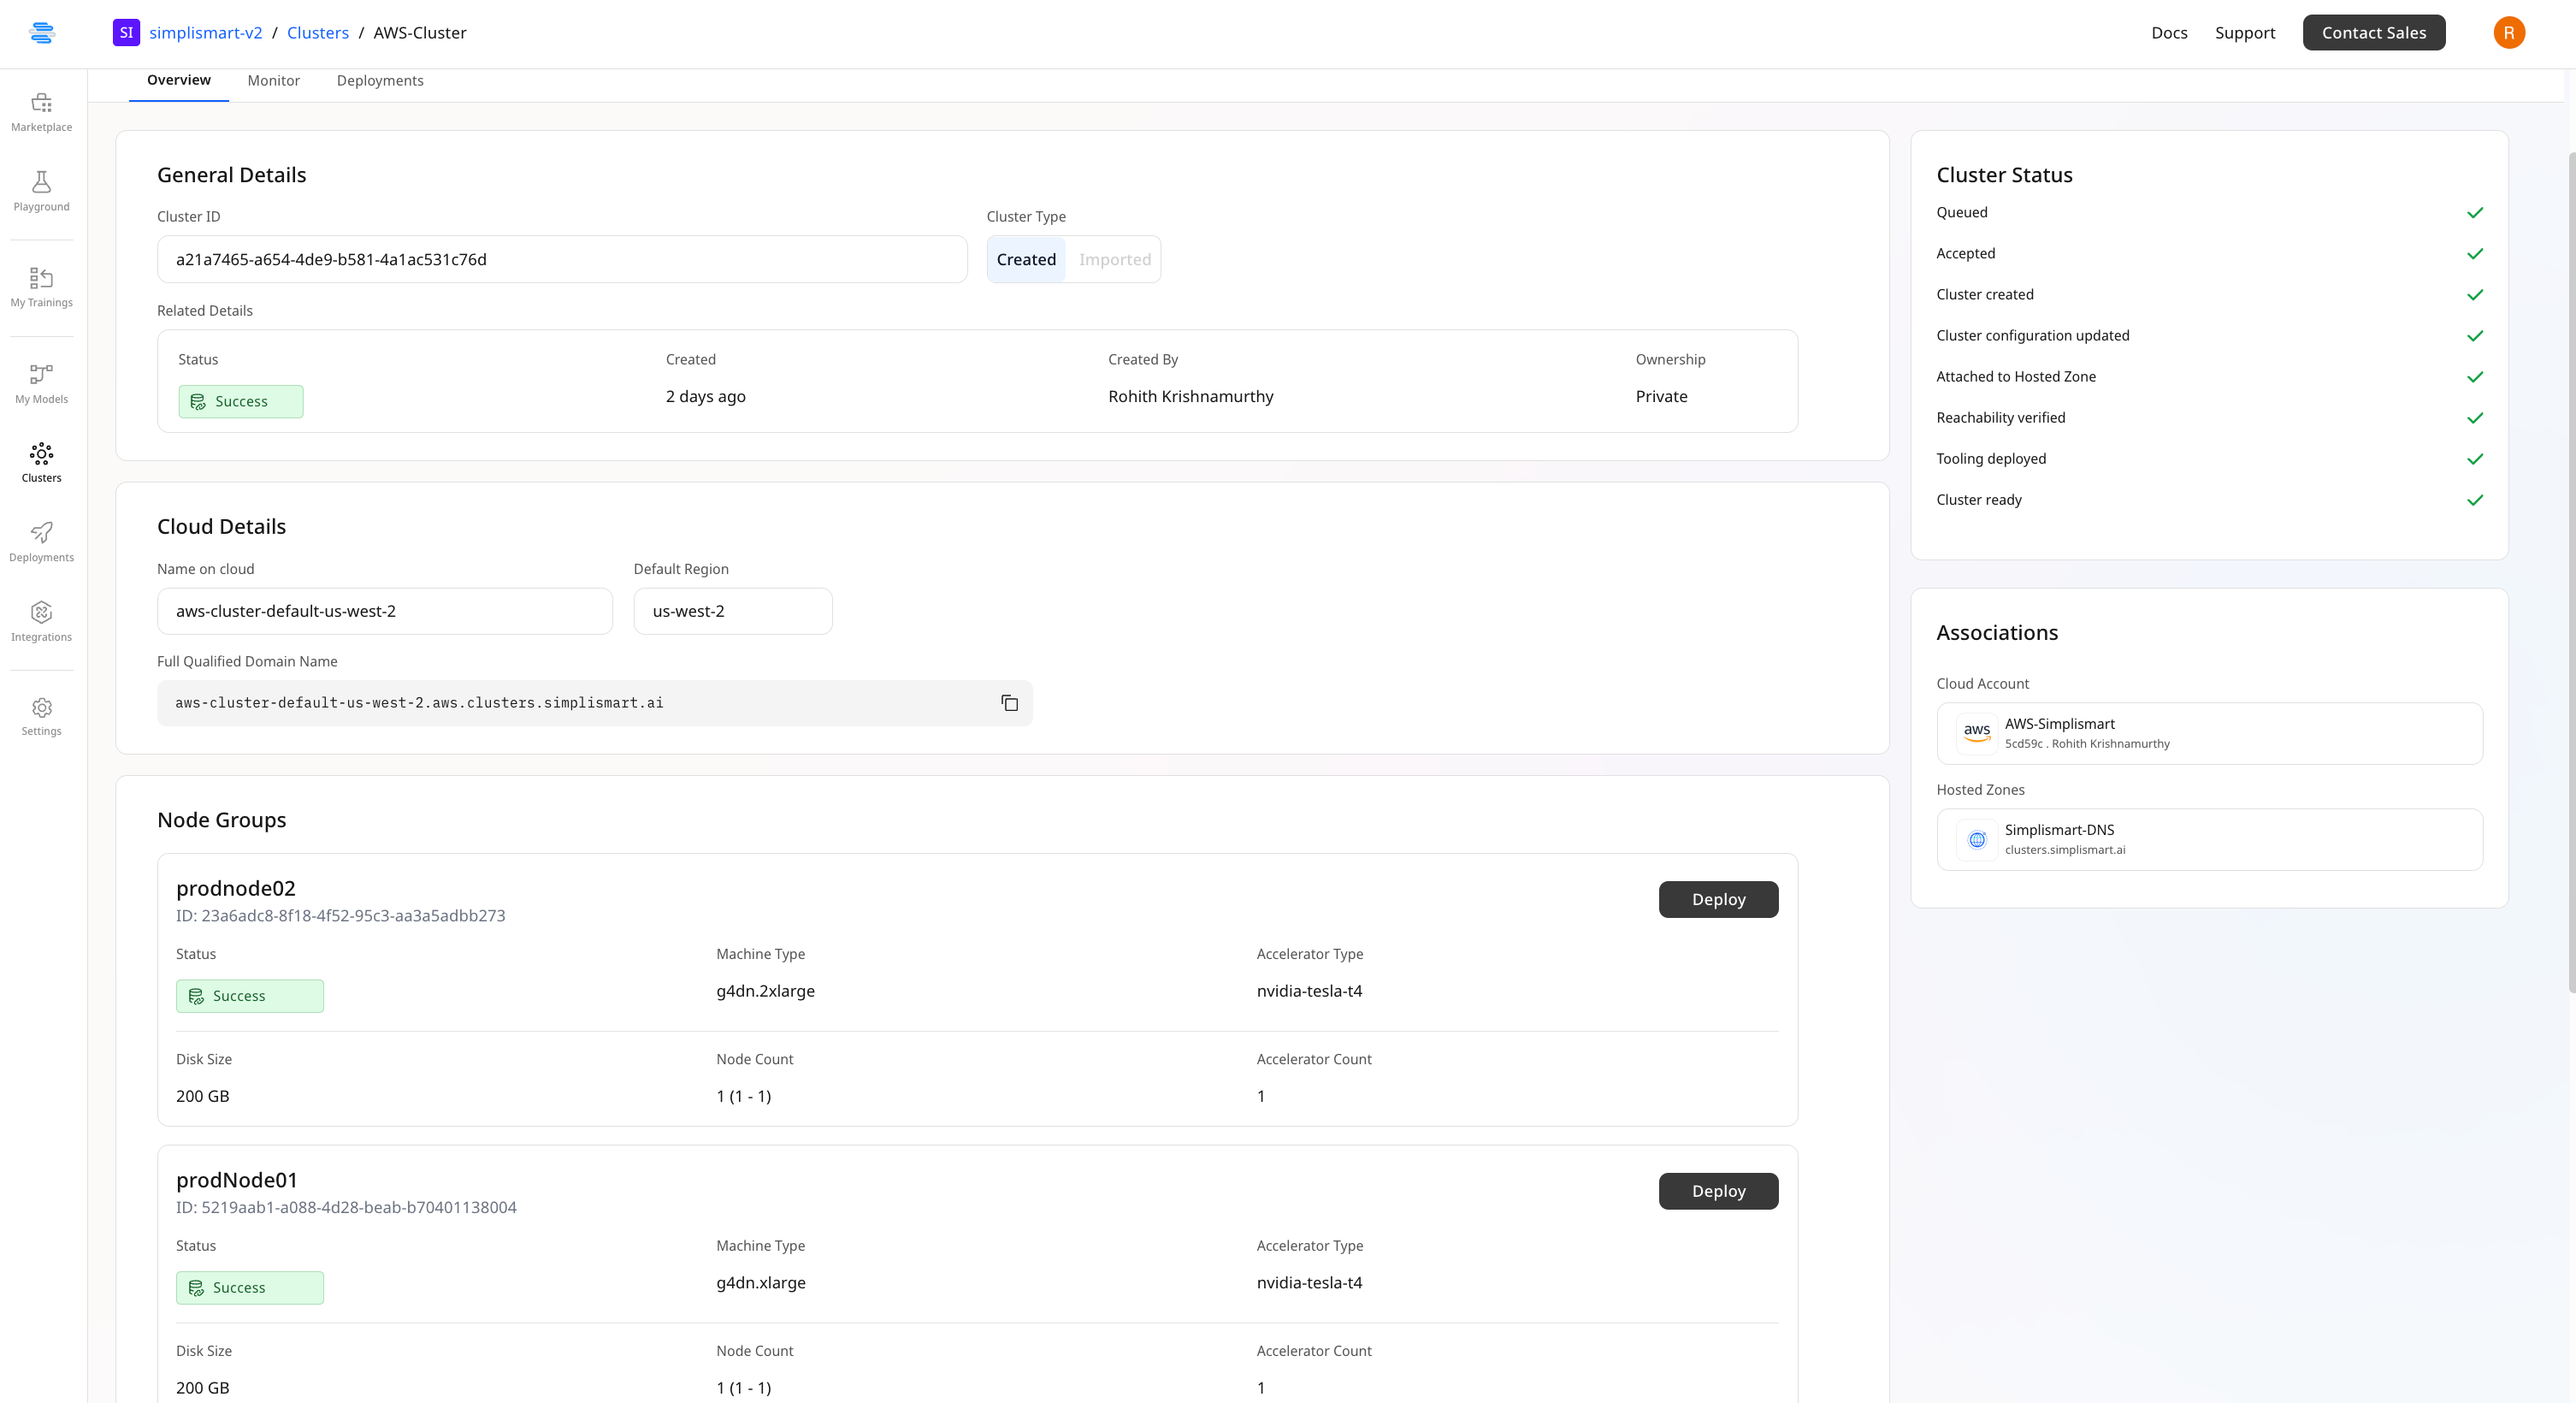
Monitoring your cluster
You can track the overall usage and performance of your cluster to ensure optimal operation, by clicking on the Monitor tab.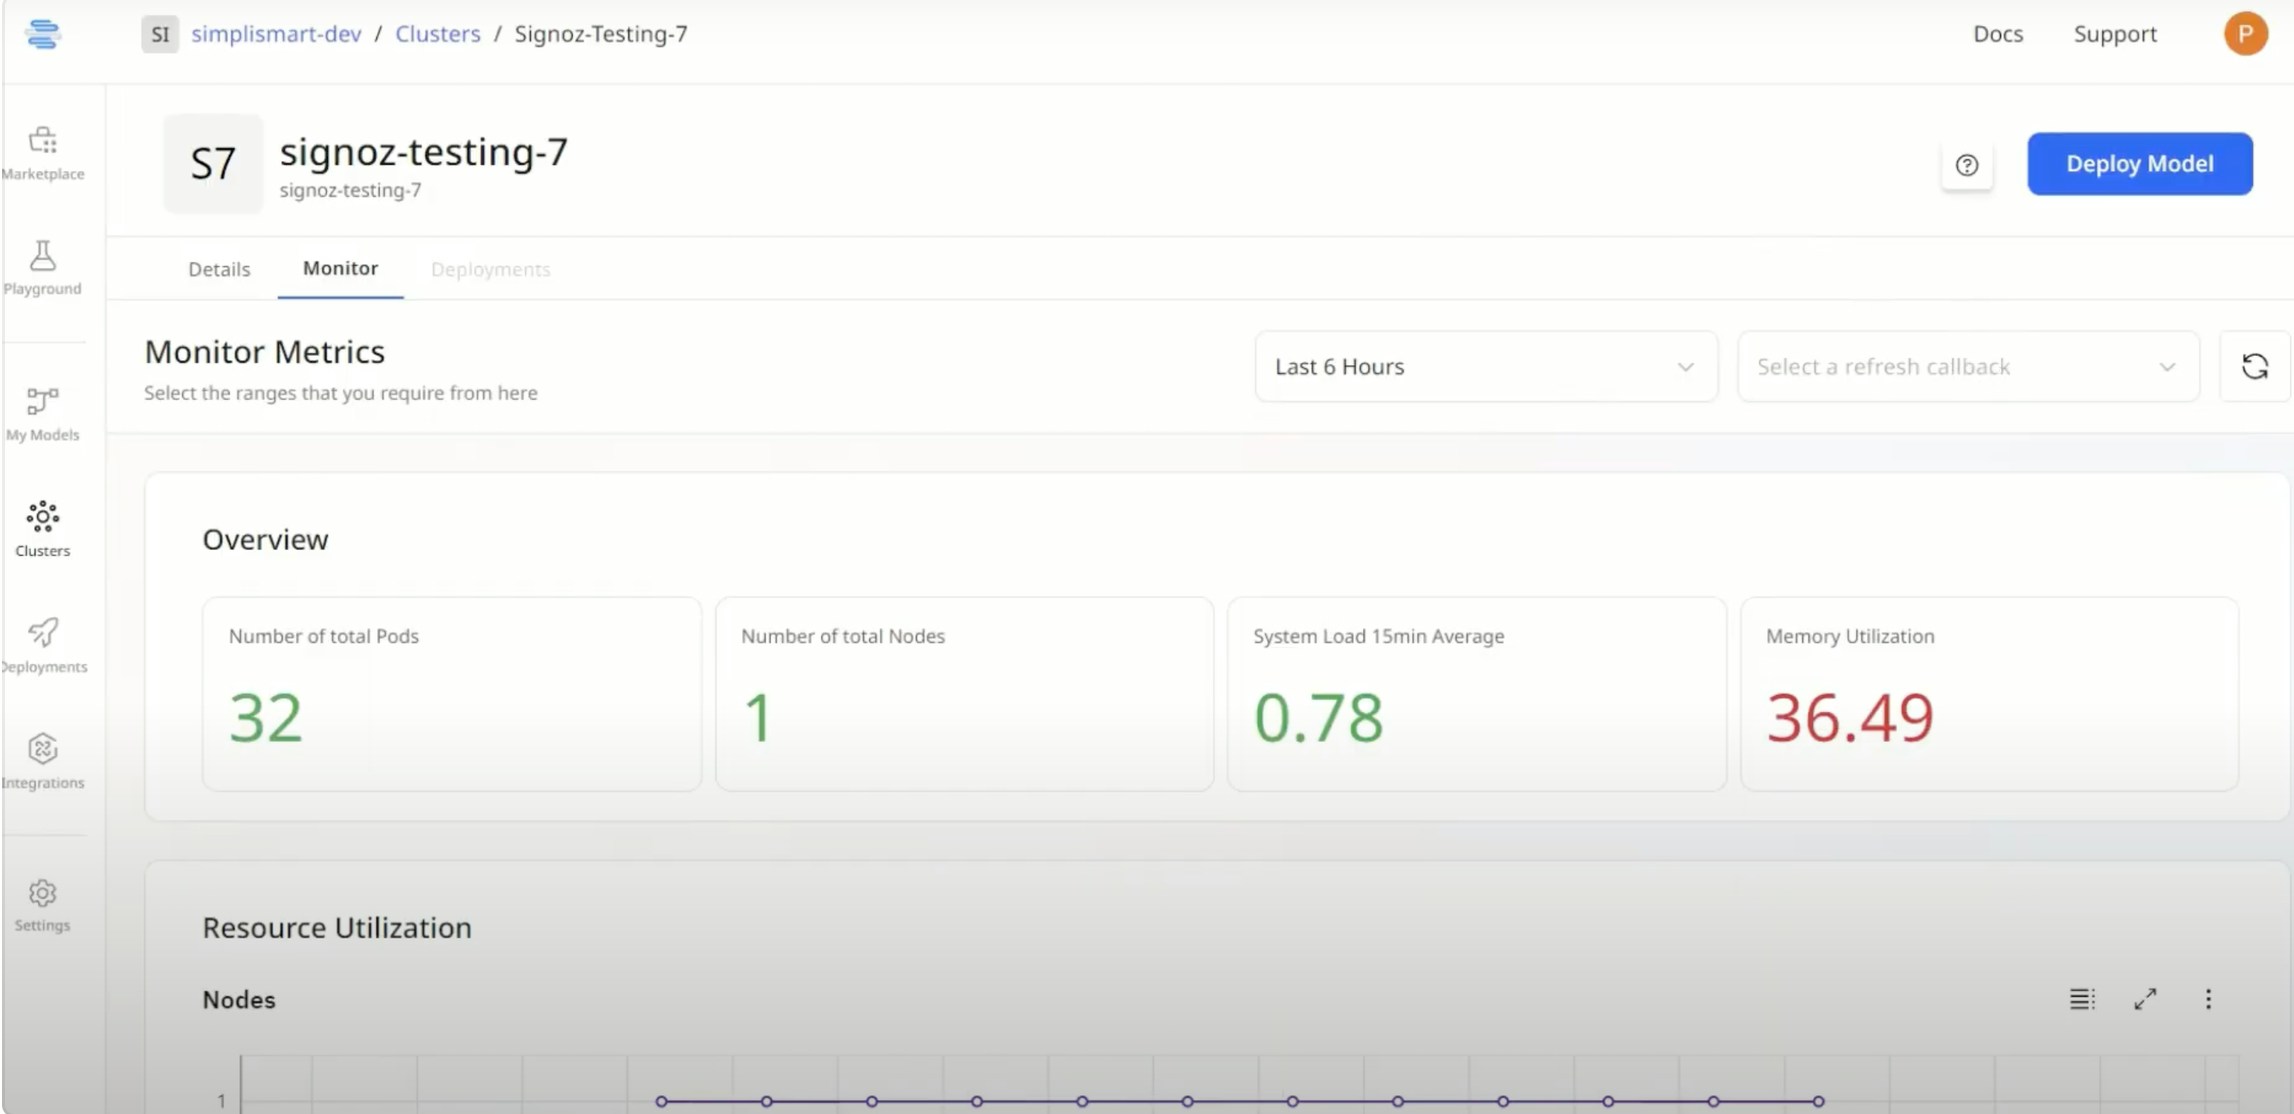
- Date Range: Select the date range for which you want to view monitoring metrics.
- Pod Info: View detailed information about the pods in your cluster.
- GPU and GRAM Utilization: Monitor the usage and performance of GPUs and GRAM.
