> ## Documentation Index
> Fetch the complete documentation index at: https://docs.simplismart.ai/llms.txt
> Use this file to discover all available pages before exploring further.
# Deploy Your First Model
> Step-by-step guide to deploying an AI model on Simplismart
This guide walks you through deploying your first AI model on Simplismart. We'll use Gemma 4 31B Instruct as an example, which is a latest open-weight large language model from Google.
## Prerequisites
* A Simplismart account ([Sign up here](/signup) if you haven't already)
* A Simplismart API key ([Generate one here](/model-suite/settings/api-keys) if needed)
## Deployment Process
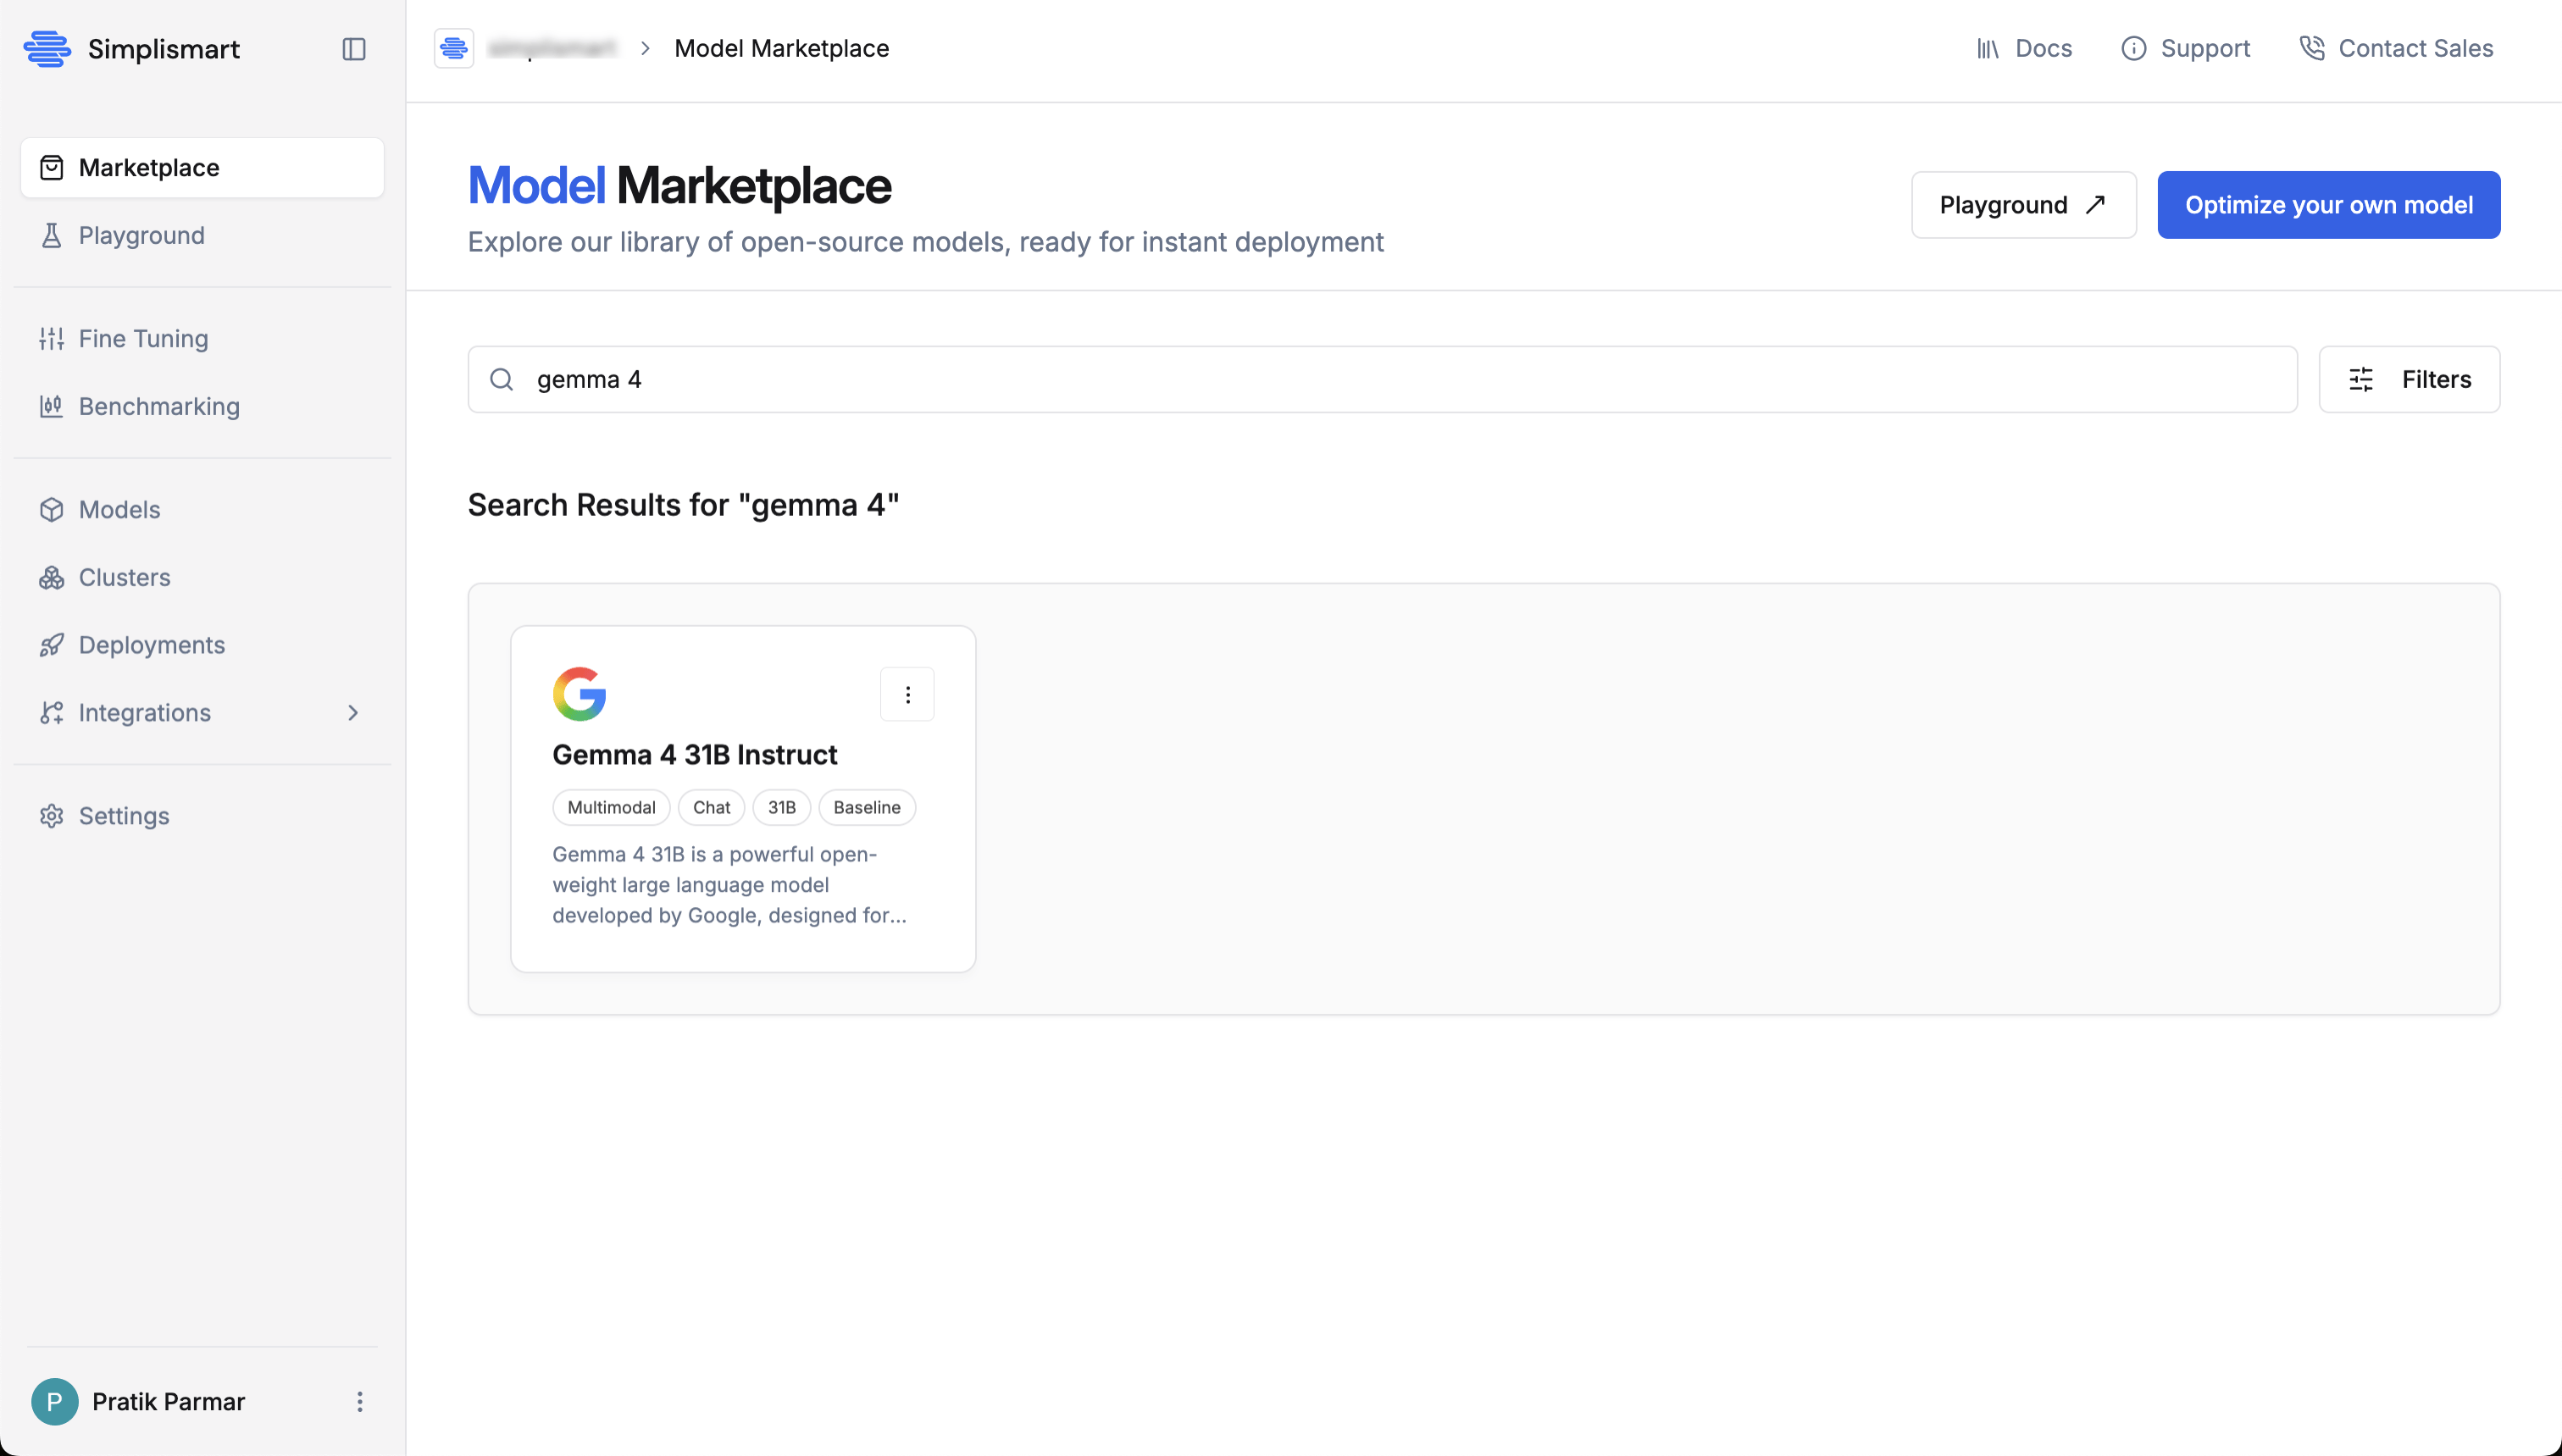
1. Navigate to the **[Marketplace](https://app.simplismart.ai/model-marketplace)** section in the left sidebar
2. Search for `Gemma 4 31B` in the search bar
3. Click on the **[Gemma 4 31B Instruct](https://app.simplismart.ai/model-marketplace/2efc00b2-4a9a-49a9-ba94-d852e0e7637c)** model card to view its details
 4. On the model detail page, click **Deploy Model** to begin the deployment process
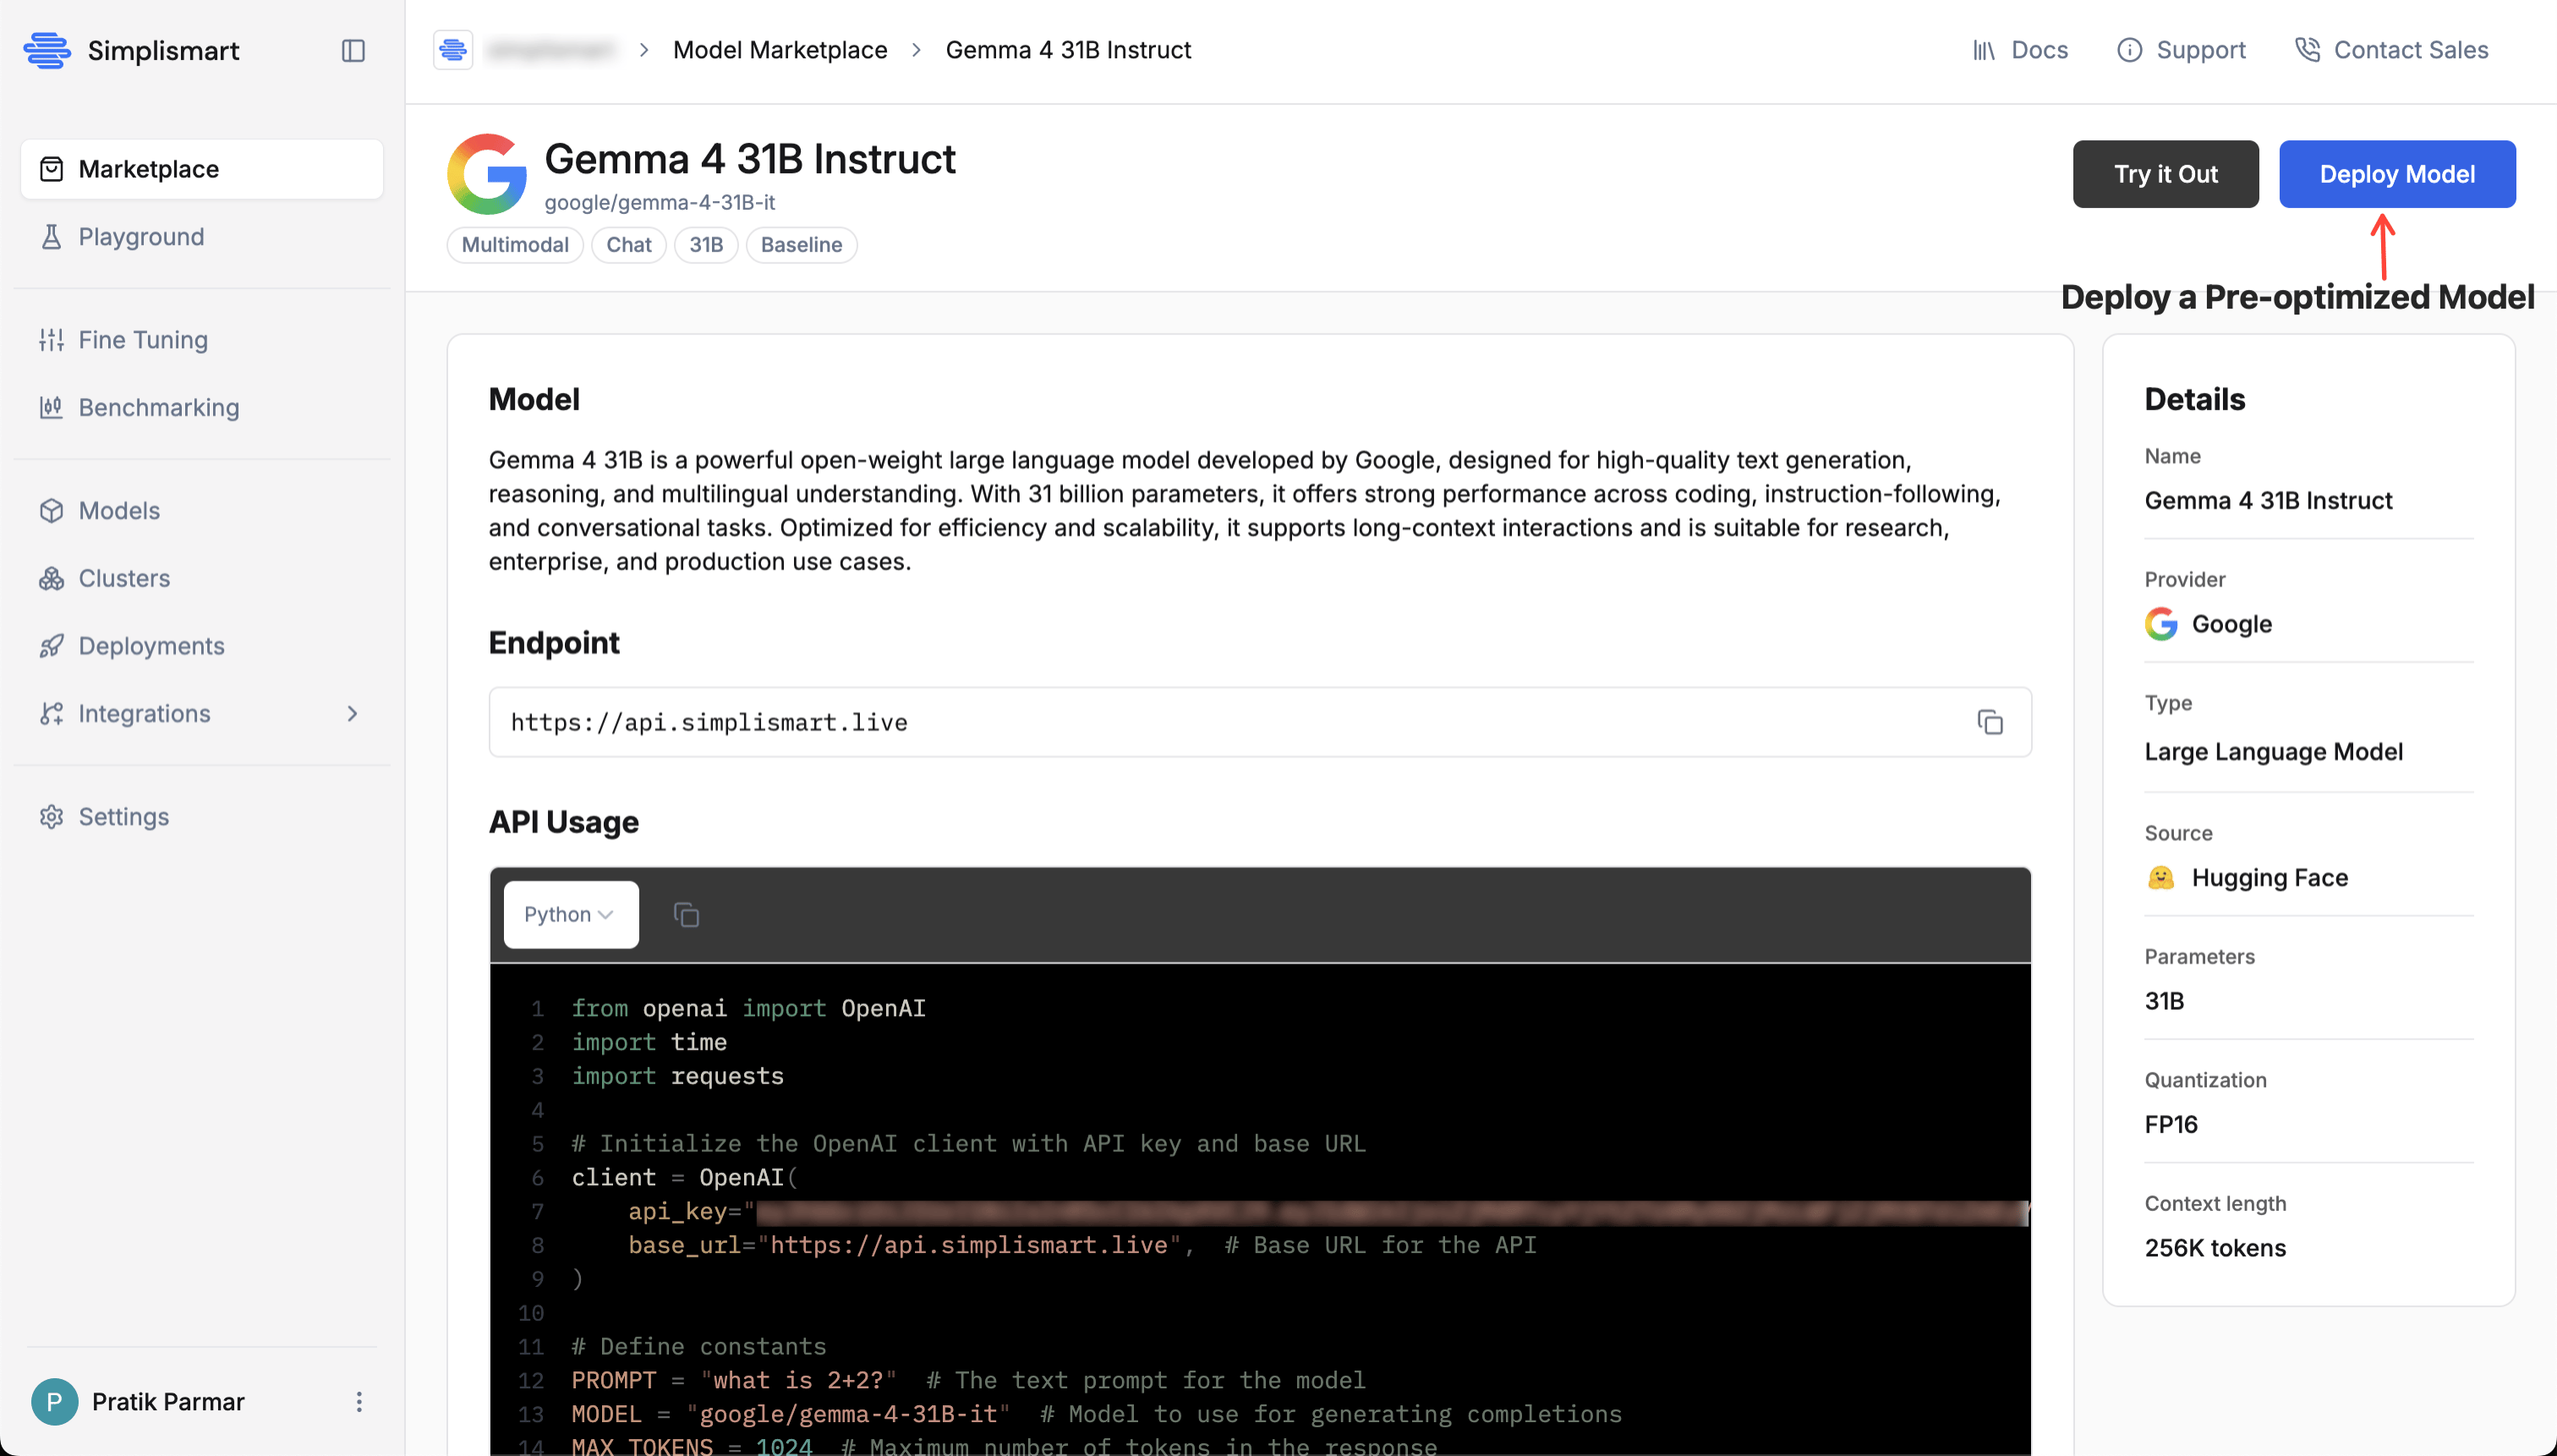 In the **[Create Deployment](https://app.simplismart.ai/deployments/create)** screen, fill in the following:
### Deployment Details
* **Deployment Name**: A unique name (e.g. `gemma-4-31b`)
* **Permalink Identifier**: A custom identifier used to create your model endpoint URL. This value will be added as a prefix to your endpoint URL.
* **Model**: Confirm "Gemma 4 31B Instruct" is selected
* **Cloud**: Select **Simplismart Cloud** for managed hosting. Choose **Bring Your Own Cloud** to deploy on your own [cluster](/model-suite/integrations/cloud-account).
* **Accelerator Type**: Select **H100** (or another available GPU based on your quota)
### Scaling Parameters
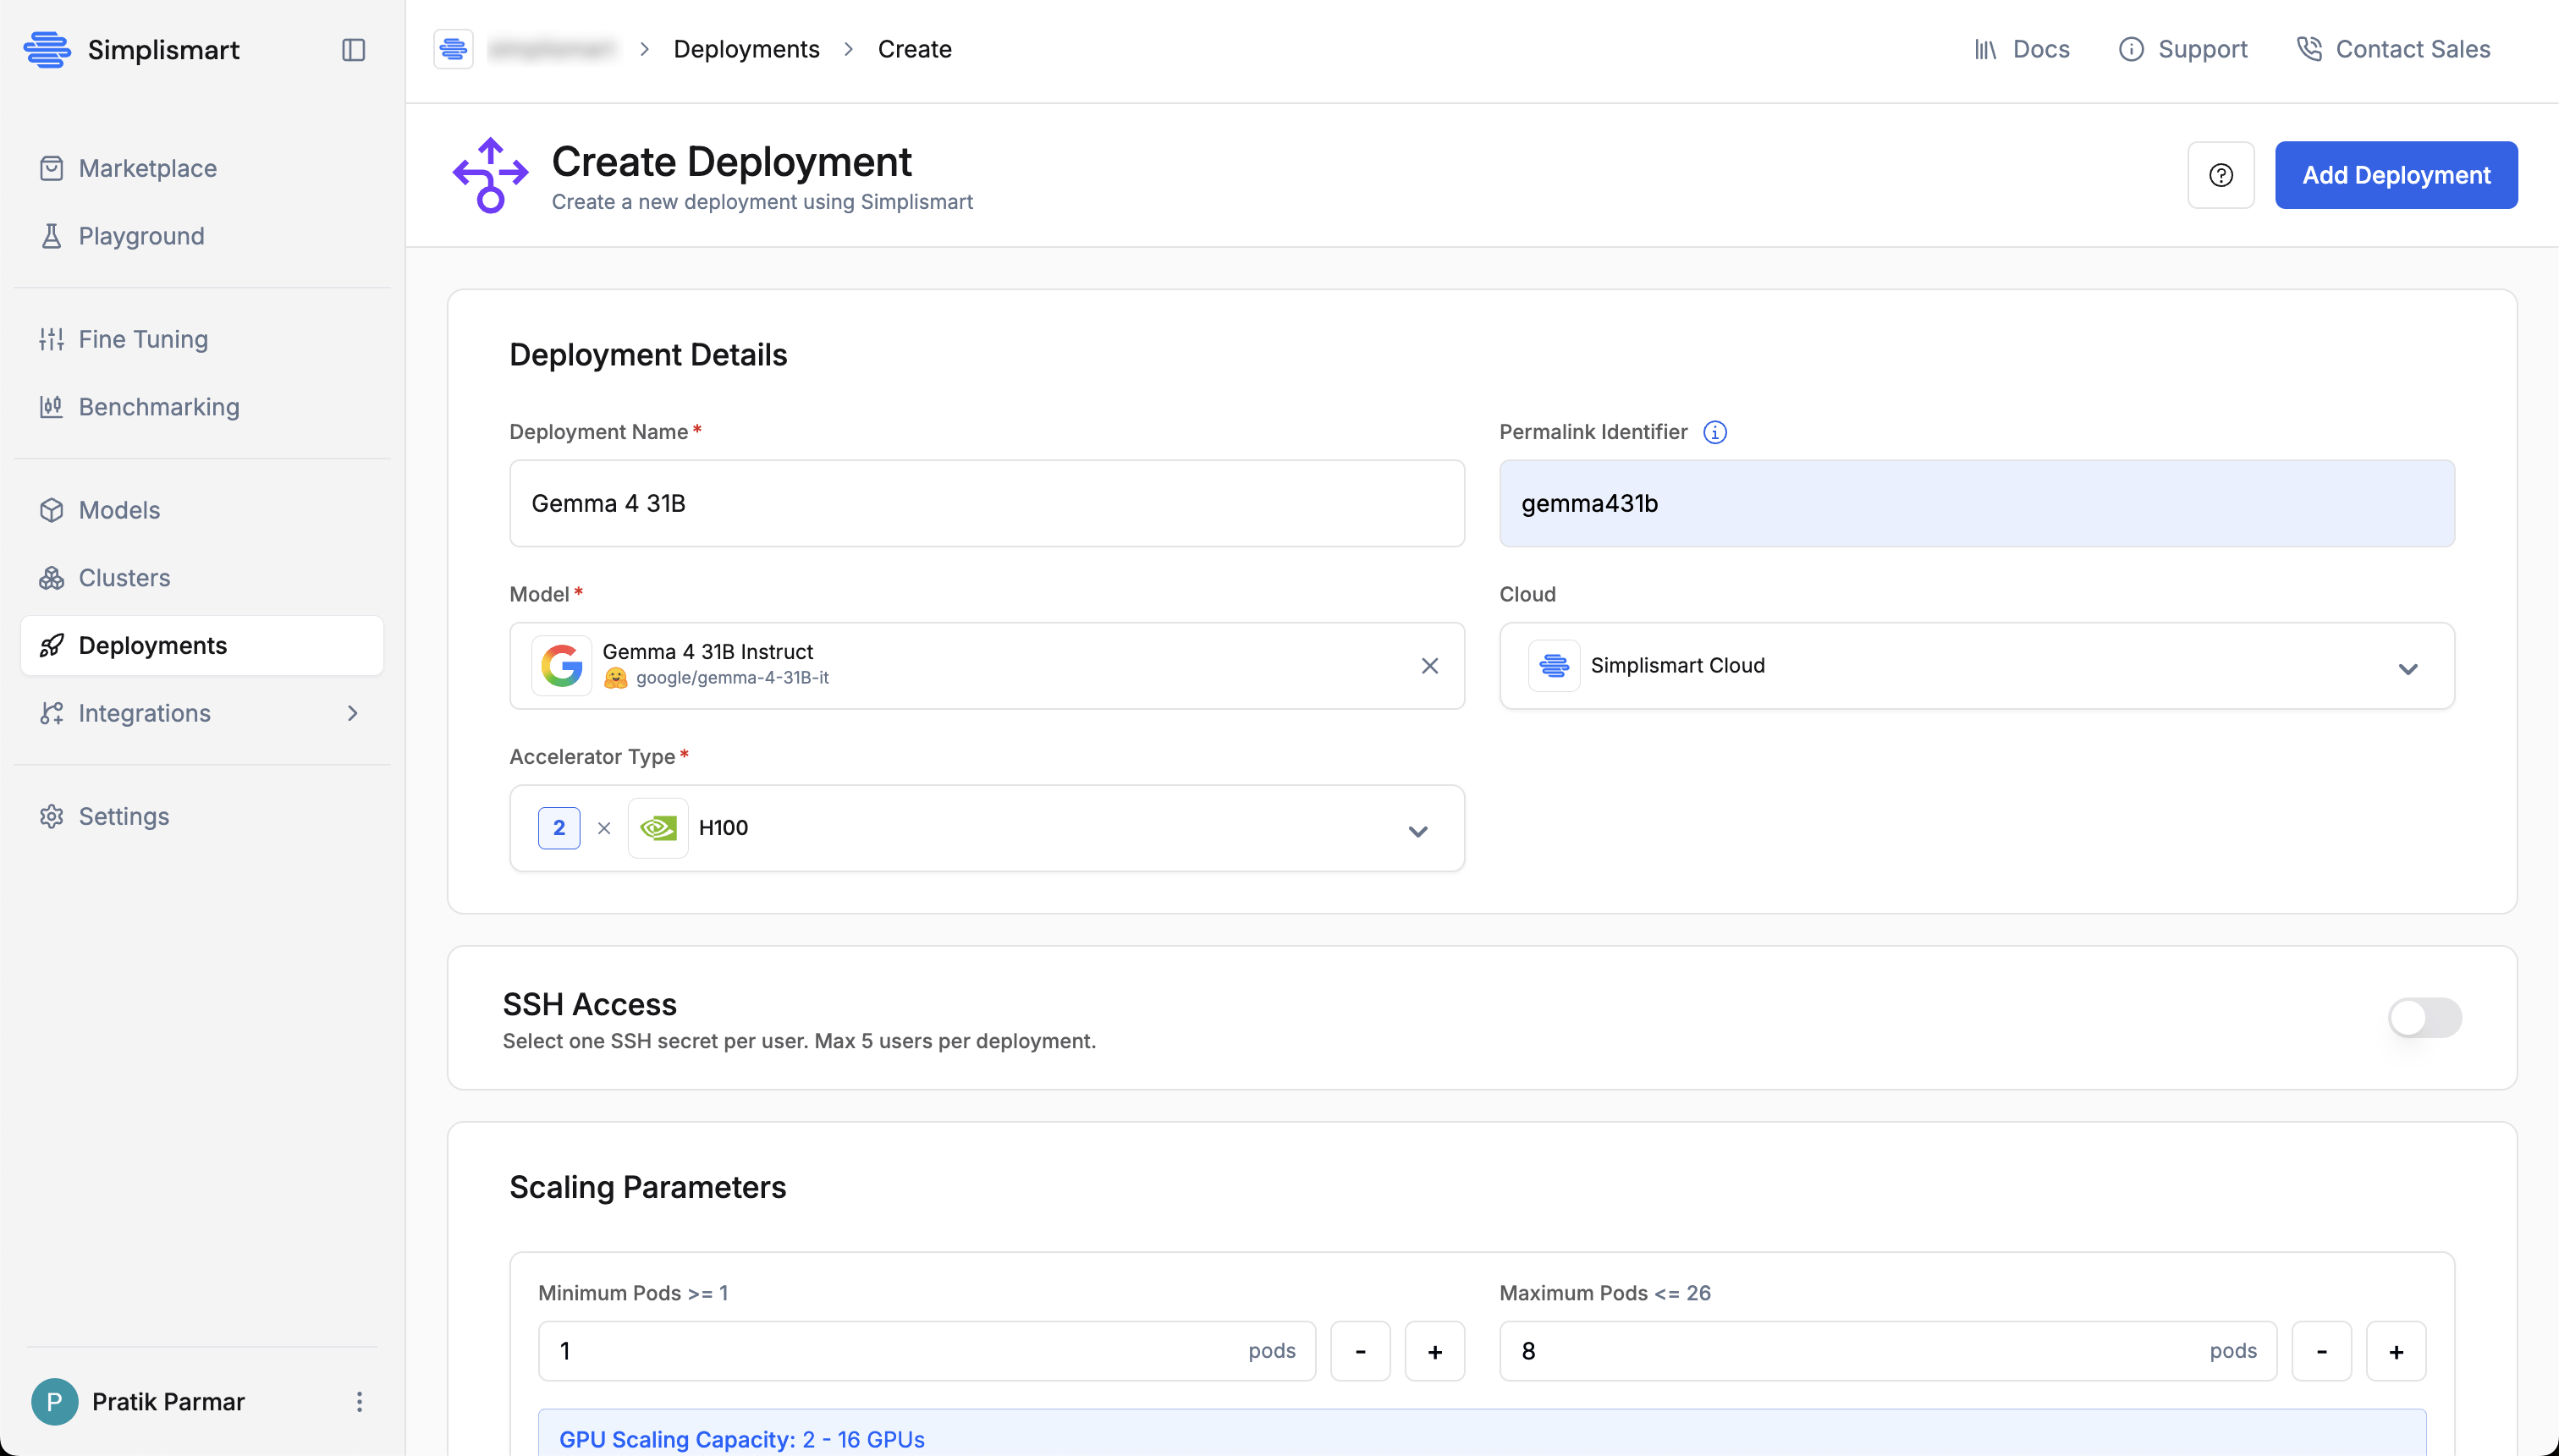
Set **Minimum Pods** to `1` and **Maximum Pods** to `1`. The GPU scaling capacity is shown below the inputs so you can verify resource availability before deploying.
For production workloads, see [Scaling Parameters](/model-suite/deployments/creating-a-deployment#scaling-parameters) and [Autoscaling Policy](/model-suite/deployments/creating-a-deployment#autoscaling-policy) for stabilization windows and rate-limited scaling.
In the **[Create Deployment](https://app.simplismart.ai/deployments/create)** screen, fill in the following:
### Deployment Details
* **Deployment Name**: A unique name (e.g. `gemma-4-31b`)
* **Permalink Identifier**: A custom identifier used to create your model endpoint URL. This value will be added as a prefix to your endpoint URL.
* **Model**: Confirm "Gemma 4 31B Instruct" is selected
* **Cloud**: Select **Simplismart Cloud** for managed hosting. Choose **Bring Your Own Cloud** to deploy on your own [cluster](/model-suite/integrations/cloud-account).
* **Accelerator Type**: Select **H100** (or another available GPU based on your quota)
### Scaling Parameters
Set **Minimum Pods** to `1` and **Maximum Pods** to `1`. The GPU scaling capacity is shown below the inputs so you can verify resource availability before deploying.
For production workloads, see [Scaling Parameters](/model-suite/deployments/creating-a-deployment#scaling-parameters) and [Autoscaling Policy](/model-suite/deployments/creating-a-deployment#autoscaling-policy) for stabilization windows and rate-limited scaling.
 Tags help filter and organize deployments. Add at least one:
* Key: `env`
* Value: `quickstart`
Click **Add Deployment** in the top-right corner. A **Deploy Model Confirmation** modal appears summarising your configuration:
Review the details, then click **Confirm** to start the deployment.
Tags help filter and organize deployments. Add at least one:
* Key: `env`
* Value: `quickstart`
Click **Add Deployment** in the top-right corner. A **Deploy Model Confirmation** modal appears summarising your configuration:
Review the details, then click **Confirm** to start the deployment.
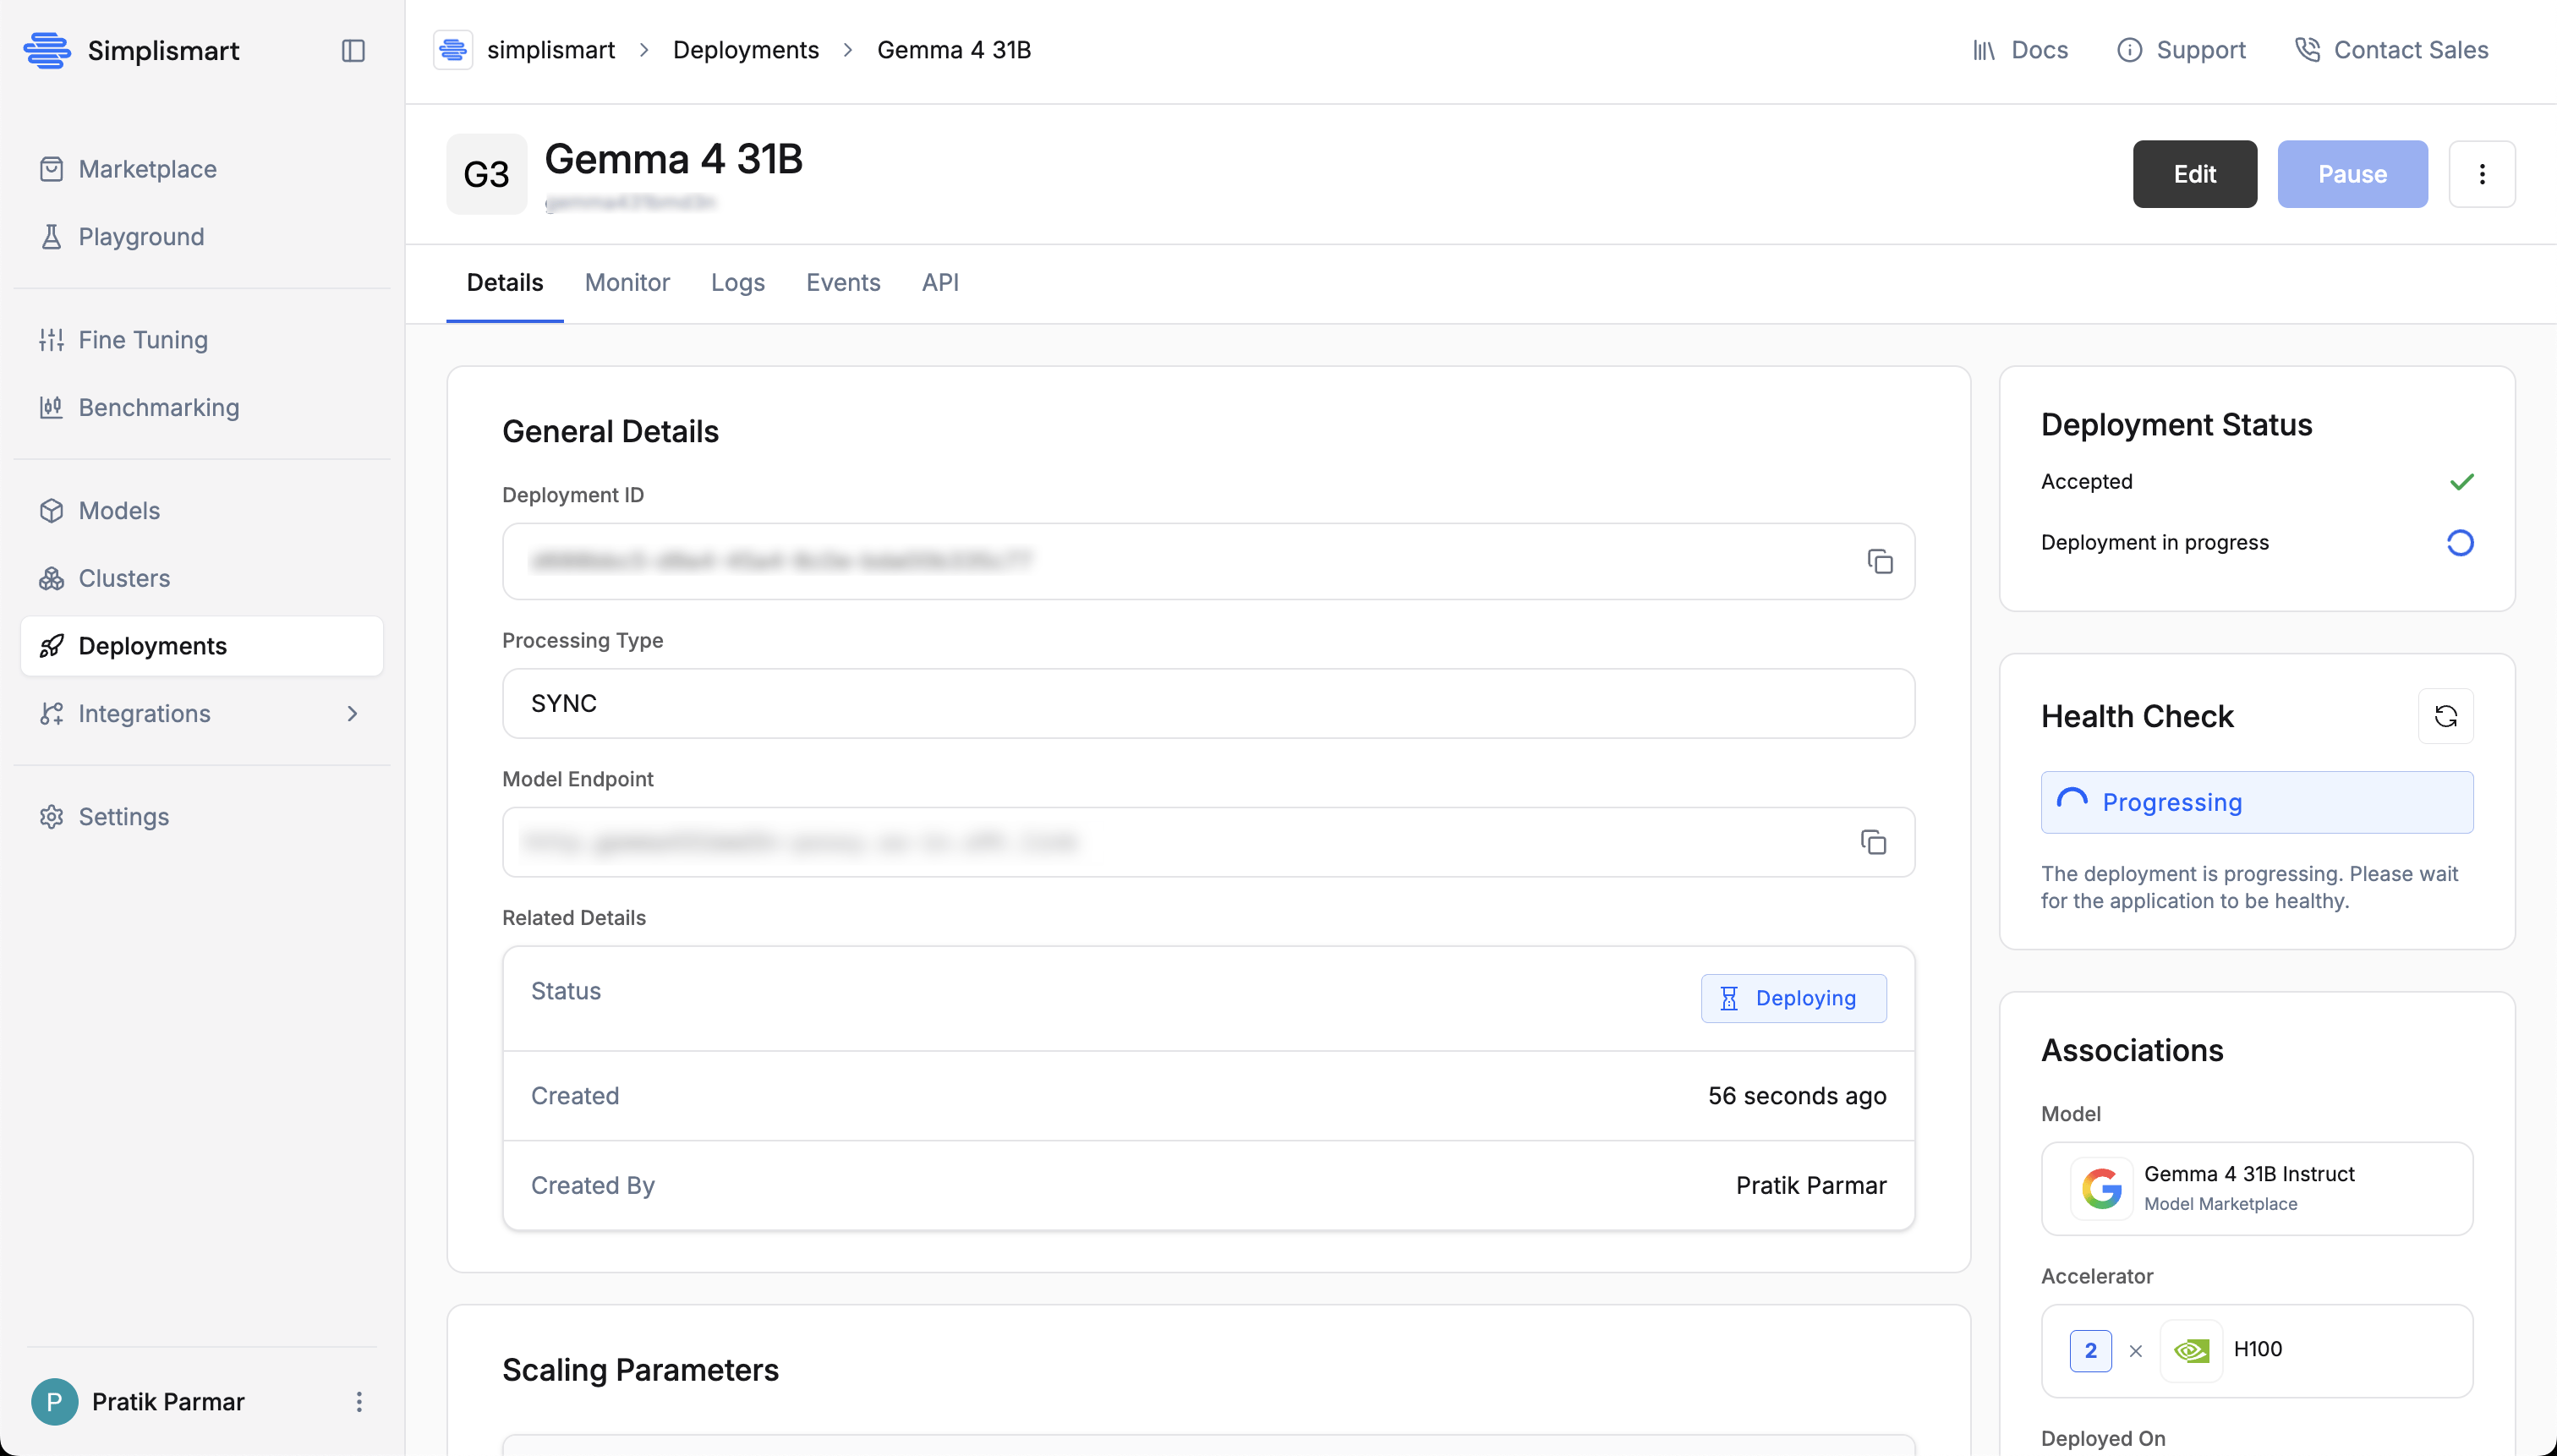
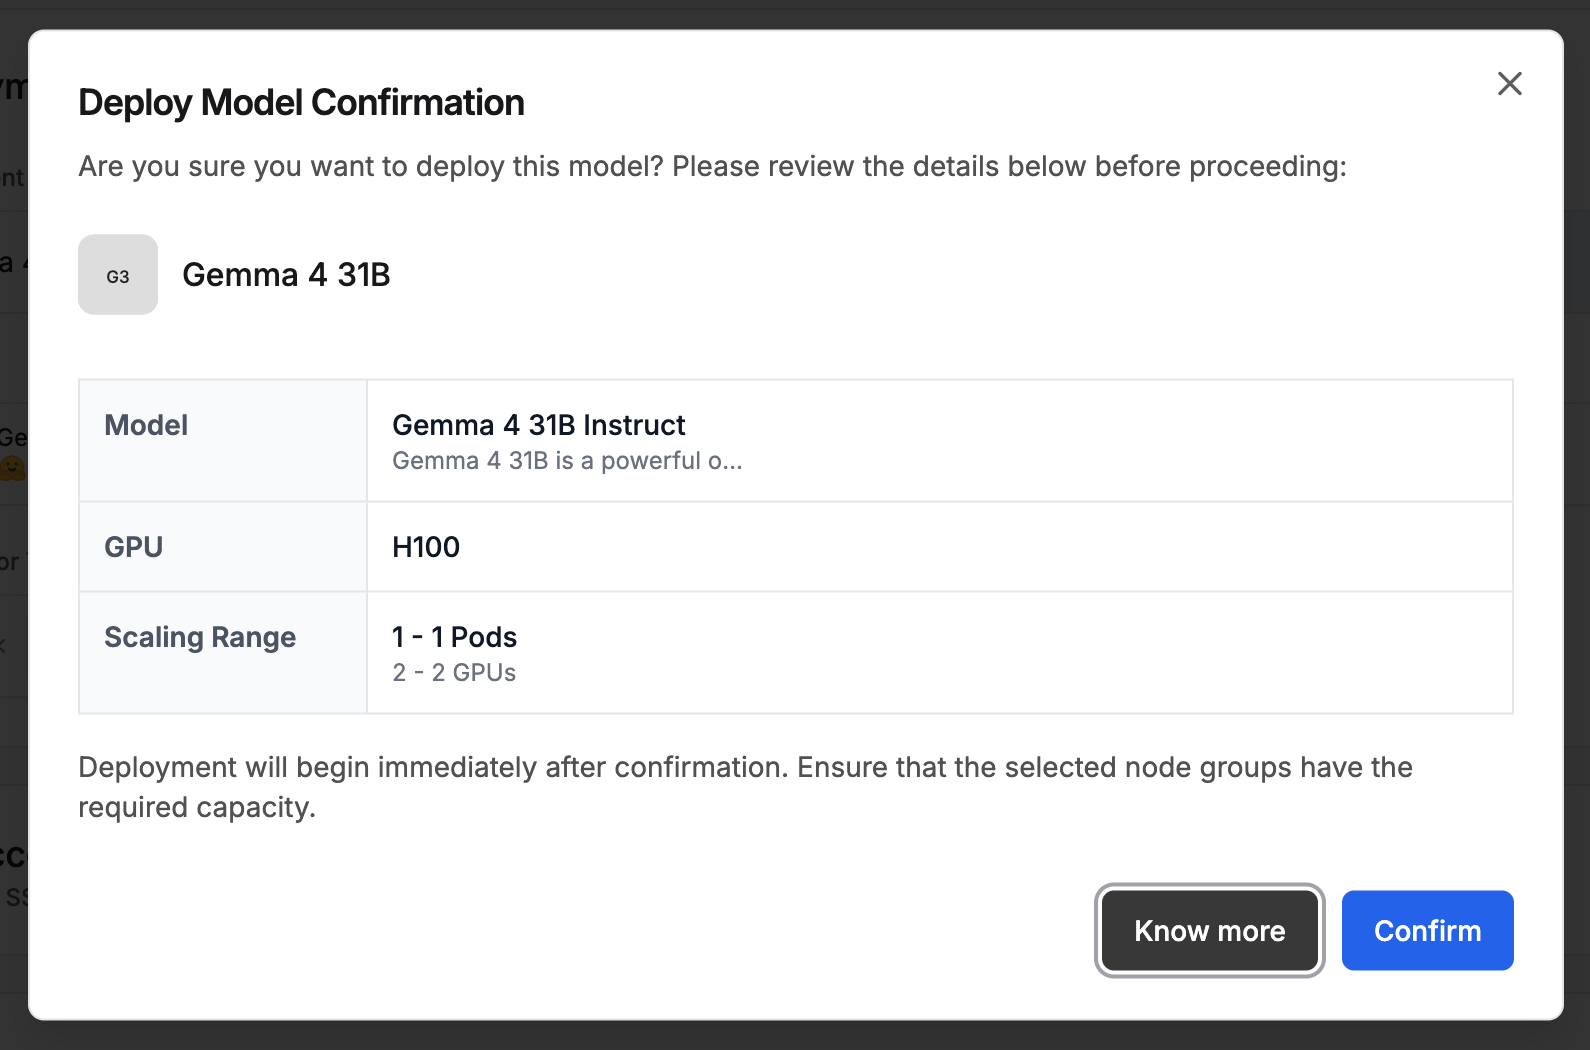 After confirming, you are taken to the deployment detail page. The **Health Check** panel on the right shows **Progressing** while pods come up and the model loads. Once the model is ready, the status changes to **Healthy**.
The **Details** tab shows the Deployment ID, processing type (SYNC), model endpoint, and scaling configuration. Use the **Logs** and **Events** tabs to follow startup activity.
After confirming, you are taken to the deployment detail page. The **Health Check** panel on the right shows **Progressing** while pods come up and the model loads. Once the model is ready, the status changes to **Healthy**.
The **Details** tab shows the Deployment ID, processing type (SYNC), model endpoint, and scaling configuration. Use the **Logs** and **Events** tabs to follow startup activity.
 For the full deployment state machine and monitoring guidance, see [Monitoring and Access](/model-suite/deployments/creating-a-deployment#monitoring-and-access).
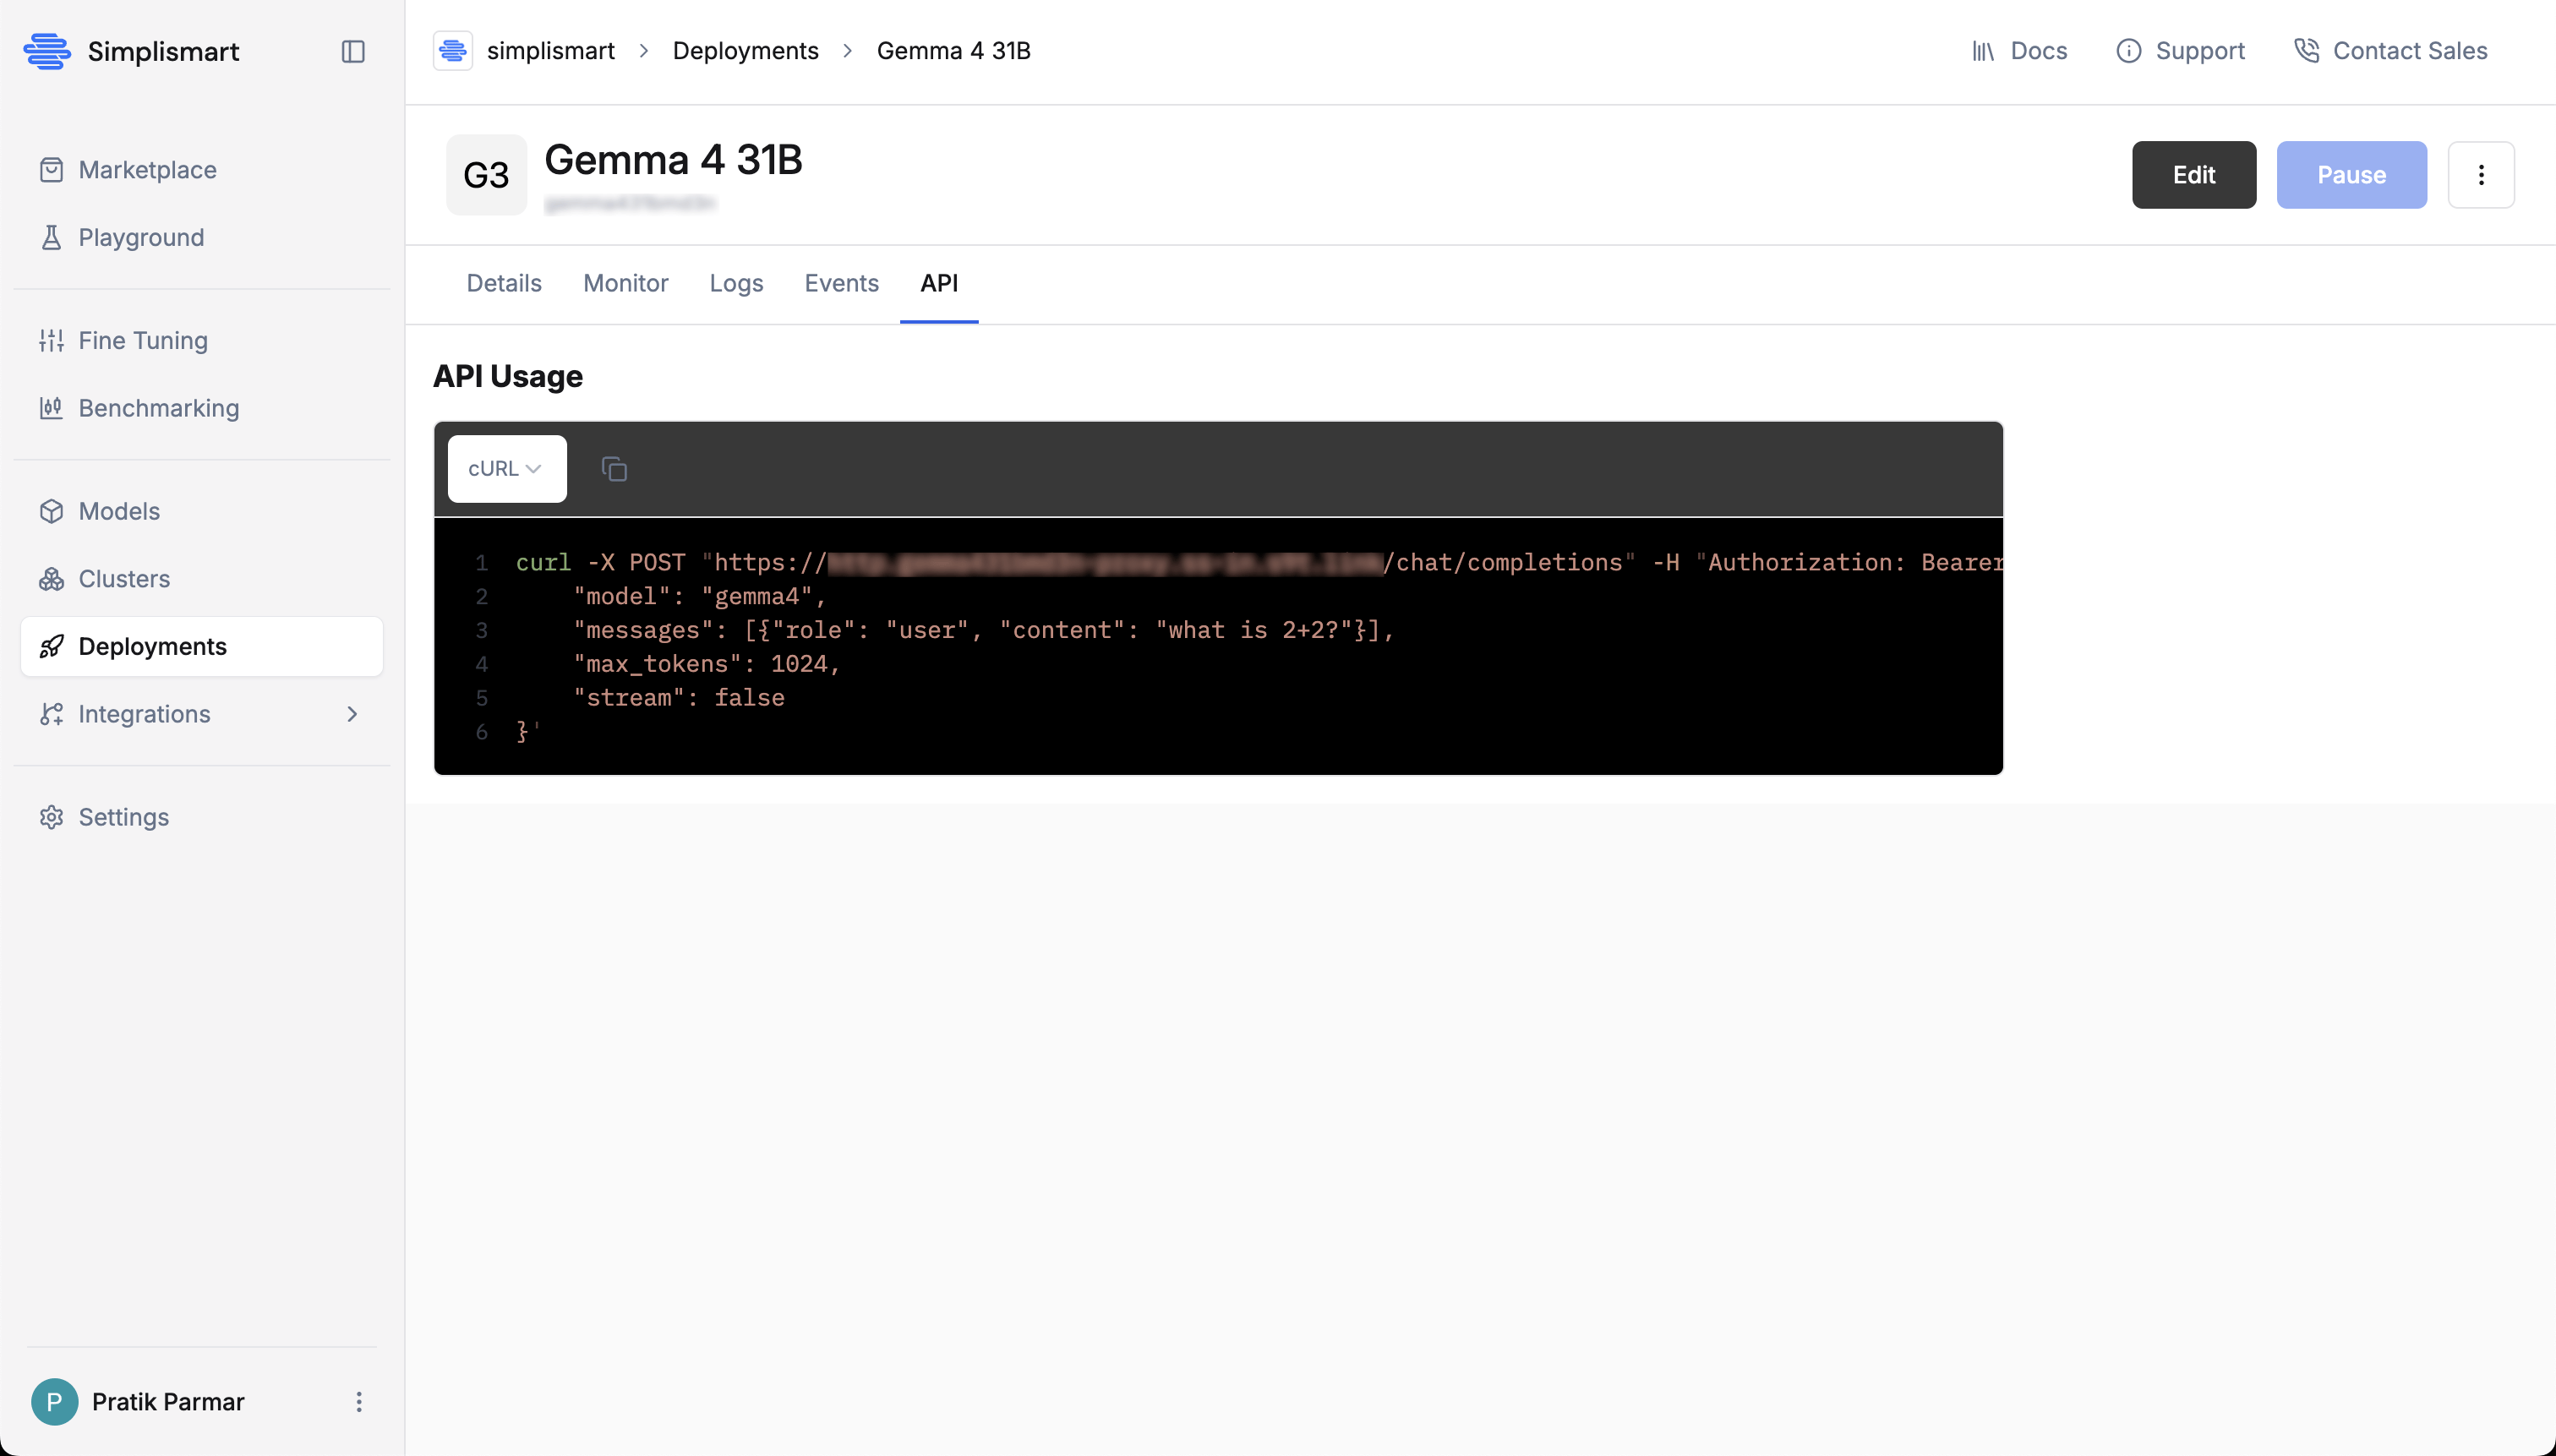
Once the deployment status shows **Healthy**, open the **API** tab in the deployment detail page to test it:
1. The **cURL** snippet is pre-filled with your endpoint URL.
2. Set the `Authorization` header to `Bearer `.
3. Copy and run the snippet.
For the full deployment state machine and monitoring guidance, see [Monitoring and Access](/model-suite/deployments/creating-a-deployment#monitoring-and-access).
Once the deployment status shows **Healthy**, open the **API** tab in the deployment detail page to test it:
1. The **cURL** snippet is pre-filled with your endpoint URL.
2. Set the `Authorization` header to `Bearer `.
3. Copy and run the snippet.
 ```bash theme={null}
curl -X POST 'YOUR-ENDPOINT-HERE/chat/completions' \
--header 'Authorization: Bearer YOUR_API_KEY' \
--header 'Content-Type: application/json' \
--data '{
"model": "gemma4",
"messages": [
{
"role": "user",
"content": "What is 2+2?"
}
],
"max_tokens": 1024,
"stream": false
}'
```
Replace `YOUR-ENDPOINT-HERE` and `YOUR_API_KEY` with your actual values before running the command.
To free up GPU resources and avoid unnecessary charges, delete the deployment when you are done.
1. Open the **Deployments** tab.
2. Select your deployment.
3. Click the kebab menu (`⋮`) in the top-right of the deployment card and select **Delete**. See [Managing Your Deployment](/model-suite/deployments/creating-a-deployment#managing-your-deployment) for the full action set (Pause, Edit, Clone, Delete).
## Understanding Your Deployment
Your deployed model exposes an OpenAI-compatible endpoint, so you can use it with any client library that supports the OpenAI API format. The endpoint supports:
* Text inputs and completions
* Streaming and non-streaming responses
* Standard OpenAI API parameters like `temperature` and `max_tokens`
## Monitoring and Management
After deployment, you can:
Track usage deployment health, request metrics, latency metrics, LLM metrics, and Pod resouce details in the **Monitor** tab
Scale your deployment up or down based on actual usage patterns
Access detailed logs and events to troubleshoot any issues
Create and revoke API keys for secure access
## Next Steps
Now that you've successfully deployed your first model, consider these next steps:
Learn techniques to improve latency, throughput, and cost-efficiency using Simplismart Copilot.
```bash theme={null}
curl -X POST 'YOUR-ENDPOINT-HERE/chat/completions' \
--header 'Authorization: Bearer YOUR_API_KEY' \
--header 'Content-Type: application/json' \
--data '{
"model": "gemma4",
"messages": [
{
"role": "user",
"content": "What is 2+2?"
}
],
"max_tokens": 1024,
"stream": false
}'
```
Replace `YOUR-ENDPOINT-HERE` and `YOUR_API_KEY` with your actual values before running the command.
To free up GPU resources and avoid unnecessary charges, delete the deployment when you are done.
1. Open the **Deployments** tab.
2. Select your deployment.
3. Click the kebab menu (`⋮`) in the top-right of the deployment card and select **Delete**. See [Managing Your Deployment](/model-suite/deployments/creating-a-deployment#managing-your-deployment) for the full action set (Pause, Edit, Clone, Delete).
## Understanding Your Deployment
Your deployed model exposes an OpenAI-compatible endpoint, so you can use it with any client library that supports the OpenAI API format. The endpoint supports:
* Text inputs and completions
* Streaming and non-streaming responses
* Standard OpenAI API parameters like `temperature` and `max_tokens`
## Monitoring and Management
After deployment, you can:
Track usage deployment health, request metrics, latency metrics, LLM metrics, and Pod resouce details in the **Monitor** tab
Scale your deployment up or down based on actual usage patterns
Access detailed logs and events to troubleshoot any issues
Create and revoke API keys for secure access
## Next Steps
Now that you've successfully deployed your first model, consider these next steps:
Learn techniques to improve latency, throughput, and cost-efficiency using Simplismart Copilot.