Importing a Kubernetes Cluster from E2E Cloud
This page outlines the steps and requirements to create and import a Kubernetes cluster from the E2E cloud onto the Simplismart platform. Follow these steps to ensure your cluster is set up correctly and all necessary tooling is deployed.Basic Cluster Set-up & Requirements
Before importing your cluster, please ensure that it meets the following prerequisites:Steps to Create a Kubernetes Cluster
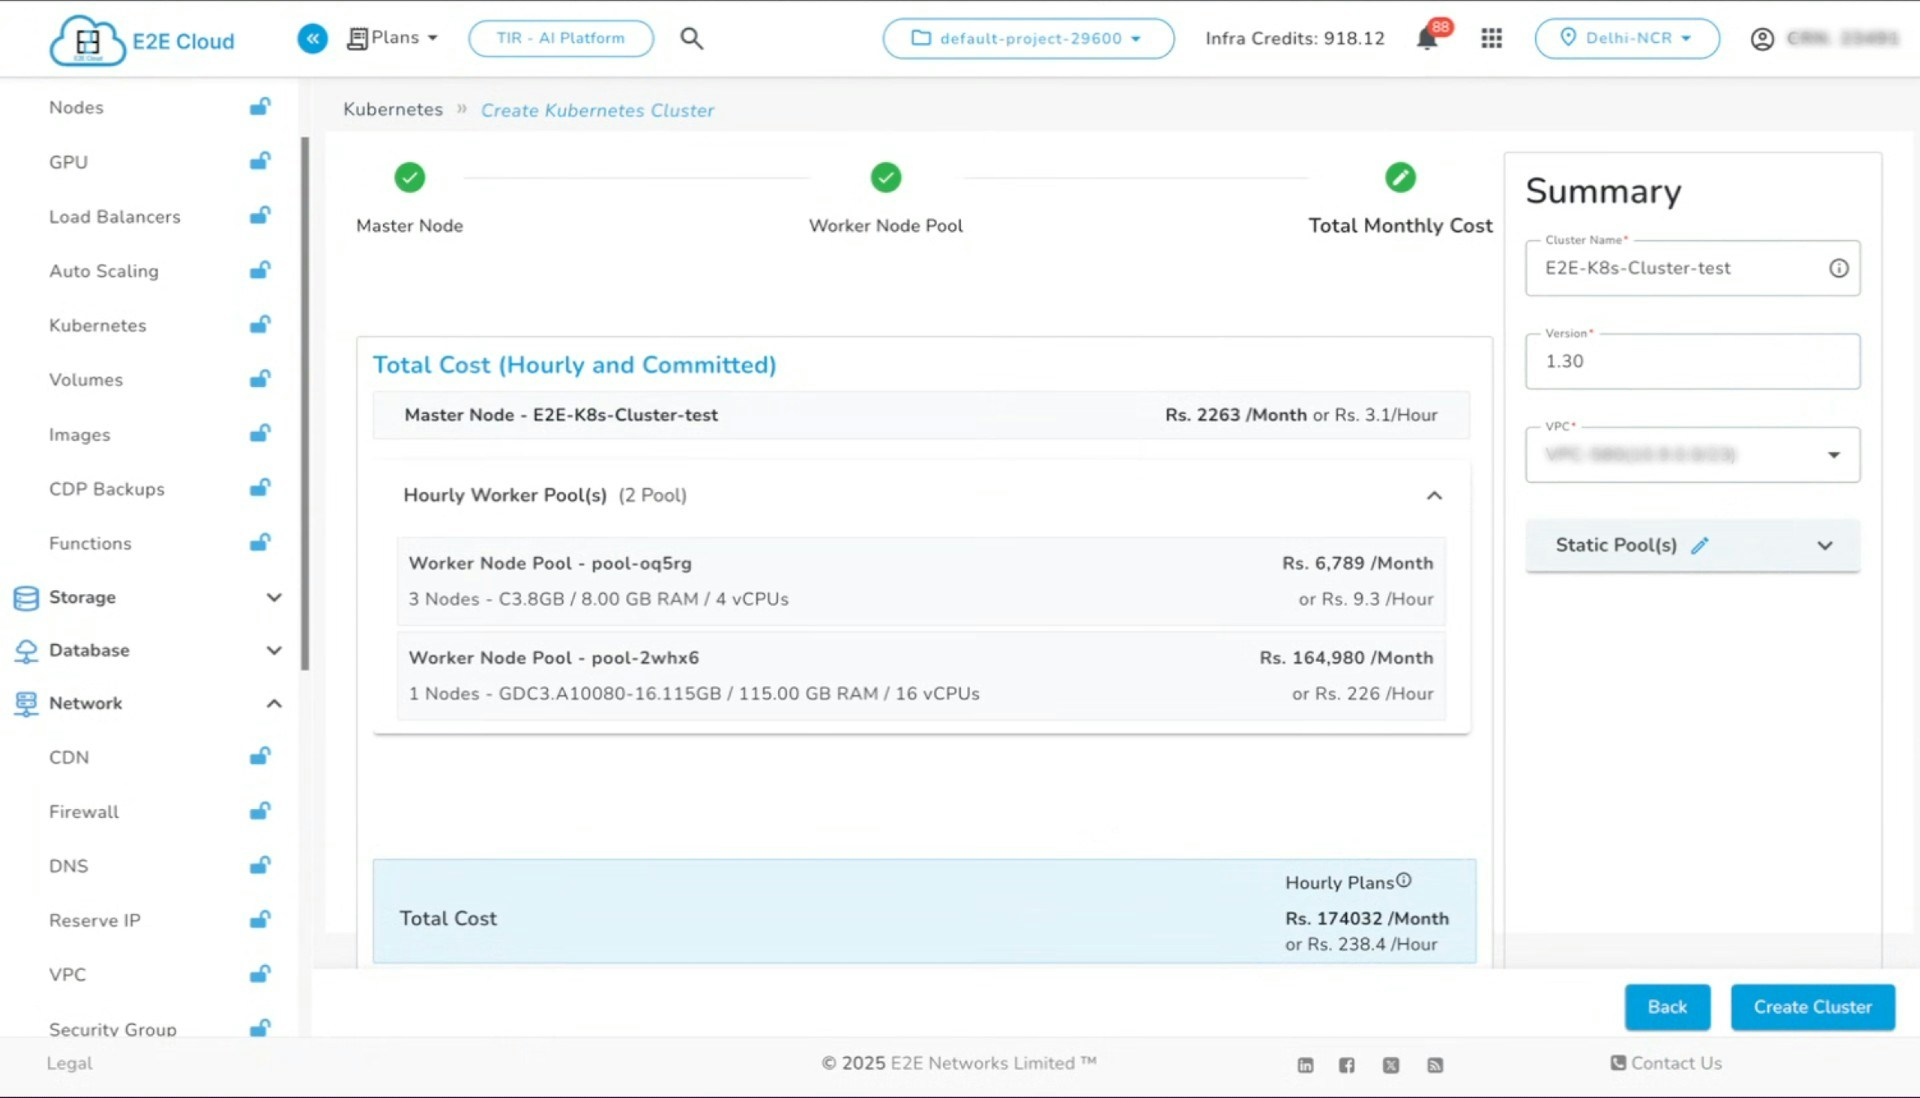
1. Navigate to the Compute Dashboard
- Go to the E2E Cloud dashboard.
- Select the Kubernetes section.
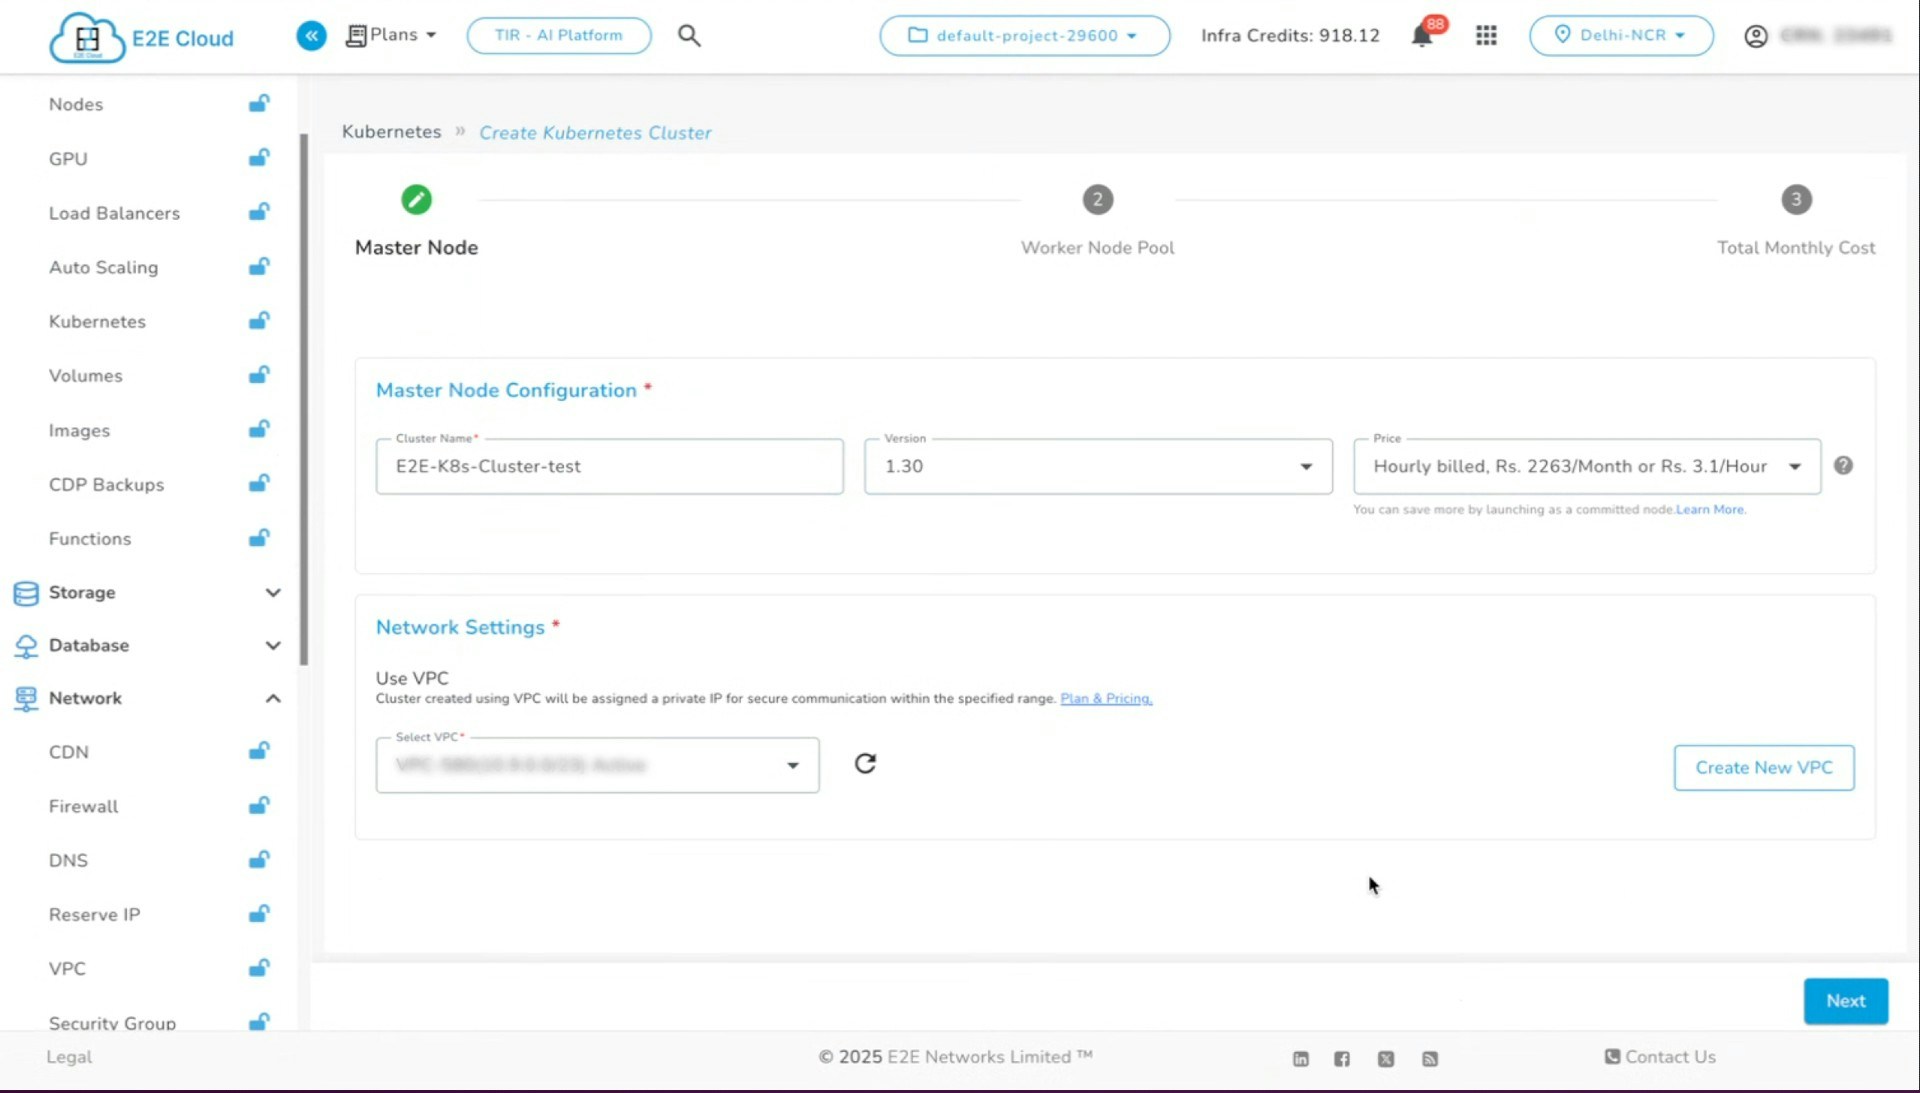
2. Create a New Kubernetes Cluster
- Click on Get Started.
- Enter a cluster name (e.g.,
test-cluster). - Select an existing VPC or create a new one if necessary.
3. Add a Node Pool
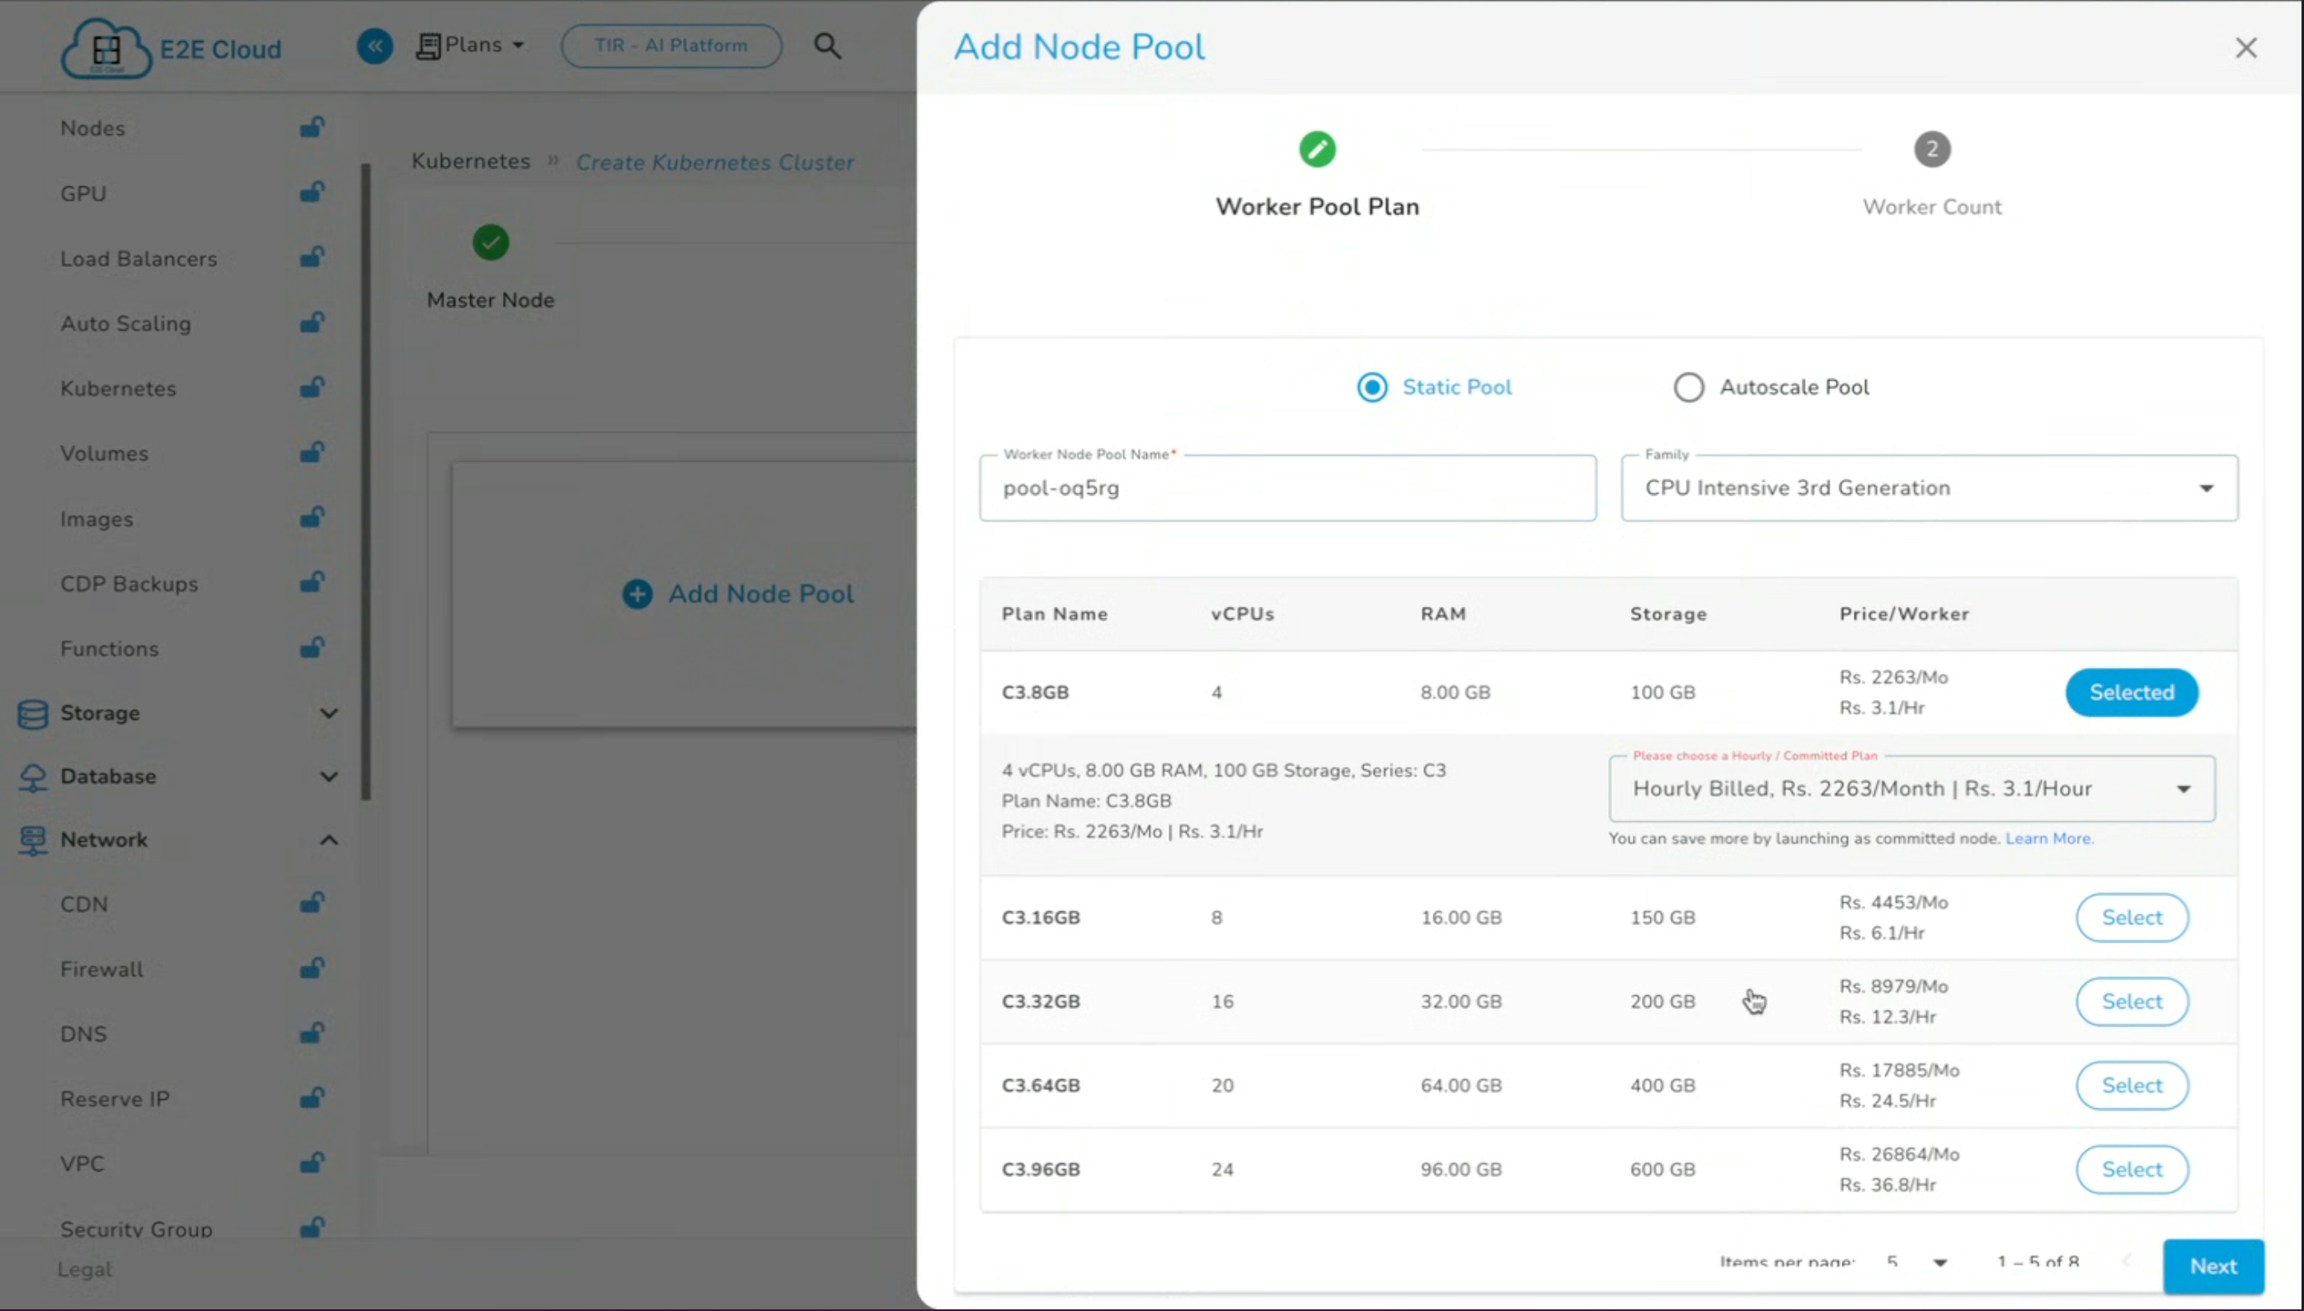
- Click on Add Node Pool.
- Choose a node configuration (e.g., 3.32 GB, 1516, 32 RAM).
- Node Labels: Label every node in the cluster to indicate its node group. Use the following format for each node’s label:
- Replace
<node-group-name>with the appropriate group name for the node.
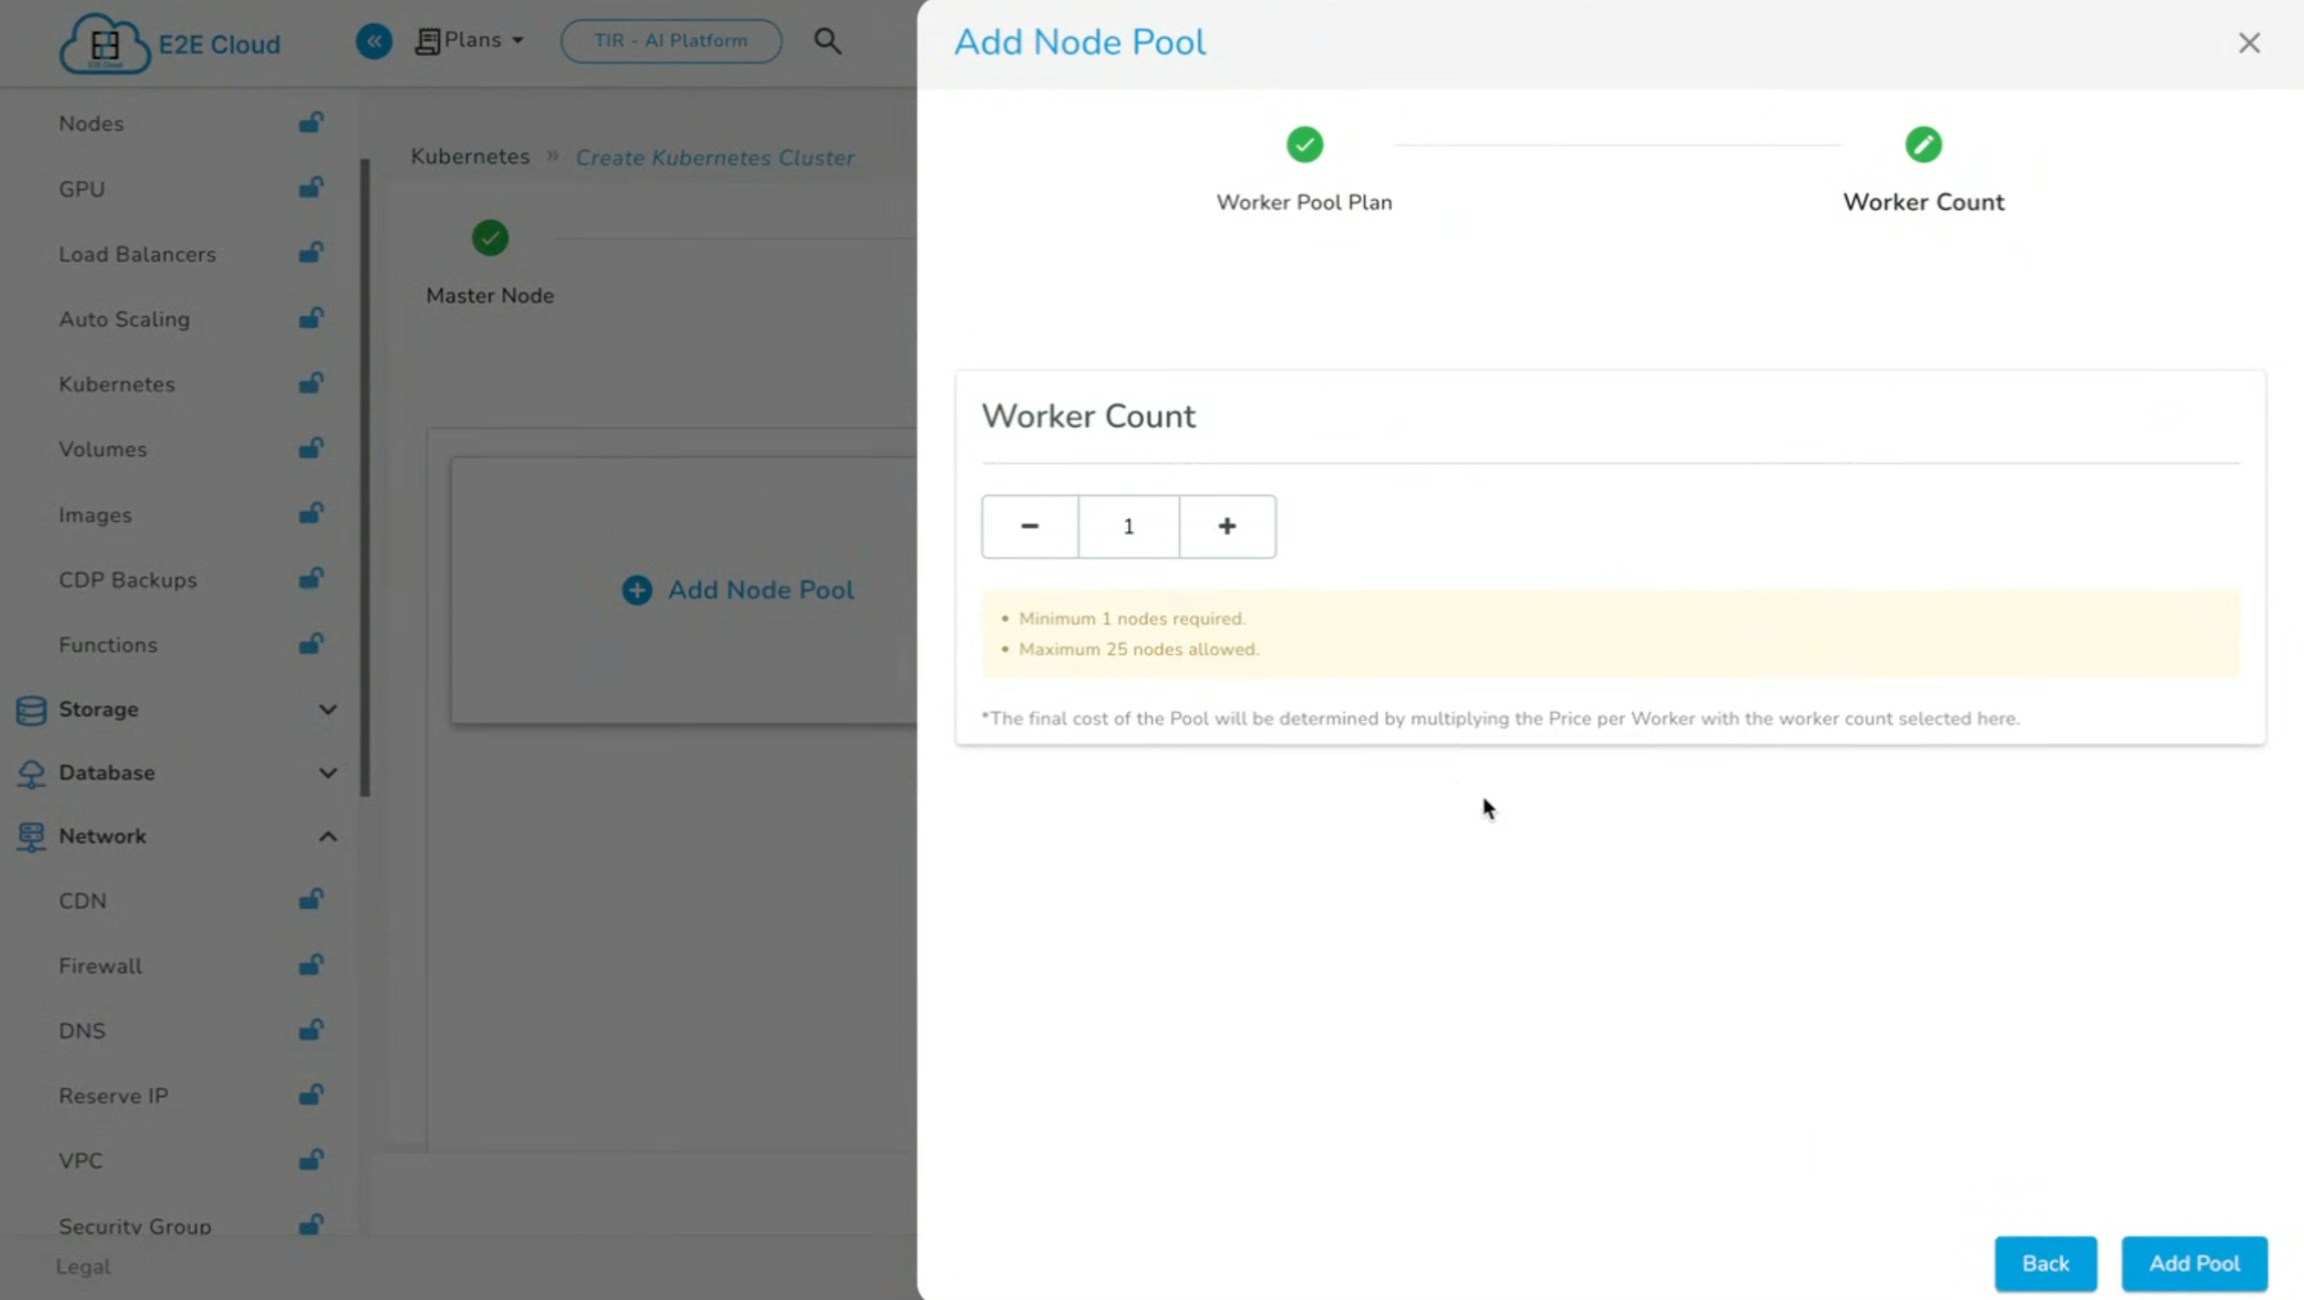
- Specify the worker count (number of nodes required).
- (Optional) Add a GPU pool if required (e.g., GDC A100).
For clusters that include GPU nodes, verify that the NVIDIA daemon set is deployed. This ensures proper management and scheduling of GPU resources.
4. Create the Cluster
- Click on Create Cluster.
- The cluster creation process generally takes approximately 15-20 minutes.
The cluster should include at least one node pool with a minimum of one CPU.
Configuring Storage (Optional)
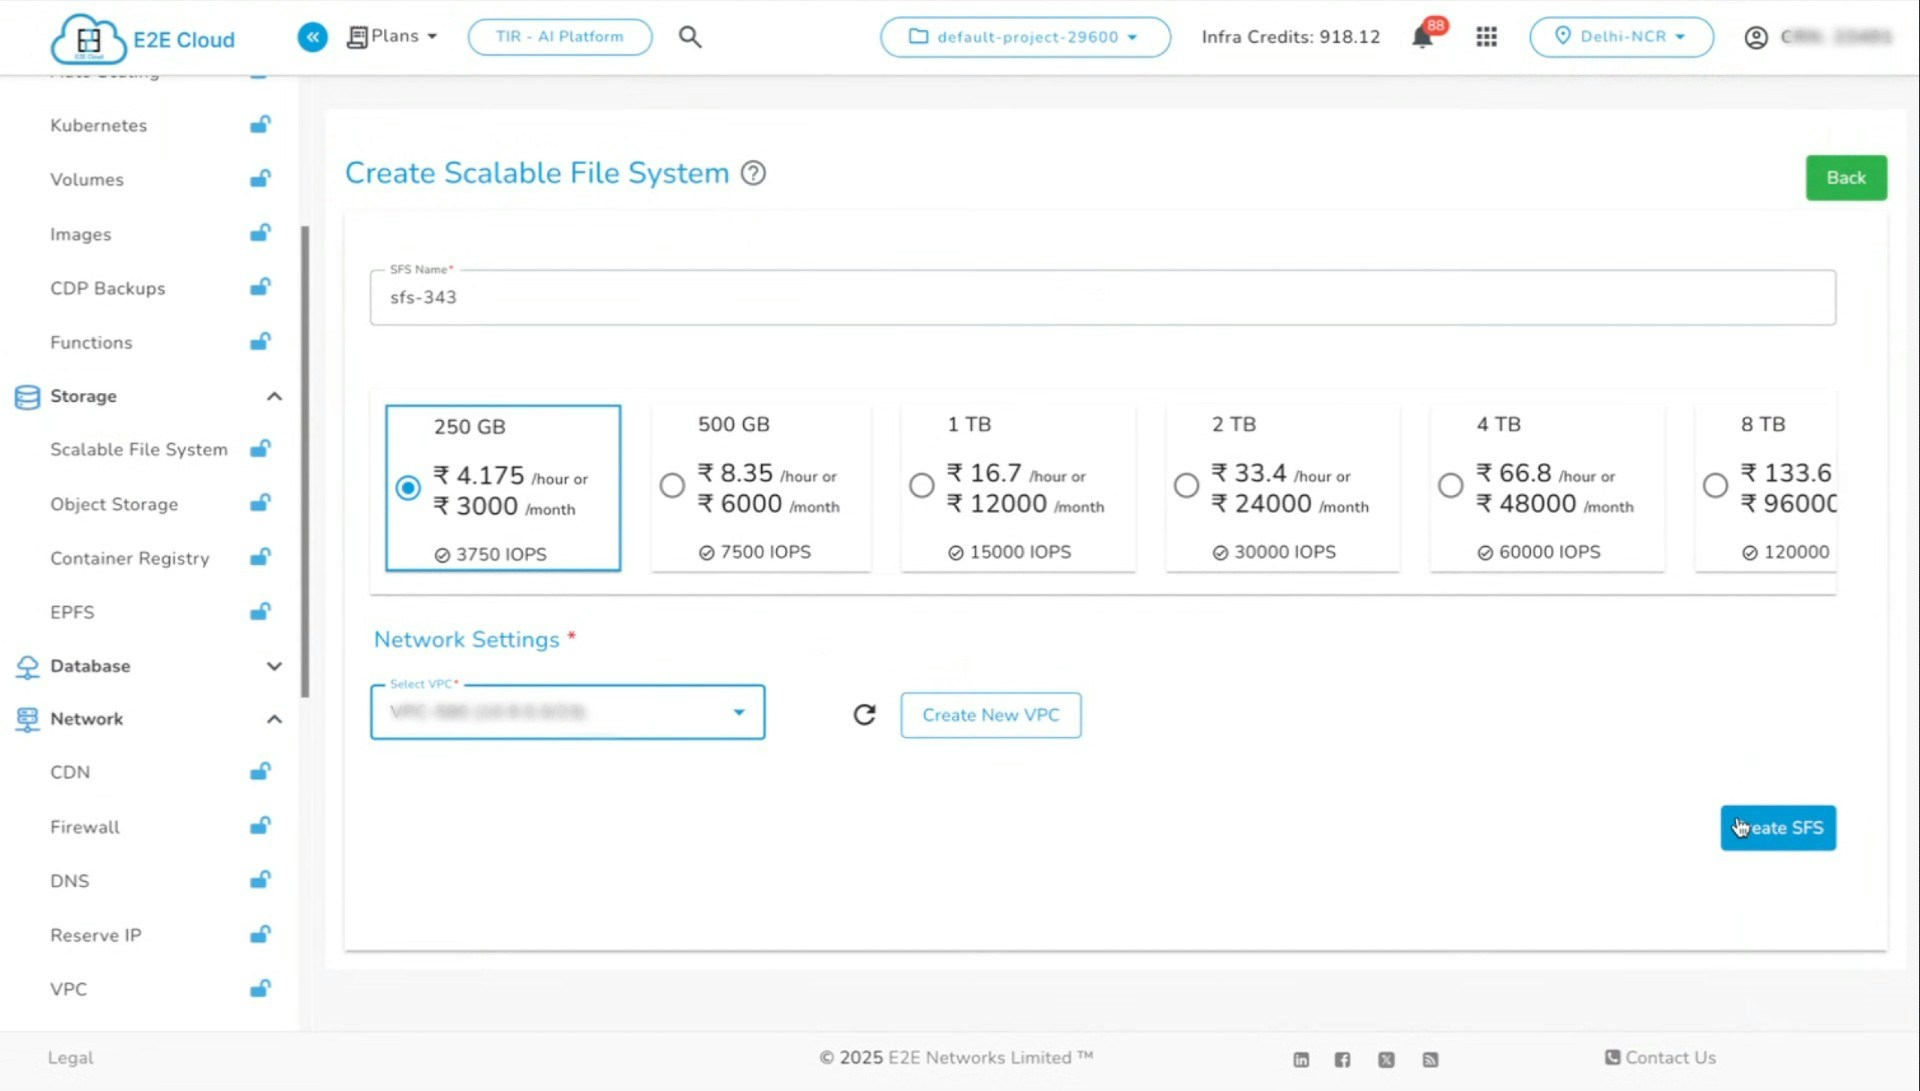
If volume mount is needed, please follow the below steps:- While the cluster is being created, navigate to the Storage section.
- Go to Scalable File System (SFS).
- Click Create.
- Select the same VPC as the cluster.
- Specify the required storage size.
- Click Create SFS.
- Grant
[all]access permissions. - Retrieve the IP address of the volume and keep it handy.
Post-Creation Steps
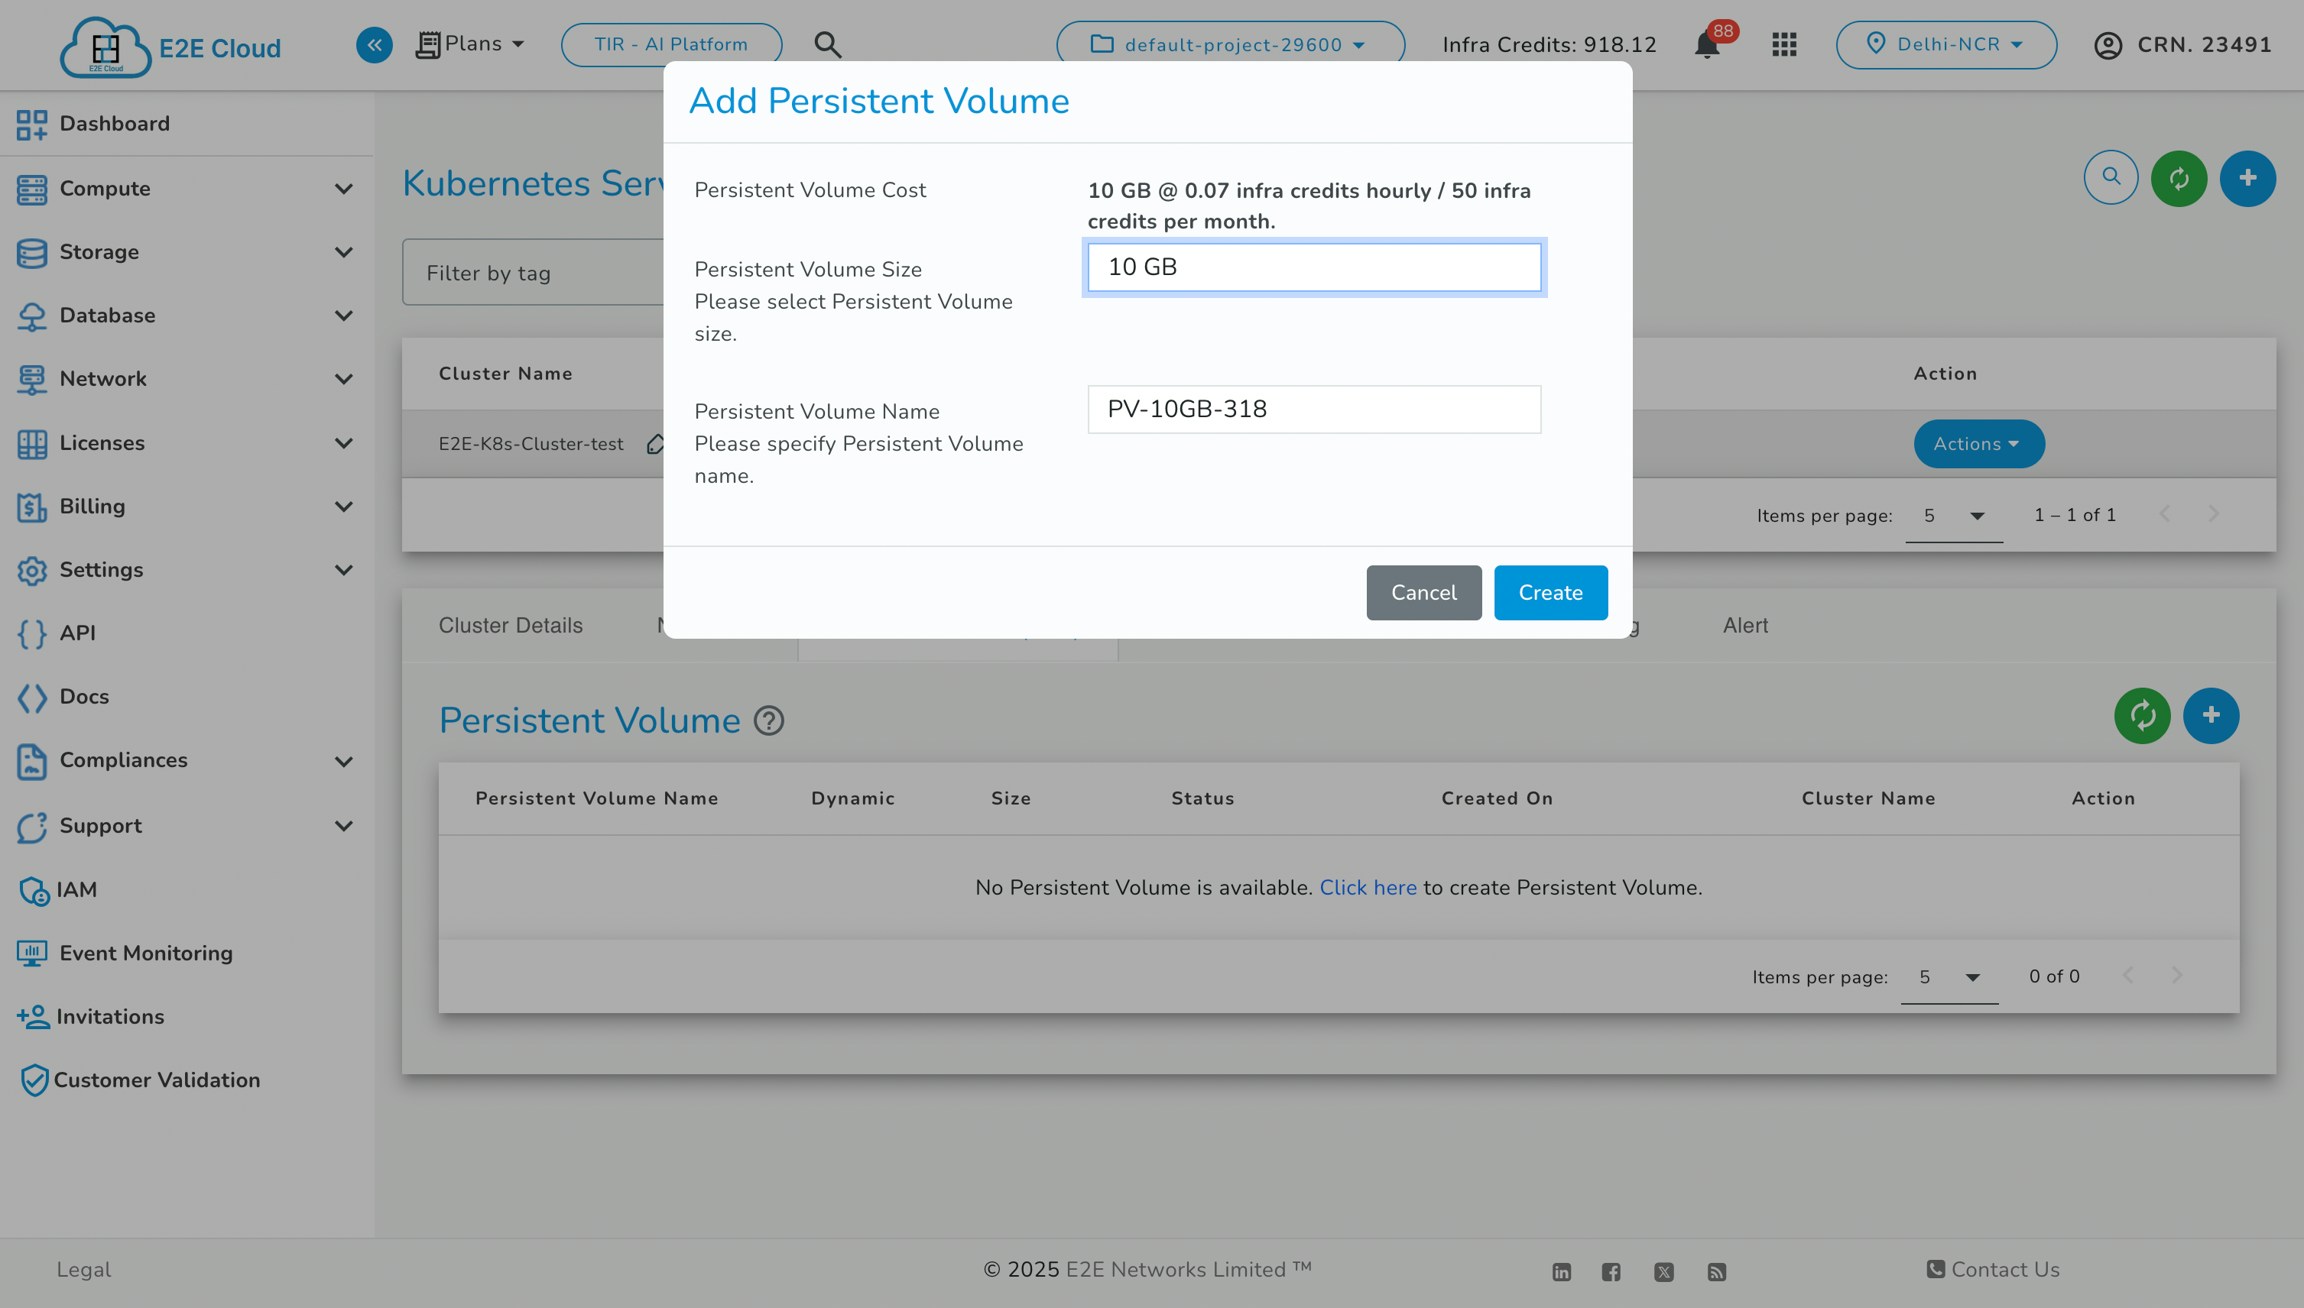
Once the cluster is created, add Load Balancer IP (LBIP) and Persistent Volume Claim (PVC).- Create a Persistent Volume Claim (PVC) in your cluster:
- Update the storage class to Default by adding this annotation to the storage class manifest:
- Or alternatively, run this command to update the storage class:
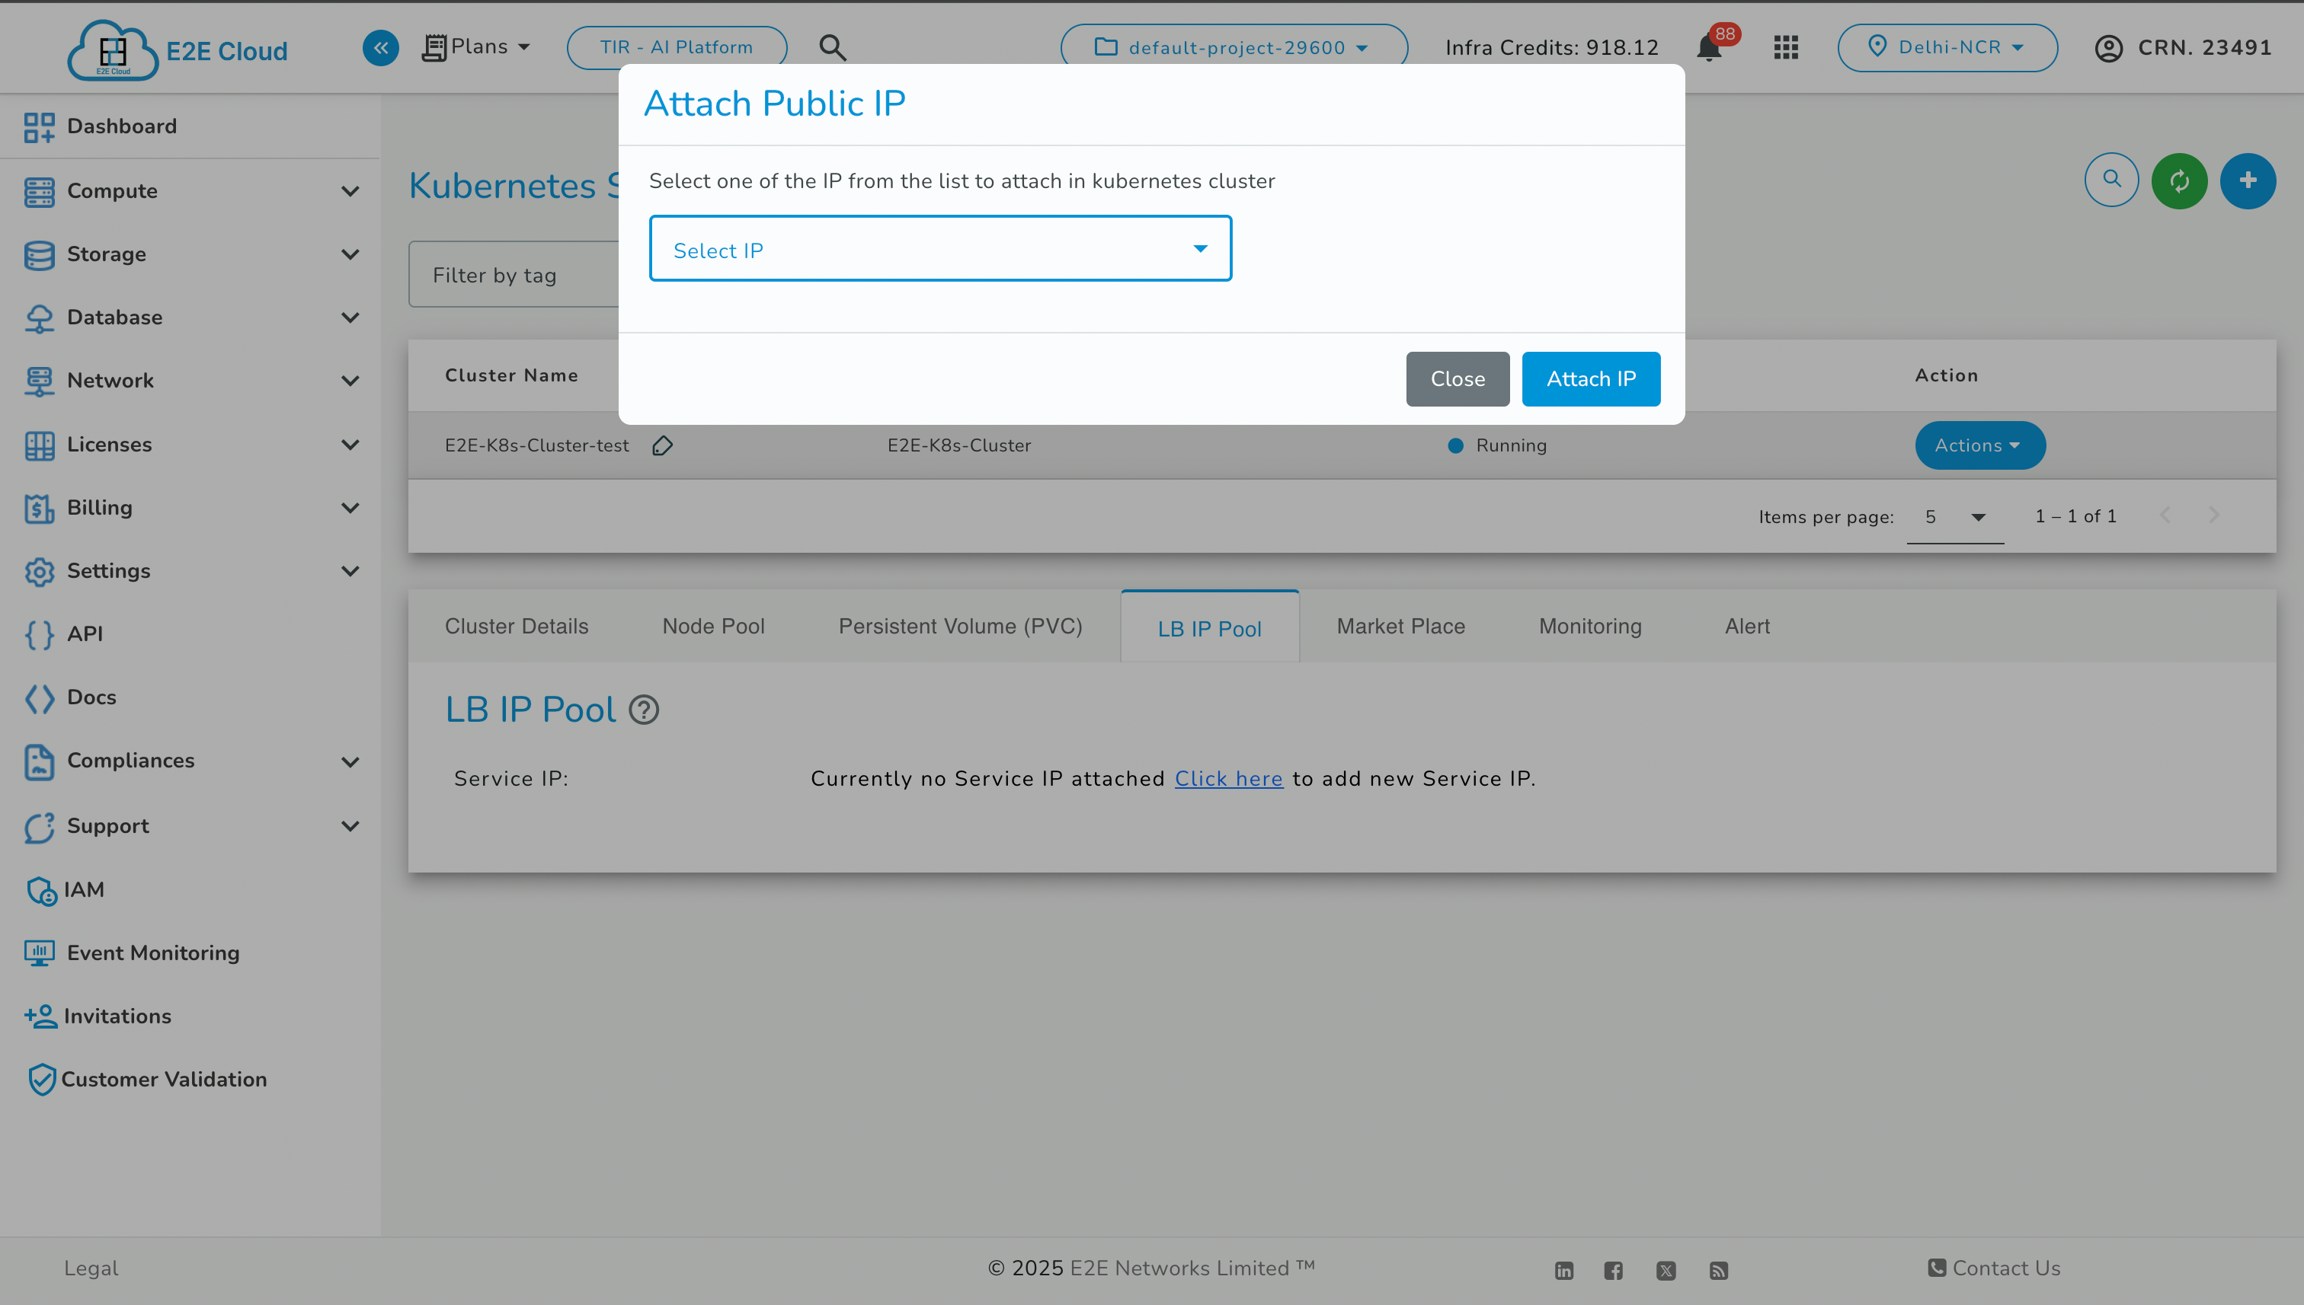
- Allocate a Load Balancer (LB) IP pool to manage inbound traffic:
